
Vent blows cold one side, hot on other side
Diagnose and fix blows cold one side, hot on other side
In a vehicle with dual temperature controls you may encounter a situation where the vent blows cold one side, hot on other side or vice versa. This situation can be caused by a bad blend door (also called air mix) actuator, a broken or binding blend/air mix door, broken linkage to the blend/air mix door, or a faulty HVAC control head or wiring harness.
Faulty blend actuator is most common
Car makers used to rely on cables to change the position of the blend door to regulate the amount of heat. Cables would bind and stick, causing all kinds of problems. So manufacturers switched to small electric motors called actuator to vary the blend/air mix door positions. Drivers changed air temperature far more often than they change the mode (defrost, floor heat, dash vents, etc.), so the temperature actuators generally fail first. When that happens, the HVAC system can be stuck on blows cold air or blows hot air. In a dual zone system, you wind up with a blows cold one side, hot on other side condition.
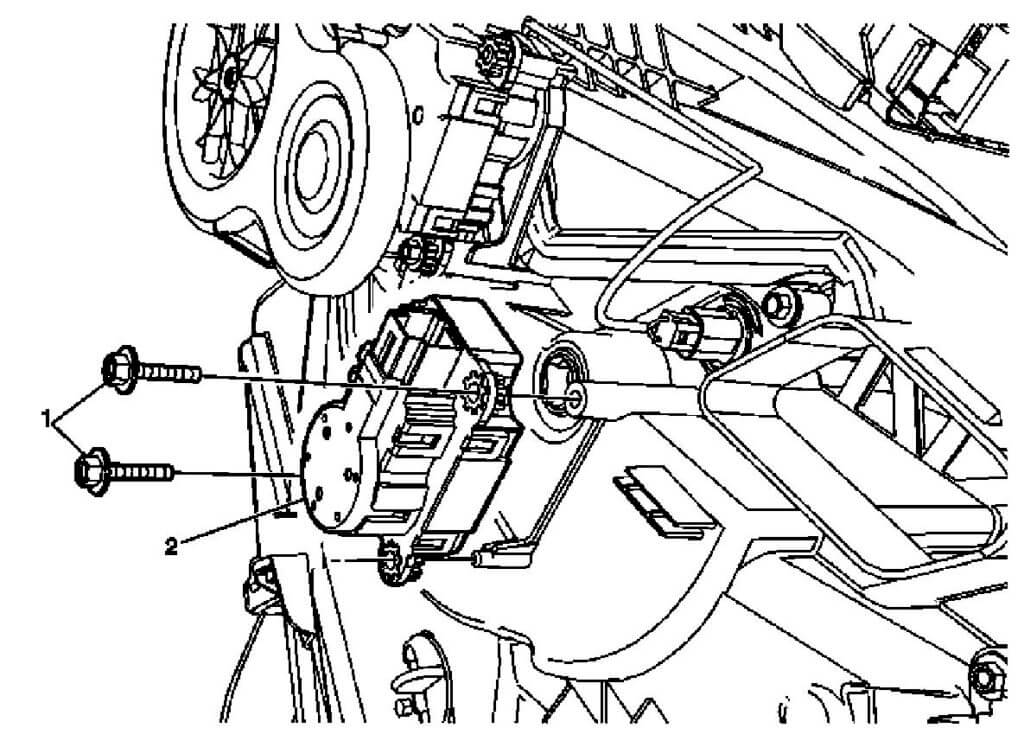
vent blows cold one side, hot on other side. View of blend door actuator
Blend and mode door actuators have a feedback position sensor inside to report back to the HVAC controller so it knows that the door has actually moved to the properly position. If the actuator fails, it usually fails in full on or full off. So your first step in diagnosing a blows cold one side, hot on other side condition is to operate each temperature control to see which side changes temperature. The actuator that changes temperature is good, the actuator that doesn’t is bad. This test also proves out the HVAC controller. If the controller is bad, neither actuator would change positions.
Fix actuator causing blows cold one side, hot on other side condition
The blend door actuators are located right on the heater box behind the dash. You’ll need a shop manual to locate the right actuator. In most cases you’ll have to remove the glove box to gain access to the actuator.
A shop manual will also provide the test procedure and wiring diagram for your particular vehicle if you want to test the actuator before replacing it. Replacing an actuator is fairly simple. Just disconnect the electrical connector, remove the retaining screws and slide off the actuator. Then align the shaft of the new actuator to the blend door axle and install. However, before actually installing the new actuator, try rotating the blend door to make sure it’s moving properly and not binding.
Perform a blend door calibration
Refer to the shop manual to learn the actuator calibration procedure. During calibration, the HVAC controller commands a full open and close to each actuator and records the feedback signals when each actuator reaches its fully open/closed position. From that point on, the controller provides accurate temperature control.
©, 2018 Rick Muscoplat
Posted on by Rick Muscoplat