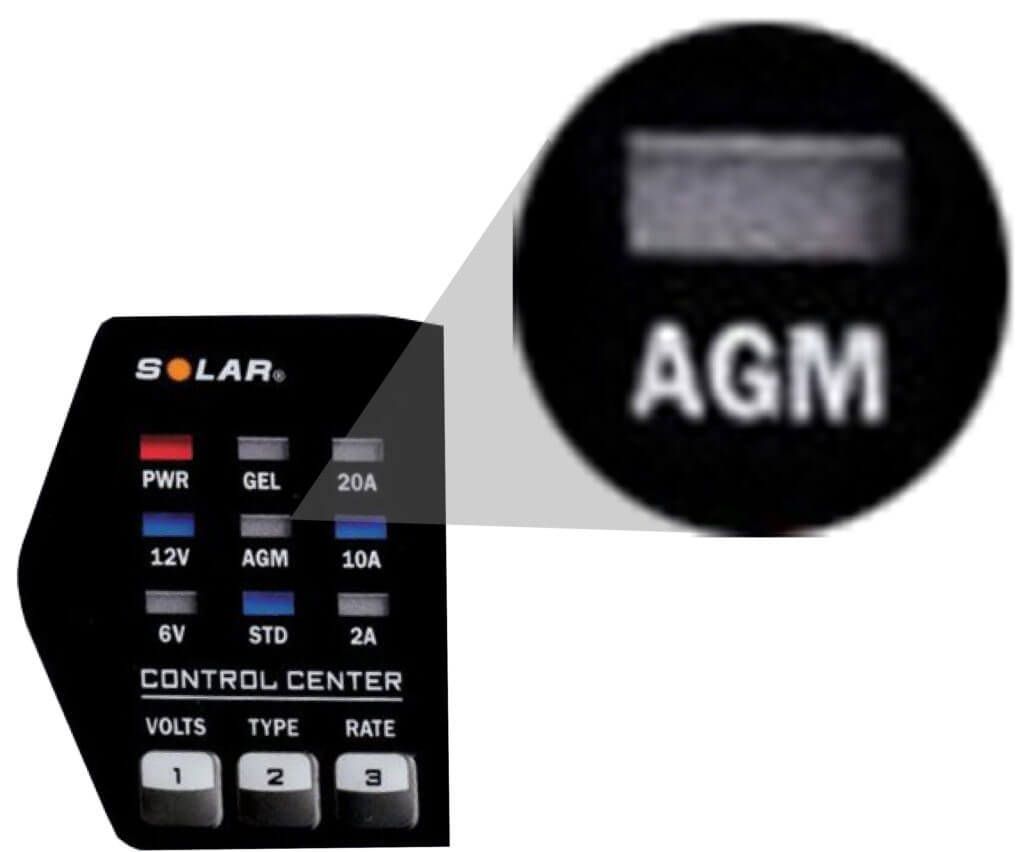
How to charge an AGM battery
How to charge an AGM battery; it’s different than a flooded lead acid battery.
Start by testing battery voltage with the engine off. Test by  touching the multimeter probes to the battery posts, not the terminals.That will give you a rough idea of the battery’s state-of-charge (SOC). Then use a multi-stage charger to charge an AGM battery.
Do not use an old non-digital charger to charge an AGM battery; it will damage the battery because it charges at too high a voltage.
Standard Flooded Lead Acid (SLI) Battery State of Charge Voltage versus AGM battery State of Charge Voltage
SLI @ 100% charge = 12.70-12.60 volts versus AGM @ 100% =12.80 or higher
SLI @ 90% charge =12.73 volts versus AGM @ 90% =12.75 volts
SLI @ 75% charge = 12.40 volts versus AGM @ 75% = 12.60 volts
SLI @ 60% charge =12.49 volts versus AGM @ 60% =12.15 volts
SLI @ 50% charge = 12.20 volts versus AGM @ 50% = 12.30
SLI @ 25% charge = 12.00 volts versus AGM @25% = 12.00
SLI @ 0% charge =11.80 volts versus AGM @ 0% =11.80
If the voltage is below 10.2 volts, that’s an indication of a bad cell and the battery should be checked further before charging.
Next, conduct an internal resistance test on the AGM battery
Using a digital battery tester, enter the battery’s CCA rating and initiate the test. If the battery’s internal resistance is too high, you can charge the battery, but it will fail and leave you stranded. If it fails the digital test, replace the battery.
Use an AGM charger to recharge the battery
Do NOT use an older analog tester.
How does a digital AGM charger differ from an analog charger
A digital charger determines the condition of the battery and chooses a charging routine that suit the battery condition. A deeply discharged battery, for example, requires a “soft start/energizing phase” to determine battery condition and protect the plates from overheating and deforming. An analog charger, on the other hand, applies a high voltage and high current immediately, which can cause overheating.
A digital charger uses a Multi-stage protocol.
Phase 1 Energizing — Starts charging at a low rate, approximately 5-volts and 7-amps for a short period, then tapering voltage up to 7-volts. This allows the charger to determine the battery’s condition. If the battery tests well in Phase 1, the charger moves to phase 2
Phase 2 Fast charge — Voltage tapers up from 7-volts to approximately 14.2-volts with a steady 10-amp or 20-amp current (depending on which setting the user chose).
Phase 3 Absorption Mode — Charging voltage remains constant at around 14.2-volts but current tapers down to around 2-amps, allowing the plates to absorb the full charge.
Phase 4 Completion mode — Voltage drops to around 13.5-volts and current tapers slowly to 0-amps.
Phase 5 Resting mode — Voltage drops to 12.5-volts and current stays at 0-amps.
Phase 6 Exercising mode — Voltage drops to 12.2-volts and current goes to negative 3-amps.
Phase 7 Restoring phase — Voltage ramps up to 14.3-volts, holds steady for a while, then tapers to 12.5. Current spikes to 10-amps, holds steady and then tapers to 0-amps.
Posted on by Rick Muscoplat