How to fix water in your headlight or water in tail light
Don’t use a drill or household sealants to fix a leaking headlight
Do NOT drill a hole to fix a water in headlight problem
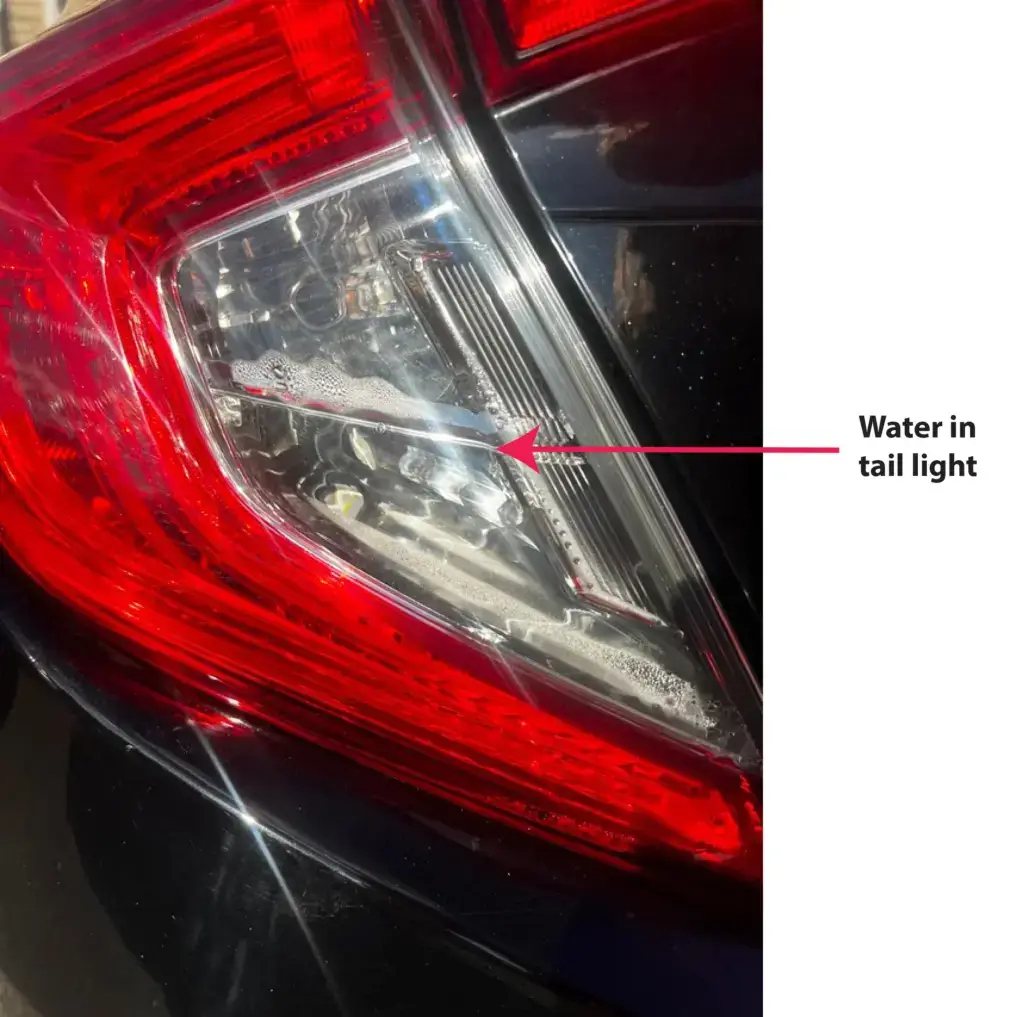
If there’s water in the headlight or tail light, the lens-to-lamp body seal has failed. Drilling a hole in your headlight drains the water, but doesn’t fix the root problem. You need to fix the leak, not the symptom of the leak.
If you don’t fix the leak, water will continue to enter the headlight or tail light and that water can shatter the headlight bulb or tail light bulb. It can also corrode the bulb sockets and sometimes even corrode the headlight or tail light reflector.
Drilling a hole in the lens is not a fix.
But there’s a difference between water and moisture in the headlight and tail light
All headlights must be able to breathe to handle the heat expansion and contraction. So all headlights and most tail lights have a vent port to allow air in and out. Some of those ports have filter. The filter does double-duty by allowing air to move in and out of the light housing, while also keeping bugs and spiders out of your headlight and tail light.
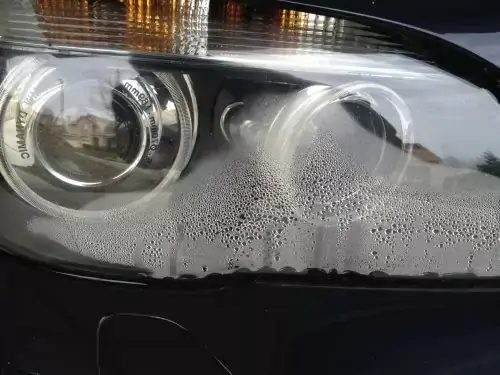
However, because air can move in an out, so can moisture. If you park your car on a humid night after using the headlights, the headlight assembly will be hot. As it cools, it will draw in humid air. By morning, that humid air can condense on the inside of the headlight lens. That is normal and you should not do anything to correct that. The condensation will simply evaporate as soon as you turn on the headlight.
If you’re concerned about condensation on the inside of the lens, turn on your headlights and wait about five minutes for them to heat up. You should notice a substantial drop in condensation on the inside of the lens. If the condensation is still there, you may have a leak.
What product to use to seal a leaking headlight or tail light.
If you’ve done an Internet search on this problem you’ve probably seen advice to use household silicone caulk. Wrong. Ordinary silicone caulk from a hardware or home center does not work well on the types of plastics used in your headlight or tail light.
It also doesn’t flow well in to the gap between the lens and headlight body. Lastly, it’s not compatible with the urethane adhesives used at the factory to bond the lens to the headlight body.
Worse yet, if your first application of silicone doesn’t stop the leak, you’re screwed because silicone caulk does not stick to previously applied silicone caulk. So you can’t apply more.
You need a urethane sealant designed for the types of plastics used in headlights
Polyurethane sealants provide high strength after curing. Urethane sealant provides high adhesion to smooth surfaces and is impermeable to moisture, so it protects the headlight from its penetration and prevents fogging of the glass from the inside.
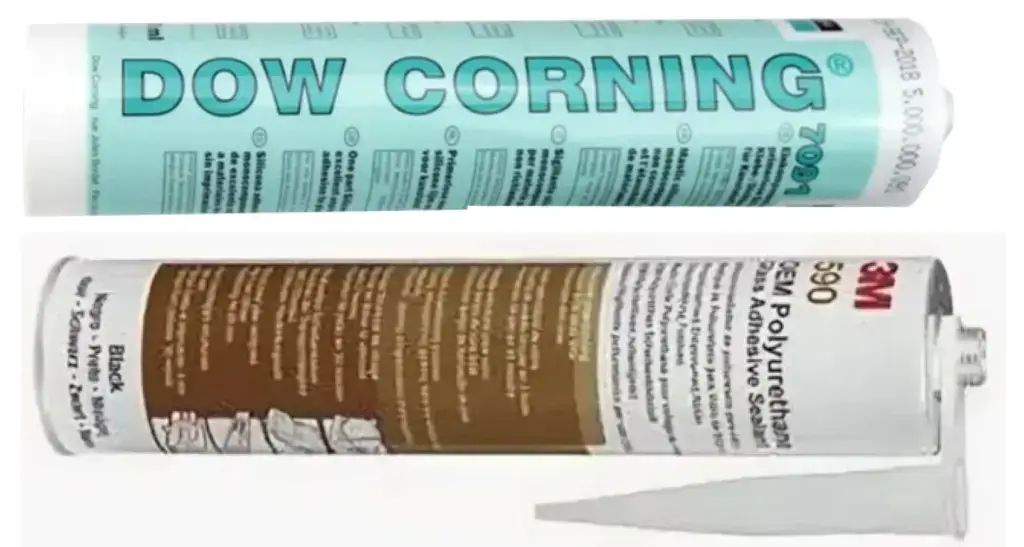
Urethane sealants can be used directly on the street if there is no garage. After curing, polyurethane is not affected by fuel, alcohol-containing liquids, road reagents, etc. There two urethane products work best.
3M PU 590. Polyurethane
Dow Corning 7091
How to reseal a headlight or a tail light
Pour out all water
Remove any loose adhesive from the seam.
Clean the seam with degreaser to assure the best bond
Rinse off the degreaser, wipe, and let the area dry completely before applying urethane
Use a hair dryer to dry out the inside and outside of the headlight and heat it slightly before applying the adhesive (especially if the headlight is cold)
Apply urethane around the entire seam, not just the area where the leak occurred
Wait for the sealant to cure before taking the vehicle out into the sun.
©, 2023 Rick Muscoplat
Posted on by Rick Muscoplat


