
Test a Knock Sensor: Step-by-Step Guide
Test a knock sensor yourself
If you have a check engine light and a knock sensor code, the cause can be a bad knock sensor, or an issue with the knock sensor wiring or electrical connector. You can test the knock sensor yourself.
Start by checking the condition of the wiring harness and electrical connector. Feel the wire for signs of an open, or rodent damage. Remove the connector from the sensor and check for corrosion. If the wiring looks good, move on to the bias voltage test
Test the knock sensor for bias voltage
Set your multimeter to DC volts and backprobe the sensor. Then start the engine. You should see a short burst of voltage. That’s the ECM sending a bias voltage to test the sensor. If you see the voltage, then you can rule out a wiring issue or connector issue from the ECM to the sensor.
Next, move on to test the knock sensor by creating vibrations with a hammer. Leave your meter connected but switch it to AC volts. With the IGN turned to the run position but the engine not running, strike the area around the sensor using a blunt chisel and hammer. Look for a small change, as little at 0.006 volts. Or, yank the fuel pump fuse, start the engine and watch your meter as it stalls. During the stall the engine will run lean as pressure drops and that can cause a knock.
If you don’t see any voltage, the knock sensor is bad. Replace it.
How to replace a knock sensor
Before you remove the old sensor, notice it’s 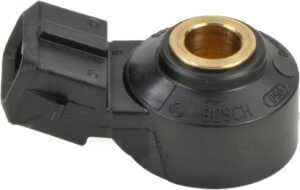 orientation. The new one must be installed facing the same direction. In addition, look up the torque spec before tightening and use a torque wrench to tighten to spec.
Proper torque is critical to sensor operation.
©, 2023 Rick Muscoplat
Posted on by Rick Muscoplat