Comprehensive Guide on How to Test Engine Coolant
Protect Your Engine: Learn How to Test Engine Coolant Condition
Engine coolant, also known as antifreeze, plays a vital role in maintaining the proper temperature of your vehicle’s engine. It prevents overheating in summer and freezing in winter, ensuring optimal performance and longevity. Regularly testing your engine coolant is essential to ensure its effectiveness and prevent potential engine damage. In this article, we’ll provide you with a comprehensive guide on how to test engine coolant effectively.
Why Test Engine Coolant?
Engine coolant contains a mixture of water and coolant concentrate (usually ethylene glycol or propylene glycol), along with additives to enhance its performance. Over time, these additives can degrade, reducing the coolant’s ability to protect your engine from corrosion, scale buildup, and temperature extremes. Testing engine coolant allows you to:
revent Engine Damage: Insufficient coolant protection can lead to corrosion and scale accumulation, which can hinder heat transfer and cause engine overheating or premature wear.Avoid Freezing and Boiling: Incorrect coolant concentration can lead to freezing in cold temperatures and boiling in hot conditions, resulting in engine damage.
Maintain Optimal Cooling: Testing coolant helps ensure that the mixture is at the right concentration to efficiently cool your engine and prevent overheating.
Prolong Engine Life: Proper coolant protection can extend the lifespan of your engine components by reducing wear and preventing corrosion.
Tools Needed for Testing
Before you begin testing your engine coolant, gather the following tools:
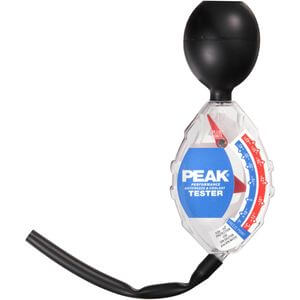
Coolant Tester or Hydrometer: This tool measures the specific gravity of the coolant, which helps determine its freeze and boil protection.
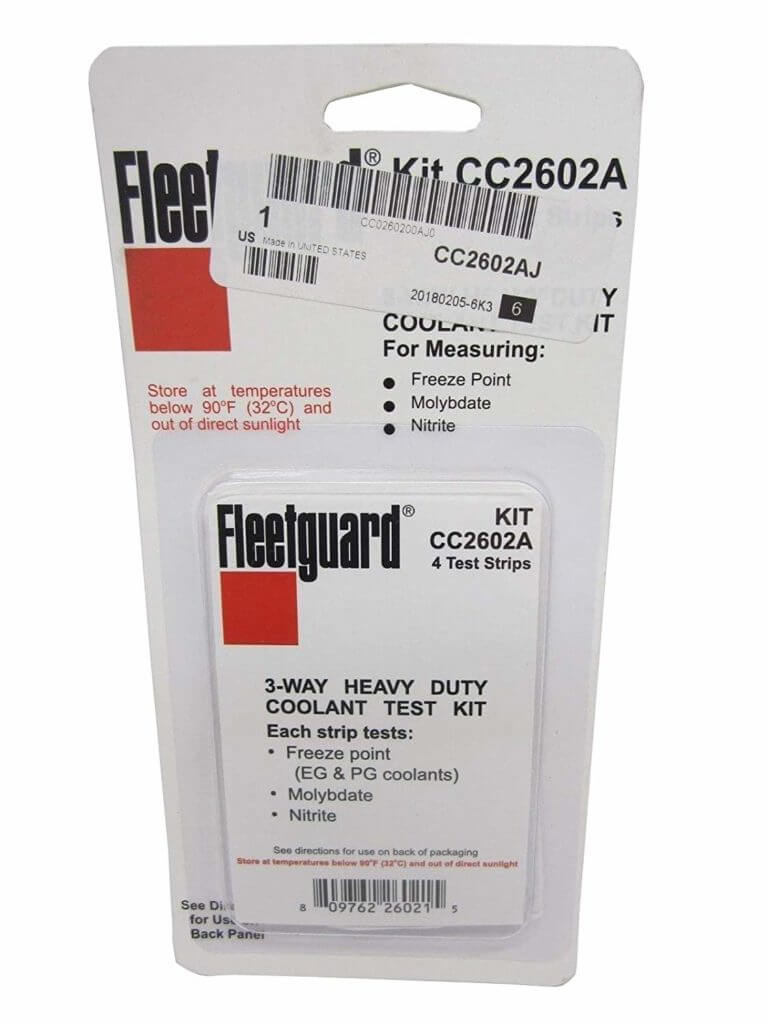
Test Strips: These strips are dipped intothe coolant and change color to indicate the concentration of the coolant mixture.
Distilled Water: You might need distilled water to adjust the coolant mixture if necessary.
Testing Process
Method 1: Using a Coolant Tester or Hydrometer
Park Your Vehicle: Ensure your vehicle is  parked on a level surface and has cooled down.Locate the Coolant Reservoir: Open the hood and locate the coolant reservoir. It is usually a translucent plastic container near the radiator.
Extract Coolant: Remove the cap from the coolant reservoir and use the coolant tester or hydrometer to extract a sample of coolant.
Test the Coolant: Follow the instructions on the tester or hydrometer to measure the specific gravity of the coolant. Compare the reading to the manufacturer’s recommendations to determine freeze and boil protection.
Interpret the Results: If the specific gravity is outside the recommended range, you might need to adjust the coolant concentration by adding more coolant concentrate or distilled water as needed.
Method 2: Using Test Strips
- Park Your Vehicle: Ensure your vehicle is
parked on a level surface and has cooled down.
- Locate the Coolant Reservoir: Open the hood and find the coolant reservoir.
- Dip the Test Strip: Dip the test strip into the coolant according to the instructions on the package.
- Observe Color Change: The test strip will change color based on the concentration of the coolant. Compare the color to the provided chart to determine the mixture’s effectiveness.
- Adjust Concentration: If the test strip indicates that the mixture is too concentrated or diluted, adjust it by adding coolant or distilled water as required.
Method 3 Test for electrolysis using a multimeter
Test coolant for electrolysis
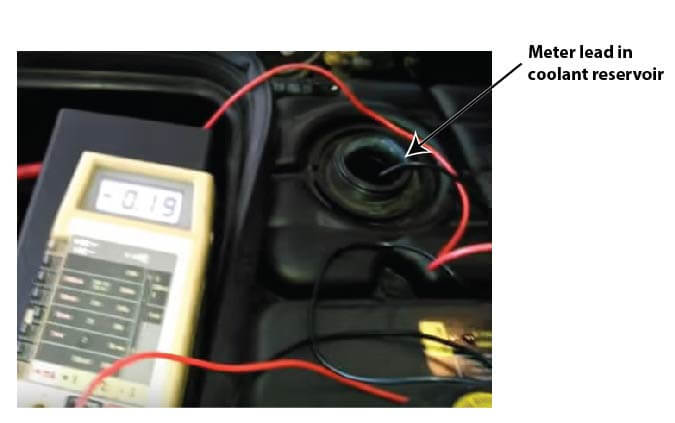
Set a digital multimeter on the DC scale for around 12 volts. Attach one of the test leads to the negative battery terminal and submerse the other end into the coolant. Then rev the engine to 2,000 RPM and read the voltage on the meter.
If the coolant test reads over .3-.4 volts, it means that the coolant is conducting too much electricity. Either the coolant needs replacing or you have a grounding problem in the vehicle. If the coolant is fresh, check for poor ground connections between the engine and the firewall and the engine and the negative battery terminal.
Frequency of Testing
It’s recommended to test your engine coolant at least once a year or according to your vehicle manufacturer’s guidelines. Additionally, if you’ve recently performed maintenance on your cooling system or noticed any signs of overheating, it’s a good idea to test the coolant to ensure its effectiveness.
Final Thoughts
Testing your engine coolant is a simple yet crucial step in maintaining the health of your vehicle’s engine. Regular testing helps you identify any issues with coolant concentration and take corrective actions to prevent engine damage. By following the methods outlined in this guide and adhering to recommended testing intervals, you’ll ensure that your engine stays cool and protected, providing you with optimal performance and longevity for years to come.
Brake fluid color, by itself, doesn’t tell you if the fluid is bad. You have to test it
©, 2023 Rick Muscoplat


