
How to remove a broken oil dipstick
Use these two tricks to remove a broken oil dipstick
Removing a broken oil dipstick can be a frustrating experience, especially when the handle has snapped off, leaving you with limited options for extraction. However, with the right tools and approach, you can successfully remove the broken dipstick and avoid potential damage to your engine. This guide will walk you through the steps to safely and effectively remove a broken oil dipstick.
Assess how much of the plastic handle remains in the dipstick tube
Before attempting any removal process, it’s essential to 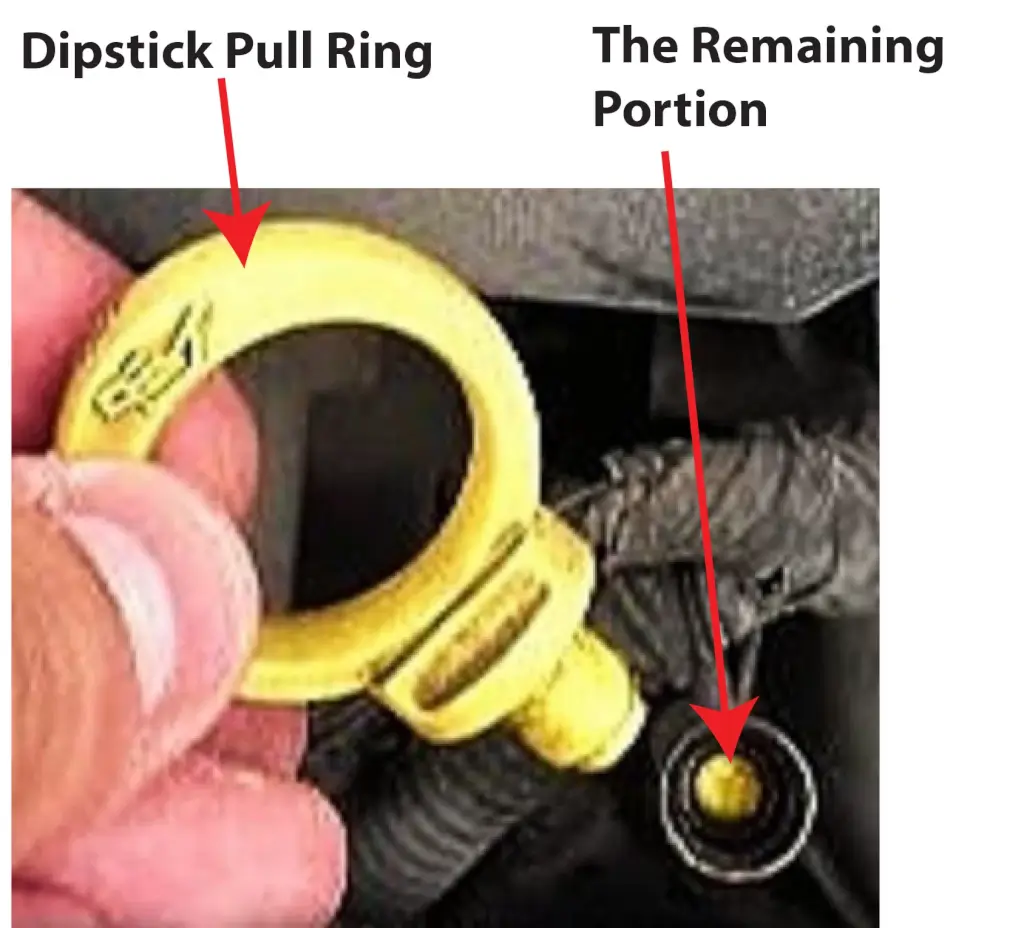 assess the situation. Determine how much of the dipstick is still accessible and whether the broken part is lodged deep within the dipstick tube or near the top. Understanding the position of the broken dipstick will help you choose the appropriate removal method.
Determine the best of these possible methods
• Hot glue something to the top of the remaining portion
• Try to screw into the broken portion
• Try to grab the remaining portion
How to use hot glue to remove a broken oil dipstick
Hot glue— Hot glue won’t stick to the oily stub left in the dipstick tube, so you’ll have to clean off the oil using brake cleaner and compress air.
What you’ll need to use this method:
Hot glue and glue gun
Can of aerosol brake cleaner
Can of compressed air
A 3″ long coated construction screw with a Philips head
Step by step process for removing a broken dipstick with hot glue
• Wear eye protection.
• Spray the cleaner down the dipstick tube until it spills out
• Cover the tube with a rag
• Using compressed air, inject only enough air pressure to blow the brake cleaner out of the tube.
• Repeat until the broken dipstick is free of oil
• Spray the head of the construction screw to remove any oil
• Fill the Philips slots on the construction screw with hot glue and add a dollop to the head of the screw
• Lightly press the screw and glue onto the broken portion of the dipstick
• Wait at least 15 minutes before attempting to remove the dipstick.

Make sure you’ve allowed enough time for the glue to cool before attempting to pull out the broken dipstick
How to use a screw to remove a broken oil dipstick
This method is a little trickier than the hot glue method and risks pushing the broken dipstick farther down into the tube. But if you take it slowly, it can work.
What you’ll need:
A 1/16″ drill bit
Drill
3″ long drywall screw
Step by step
• Using minimum pressure, drill a pilot hole in the remaining plastic in the dipstick tube. Try to center the pilot hole
• Hand twist the screw into the pilot hole until you feel you have several threads engaged.
• Pull up on the dipstick
Screw into the drilled pilot hole and then pull the dipstick out
Last Ditch Attempt to Remove a Broken Dipstick
Remove the dipstick tube from the engine. That’s right, most dipstick tubes can be removed from the oil pan. Locate the bracket stabilizing the dipstick tube (if equipped) and unbolt it. Then rotate the tube and pull until it comes free. The broken dipstick will come out with the tube.
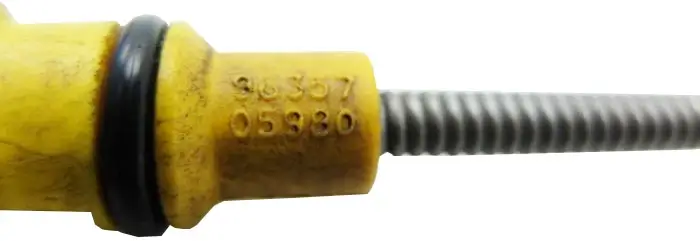
If the tube has an O-ring as the base, replace it and then reinstall the dipstick tube
©, 2015 Rick Muscoplat
Posted on by Rick Muscoplat