
How to Remove Honda Rotor Screws: A Step-by-Step Guide
Essential Tools and Tips for Removing Honda Rotor Screws
Honda uses special JIS B1012 Crosshead screws 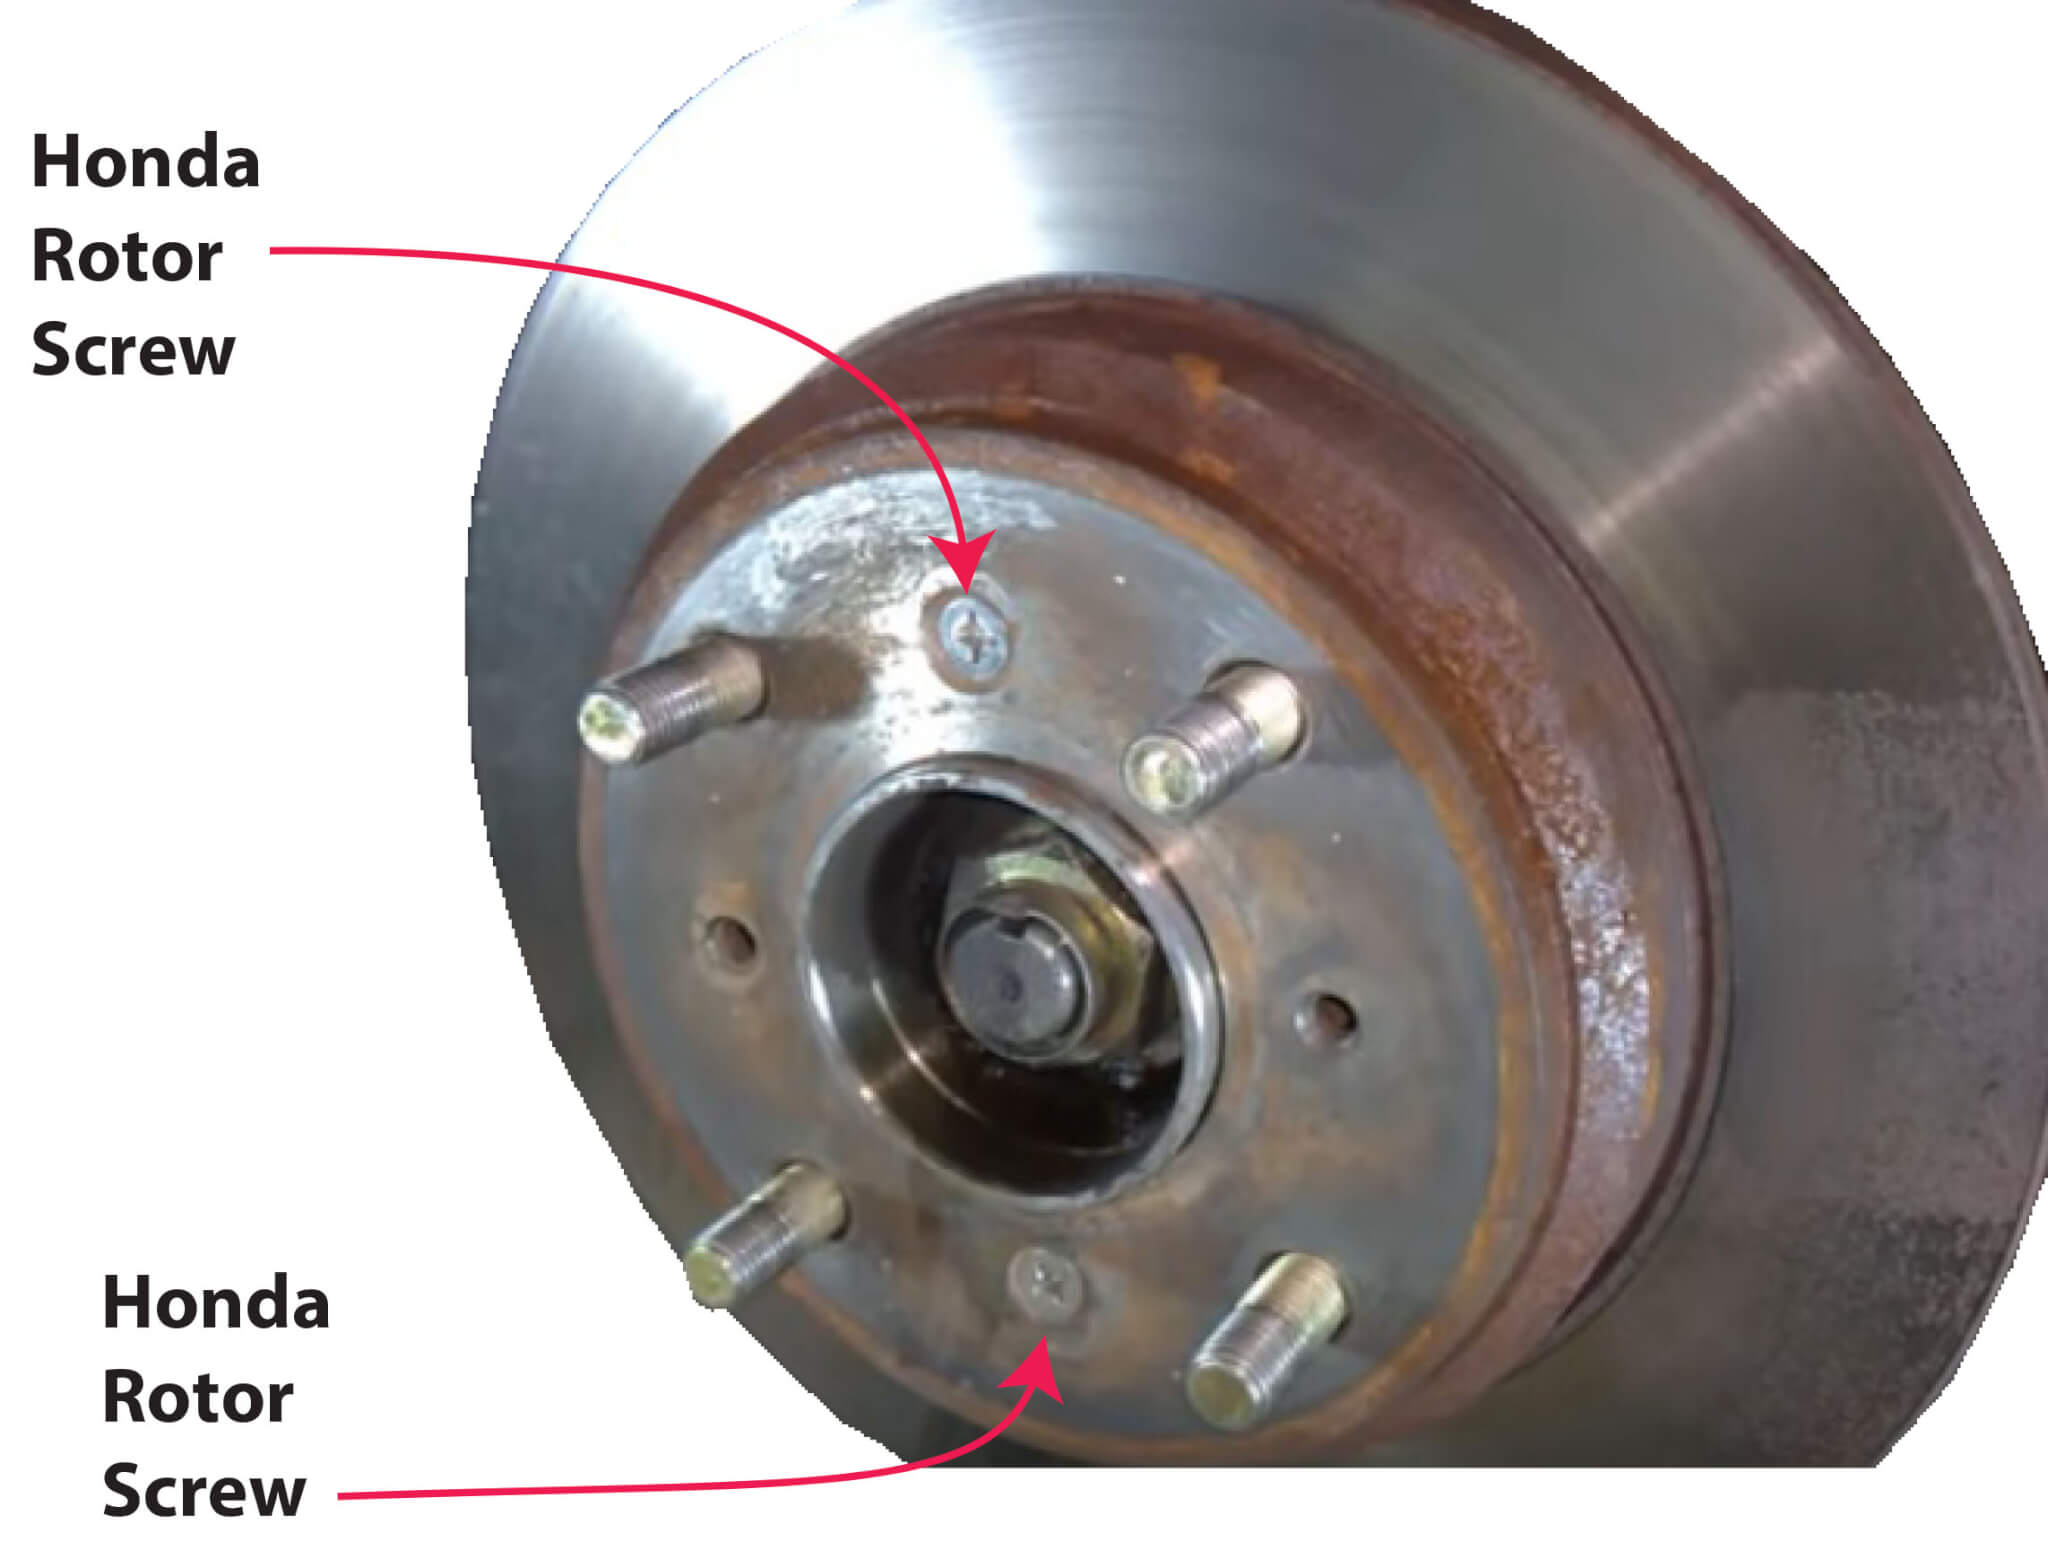 to retain the brake rotors snugly on the wheel hub during the factory assembly line process. They serve no other purpose other than that. But when you need to replace the rotor, removing the Honda rotor screws can be a nightmare. I know you’re not going to buy a special JIS B1012 Crosshead screwdriver for this. However, if you use a Philips screwdriver, you’ll strip the screw head. I’ll show you how to remove Honda rotor screws without ruining your entire day or resorting to drilling.
Tools you need to remove Honda Rotor Screws
• Ball peen hammer
• Hand-held impact driver wrench
• Rust penetrant like PB Blaster (NOT WD-40, 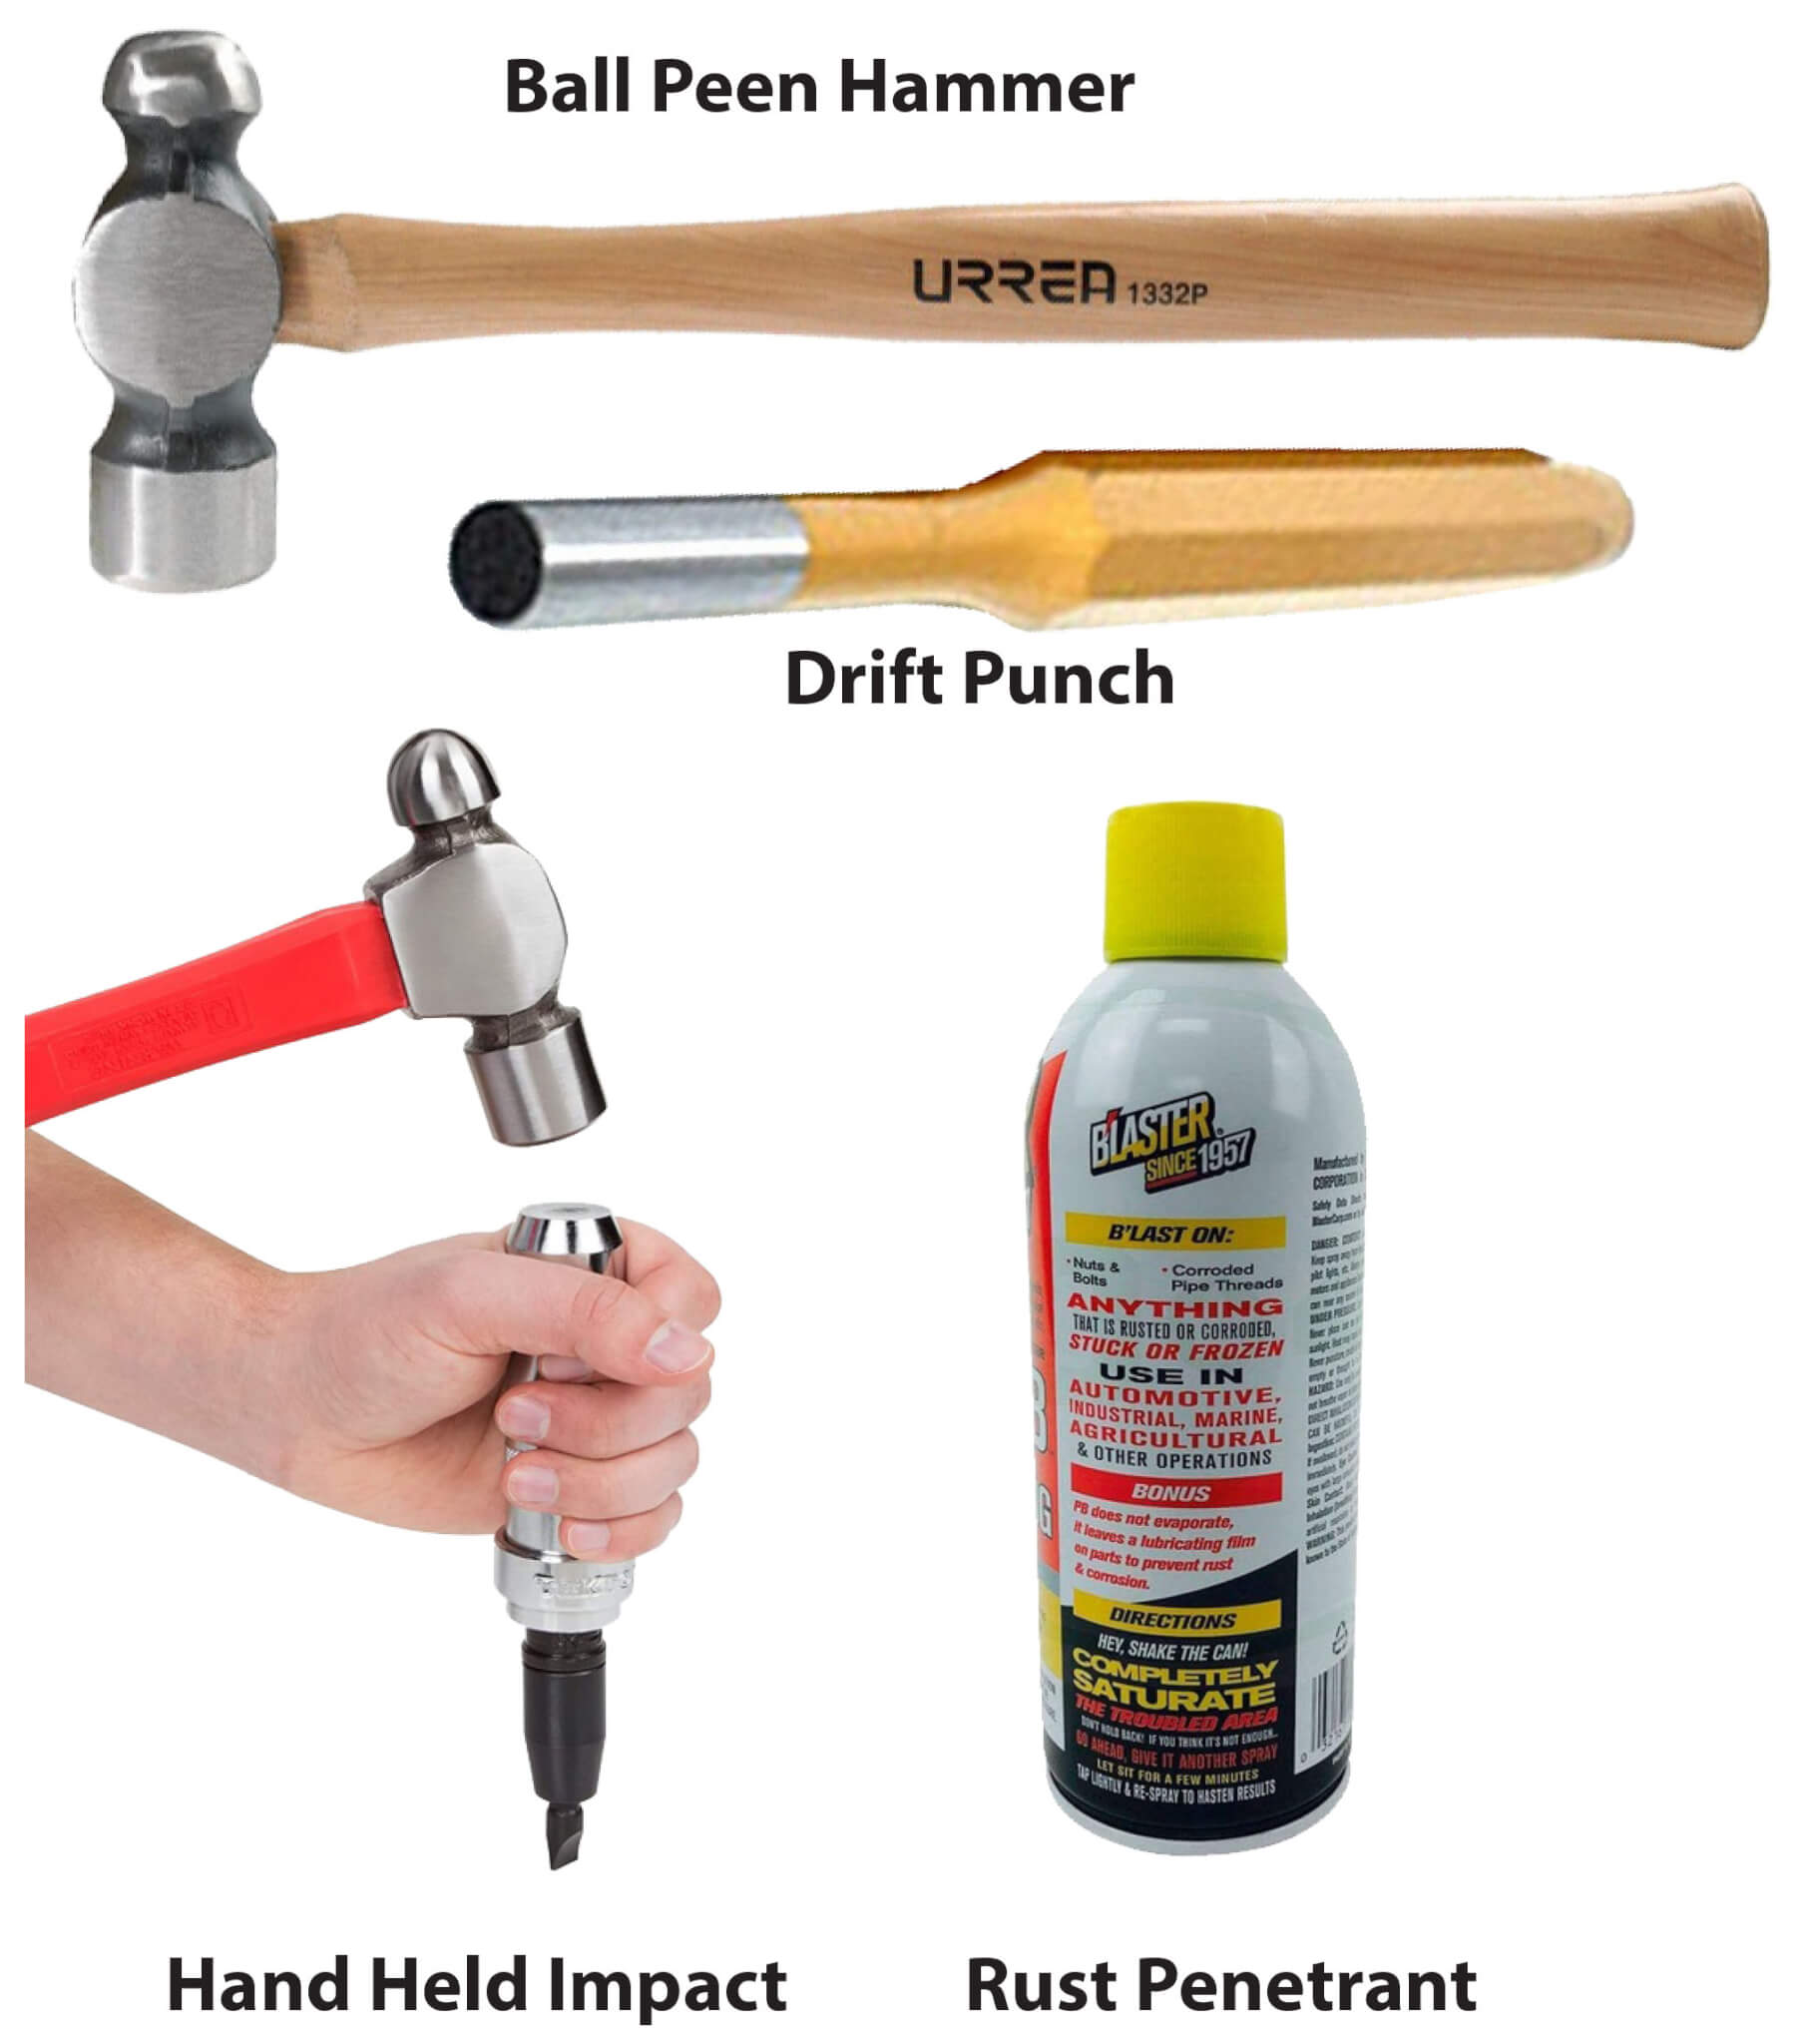
which is just a general lightweight lubricant
and not a very good rust penetrant)
• Drift punch
Step 1 to Remove Honda Rotor Screws
Saturate the screw heads with rust penetrant
Step 2) Break corrosion with vibration
Think of corrosion like glue. You want it to crack so the rust penetrant can seep under the screw head and into the screw threads. The best way to crack the corrosion is with vibration. Use a drift punch slightly smaller than the screw head and smack the screw head repeatedly with the ball-peen hammer. The impact sets up vibrations that travel all the way down through the screw.
NOTE: When hitting a hardened drift punch, you must use a hardened hammer, like a ball-peen. Do not use a claw hammer! Also, wear eye protection.
Step 3) Use the impact tool with a #3 Philips bit
Use a handheld impact tool and the ball-peen hammer with a large Philips bit to rotate the screw.
Note: If the screw is still stuck after these steps, smack the area around the screw head repeatedly to spread the vibration around the entire area.
This method has never failed me, and I have never had to drill out a Honda rotor scores.
©, 2020 Rick Muscoplat
Posted on by Rick Muscoplat