Polish cloudy headlights — step by step
Polish cloudy headlights to see better
Step by step process to polish headlights
by Alex
Having trouble seeing at night? See cloudy spots on your headlights? I’ll show you how to polish headlights so you can see again.
What causes headlights to get cloudy?
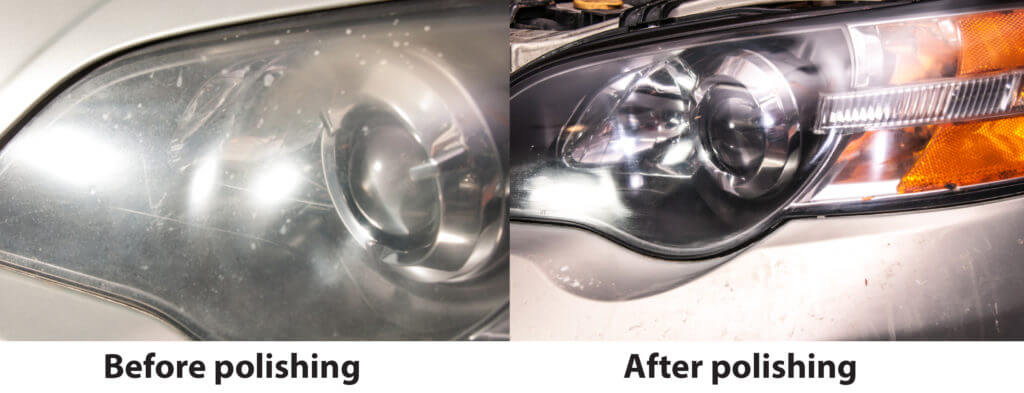
Plastic headlights deteriorate over time from exposure to UV rays. They’re also sandblasted by road grit. The scratch resistant protective clear coating takes the brunt of the UV rays and turns cloudy over time. That reduces light output to the road by almost 80%! You can buy a new headlight, but they’re pricey. Or, you can sand off the old clear coat, polish the headlights and then apply a new clear coat layer.
Best headlight restoration kit
There are many brands of headlight restoration kits or you can make your own kit by buying the wet/dry sandpaper show below, along with headlight polishing compound and headlight clear coat. I’ll show you how I did the polish headlight routine on my 2005 Subaru Outback using the Sylvania Headlight Restoration Kit ($20 from Amazon or most auto parts stores). I like the Sylvania Headlight Restoration kit because it comes with everything I need (except masking tape), including clear coat.
Sylvania Headlight Restoration kit contents
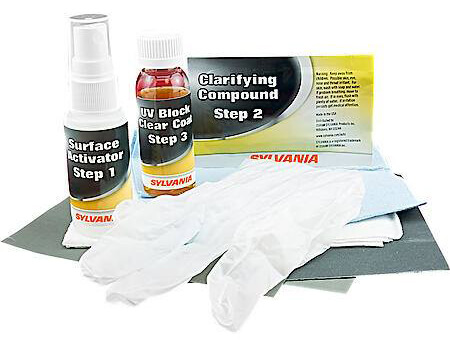
• Headlight clear coat remover liquid
• 400-grit wet-of-dry sandpaper
• 1,000-grit wet-of-dry sandpaper
• 2,000-girt wet-of-dry sandpaper
• Plastic polish
• Clear coat approved by the Department of Transportation
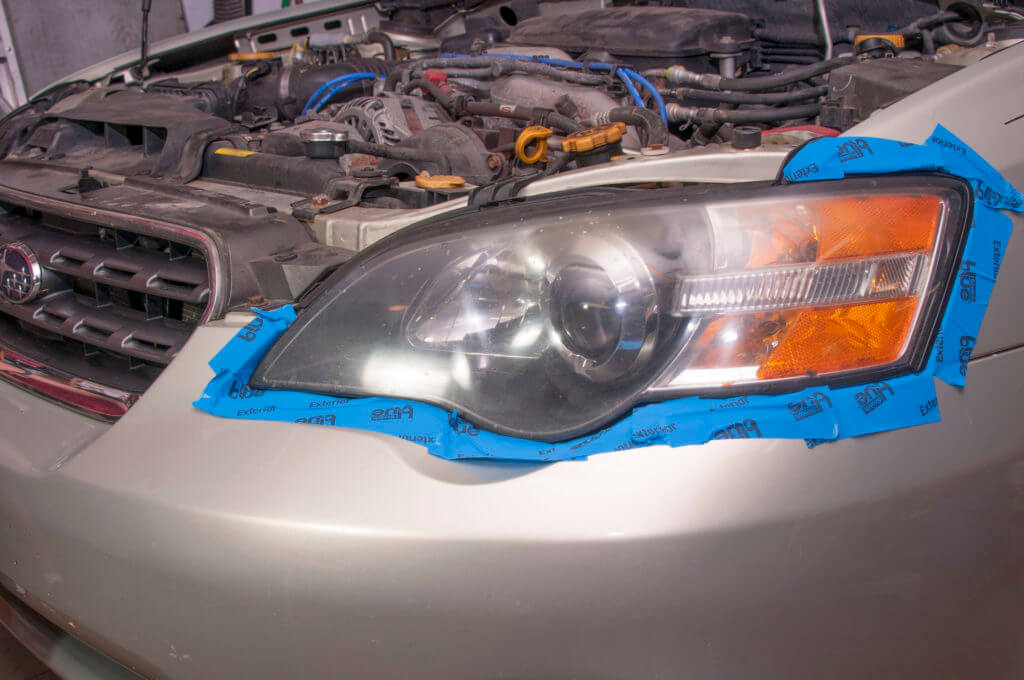
Polish headlights — Step 1: Masking
Start by masking off the headlight with tape so you don’t accidentally sand paint off the fender.
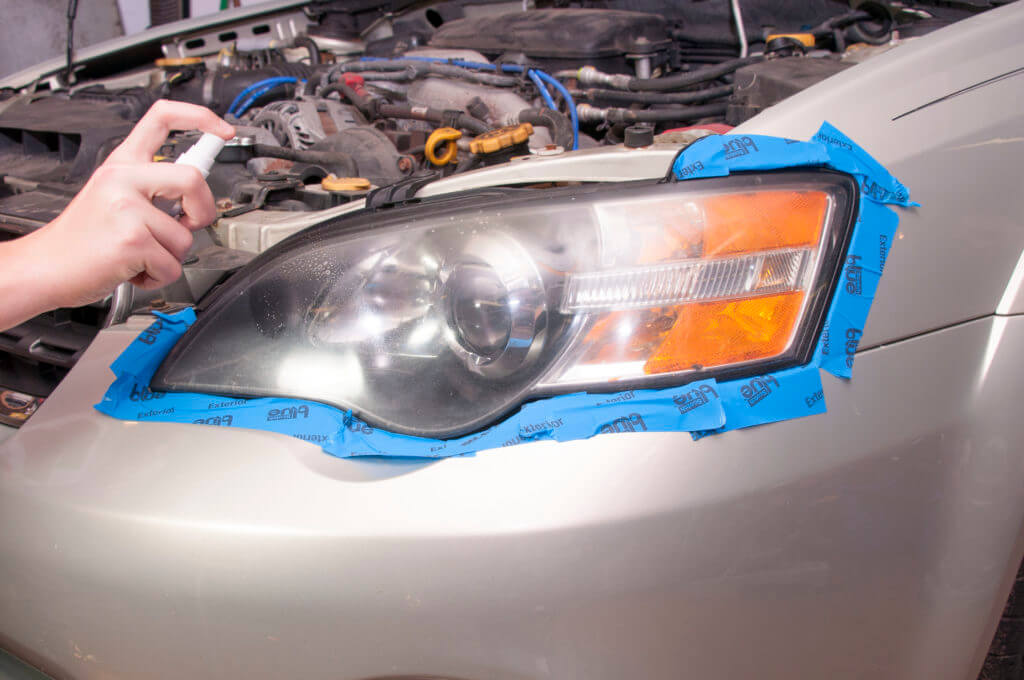
Polish headlights —Step 2: Apply activator
The Sylvania kit includes a bottle of activator to spray on your headlights. It’s designed to soften the old clear coat, making it easier to remove. Spray the entire headlight and let it sit for about thirty seconds, then rinse clean with clear water.
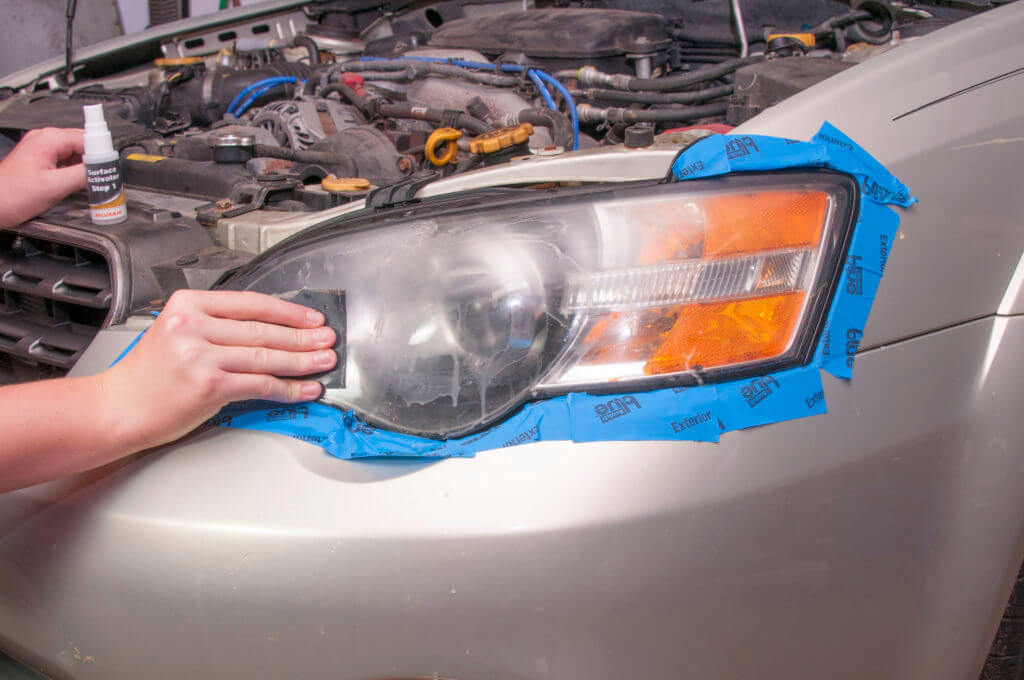
Polish headlights —Step 3: Sand with 400-grit and 1000-grit
Next, sand off the old clear coat with wet 400-grit sandpaper. Dip the sandpaper in clean water and sand aggressively over the entire headlight using circular motions. Once you’ve remove the old clear coat, switch to 1,000-grit sandpaper.
Rinse the headlight and sand the entire surface with 2,000-grit sandpaper. Then wash the entire headlight with soap and water. Dry with a microfiber towel and air dry.
Polish headlights —Step 4: Apply plastic polish and polish lens
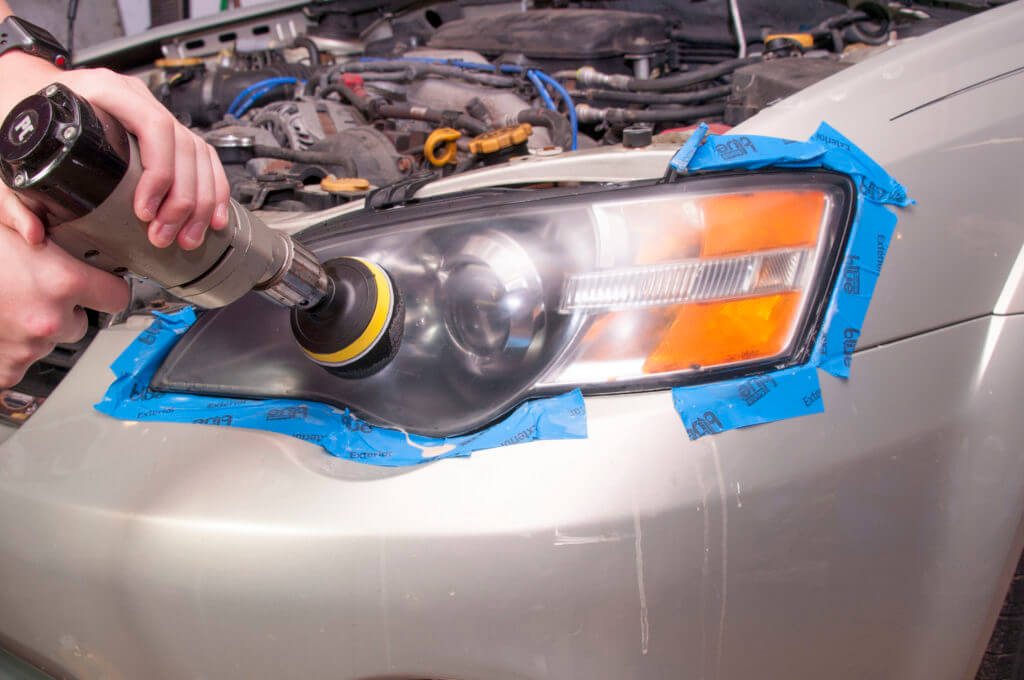
At this point, the headlight will most likely look more cloudy than when you started. Don’t worry, the plastic polish will bring it back. Using the plastic from the kit, apply some to the white cloth and polish the headlights. If you want to speed up the polishing process, purchase a set of foam polishing discs and chuck them into your drill. Apply the polish to the foam pad, wipe it across the lens, then hit the trigger.
Polish headlights —Step 5: Wipe on clear coat
Rinse off all excess polish. Dry. Then apply the new clear coat to the blue cloth provided and wipe it over the entire lens surface. Allow at least one hour for the clear coat to dry before driving.
©, 2019 Rick Muscoplat and Alex Steil
