
Find an Exhaust Leak Easily with These Simple Steps
How to Find an Exhaust Leak: A Comprehensive Guide
An exhaust leak in a vehicle is more than just an annoyance; it can lead to a check engine light, a false P0420 trouble code, poor engine performance, reduced fuel efficiency, and even pose health risks due to the potential release of toxic fumes like carbon monoxide. Identifying and addressing an exhaust leak promptly is crucial to maintaining your vehicle’s performance and safety. In this article, we will explore the technique to find an exhaust leak.
Step-by-Step Guide to Finding an Exhaust Leak
The easiest way to find an exhaust leak is to pressurize the exhaust system using an ordinary shop vacuum, a spray bottle filled with water, and dishwashing detergent.

What You’ll Need
Shop vacuum or wet/dry vac with a hose
Duct tape or aluminum tape.
Soapy water solution in a spray bottle
Flashlight
Preparing the Vehicle
Before starting, ensure the engine is cool if it has been running recently. You’ll also want to give the entire exhaust system a thorough visual inspection, looking for any obvious holes, cracks, or loose connections or clamps.
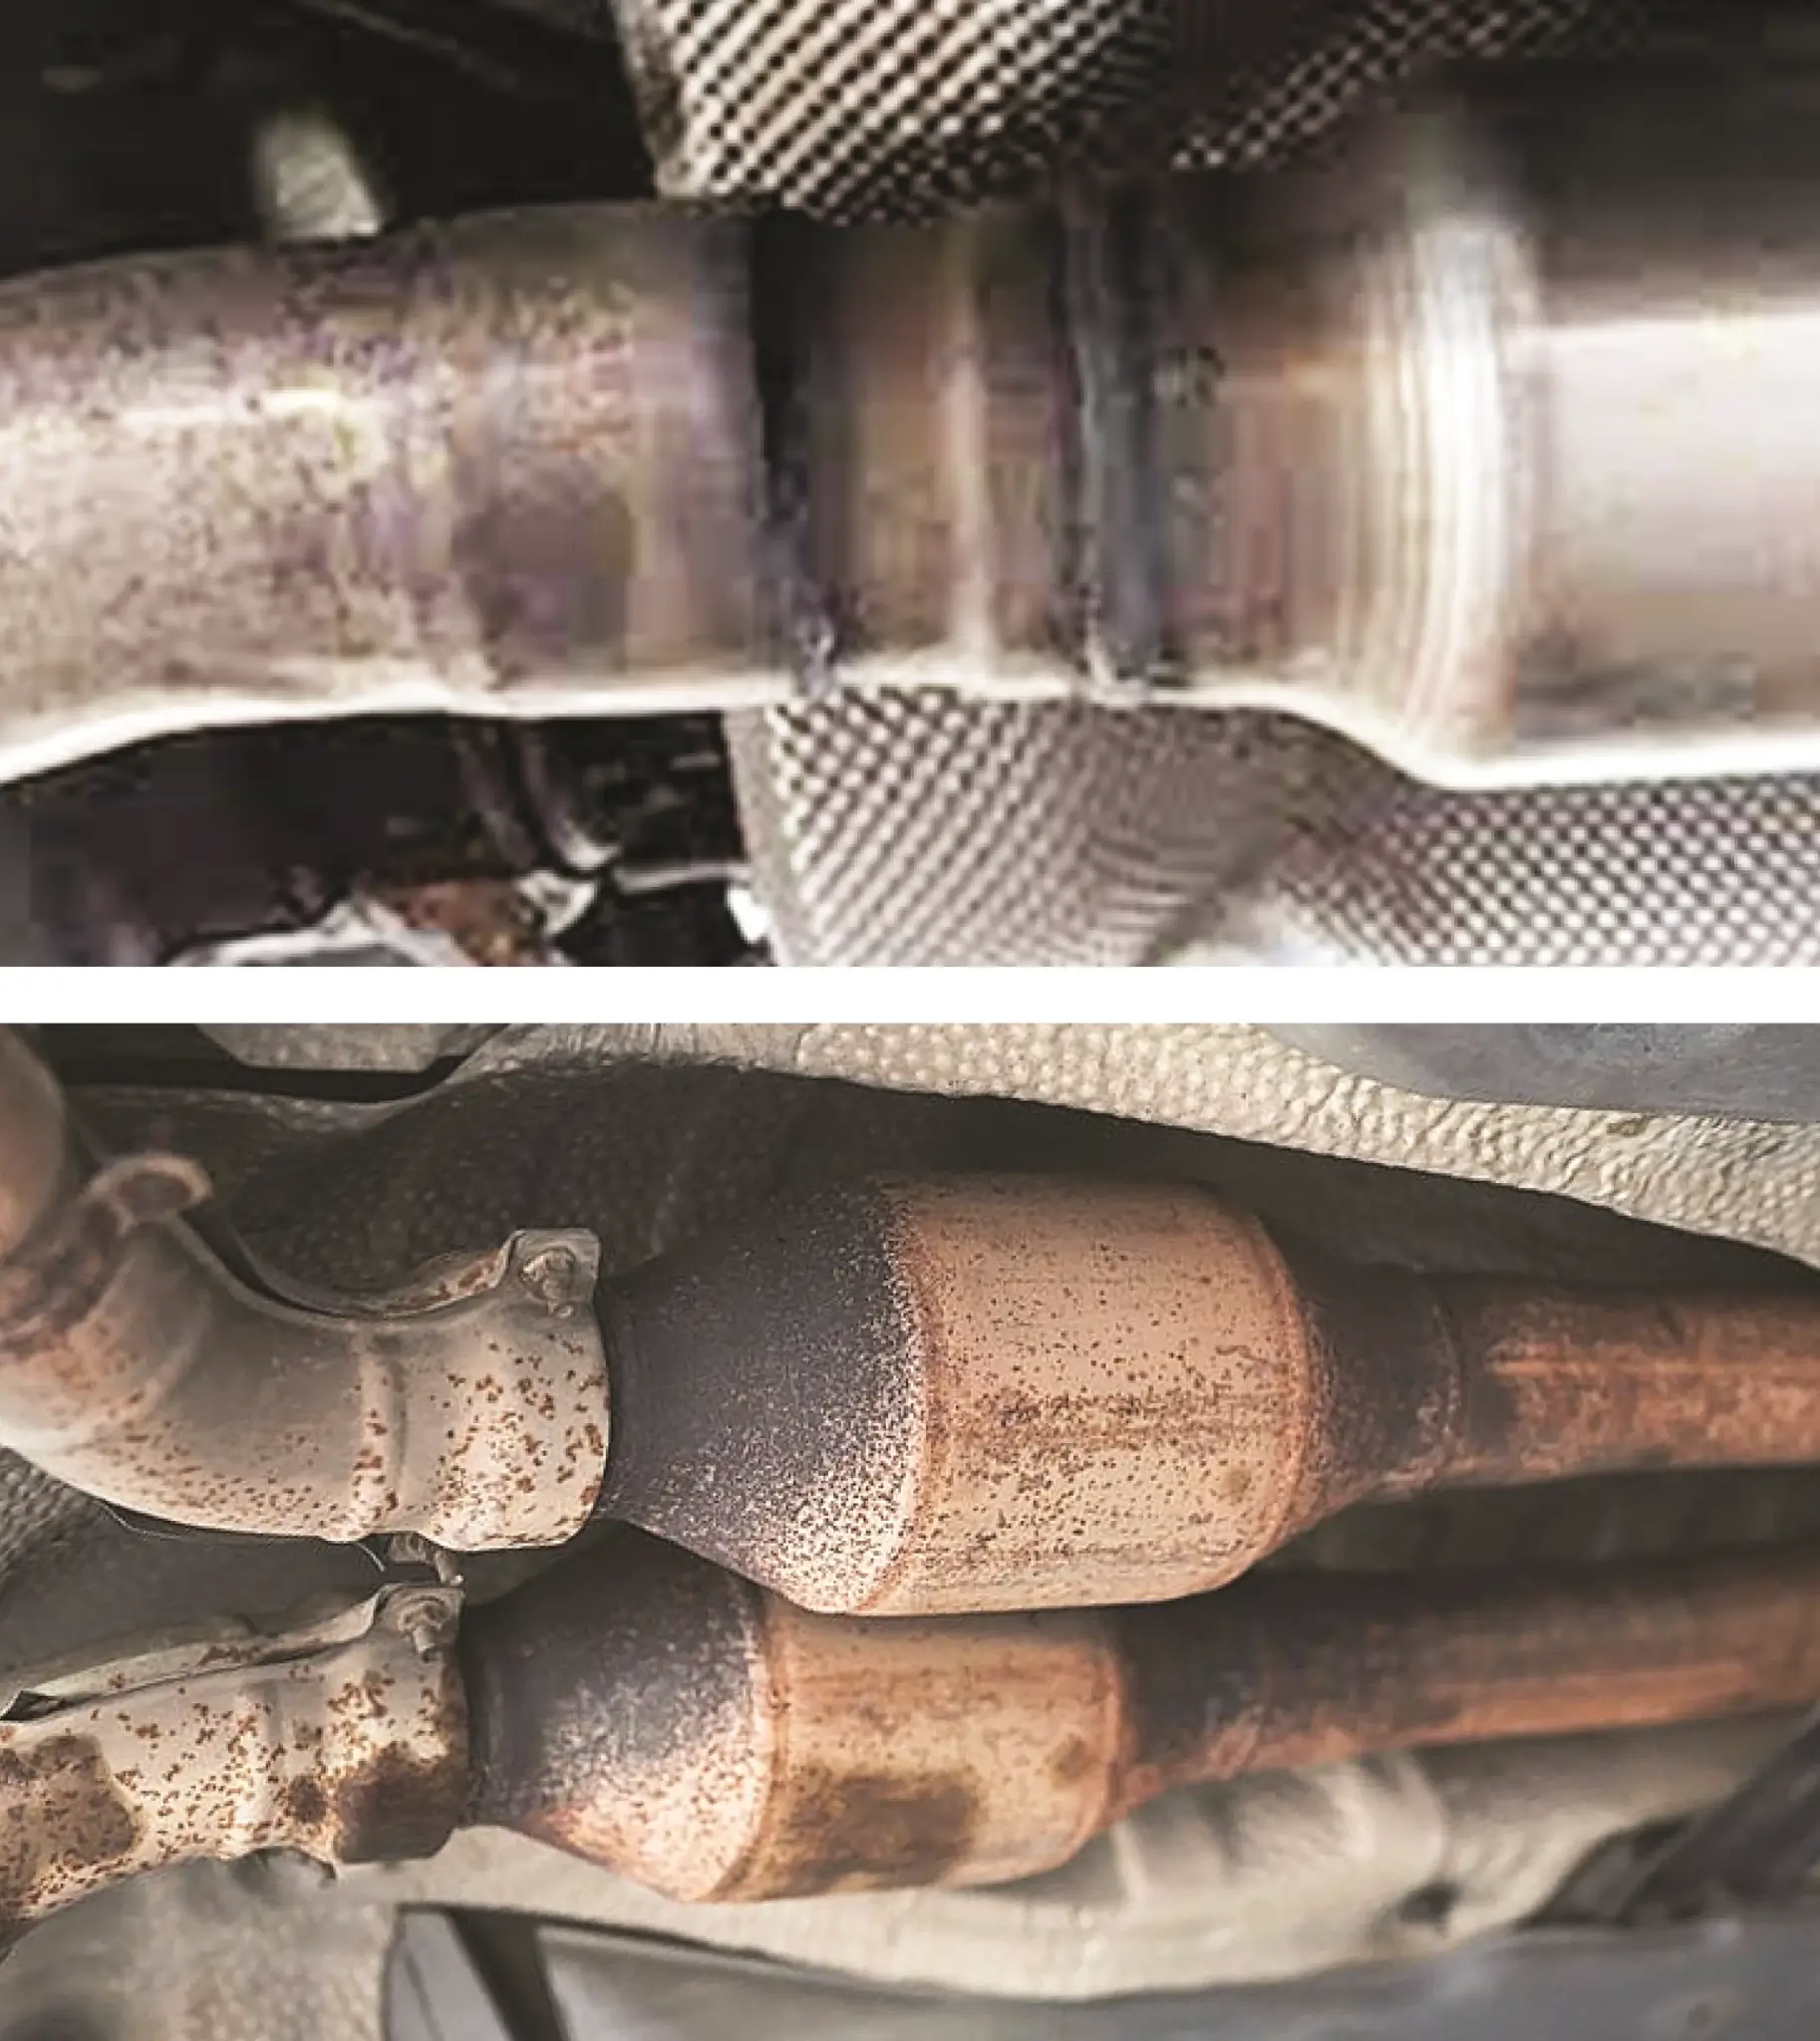
Perform a visual check first
Many exhaust leaks give visual clues and the most common is a dark patch of soot at the connection.
Using the Shop Vac to pressurize the exhaust
With the vehicle safely raised, connect the vacuum hose securely to the tailpipe using duct tape or aluminum tape. Set up your shop vac so the hose is in the blow position.
Spray all exhaust connections with soapy water
With the shop vac running and pressurizing the system, start at the front of the exhaust system, spraying soapy water on every connection. Look for bubbles. The most likely culprits are the flange connectors and oxygen sensors.
©, 2021 Rick Muscoplat
Posted on by Rick Muscoplat