
How to Remove a Stuck Brake Bleeder Screw
How to remove stuck brake bleeder screw
Opening a brake bleeder screw to bleed air after a caliper or wheel cylinder replacement is critical to getting a firm brake pedal. Unfortunately, the bleeder screw can become stuck due to corrosion. This guide will provide you with step-by-step instructions on how to remove a stuck brake bleeder screw, ensuring minimal damage to your brake components.
Brute force will just break the bleeder screw
If you approach a stuck brake bleeder valve with brute force, you’ll immediately break off the nipple and hex portion of the bleeder valve. You may not care about that since you’re probably planning on replacing the entire bleeder valve once you manage to get it out. However, breaking off the nipple can actually make it harder to remove the remaining portion.
Many DIYers automatically apply heat to the seized fastener. That’s a really bad idea for several reasons. First, heat can damage the caliper square cut O-ring, and that’ll force you to buy a new caliper, defeating the whole reason you’re trying to remove the bleeder screw. Second, heat expands both the bleeder screw and the caliper casting, making it even harder to remove.
Shock vibration, along with rust penetrant is far more effective in breaking the rust bond. Think of rust like glue and rust penetrant as a lubricant. The shock vibration cracks the glue so the penetrant can seep in and lubricate the threads.
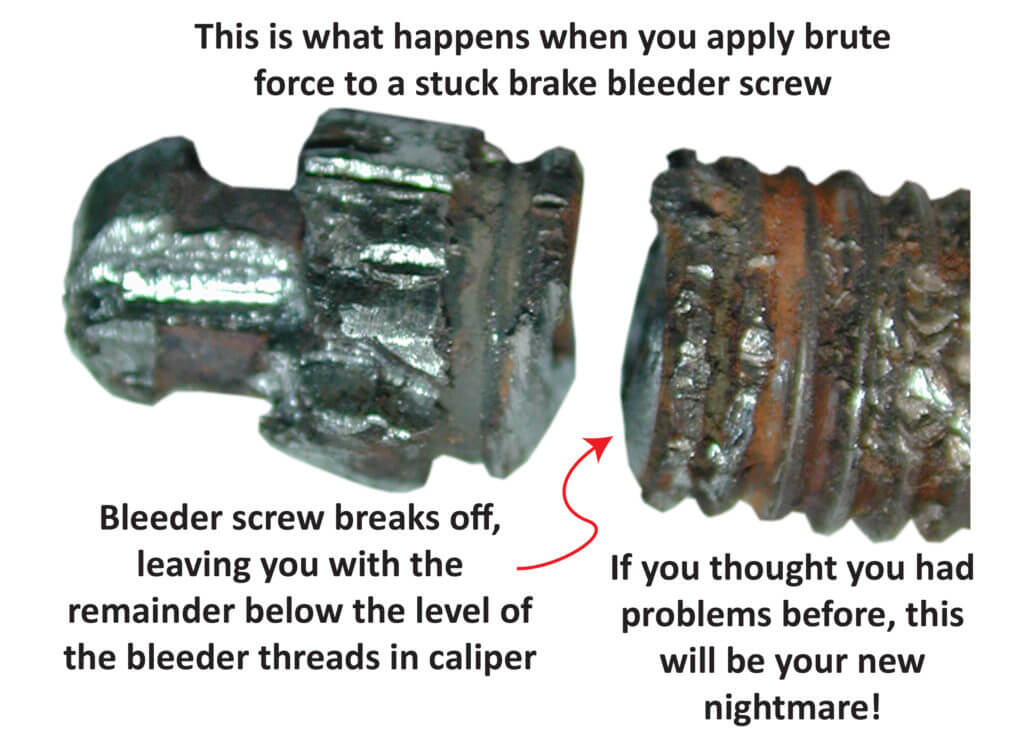
This image shows what happens when you keep twisting a stuck bleeder screw. You shear off the hex portion of the screw
Step 1: Pin the bleeder valve
Keep in mind that the brake bleeder valve is hollow. So any force you apply to it with a socket can cause the bleeder screw to collapse. Then you’ll have to drill it out. I’ll show you how to remove a stuck bleeder valve using the pinning method and the BB007 tool kit from S.U.R.&R. But you can use a drill bit that you have on hand.
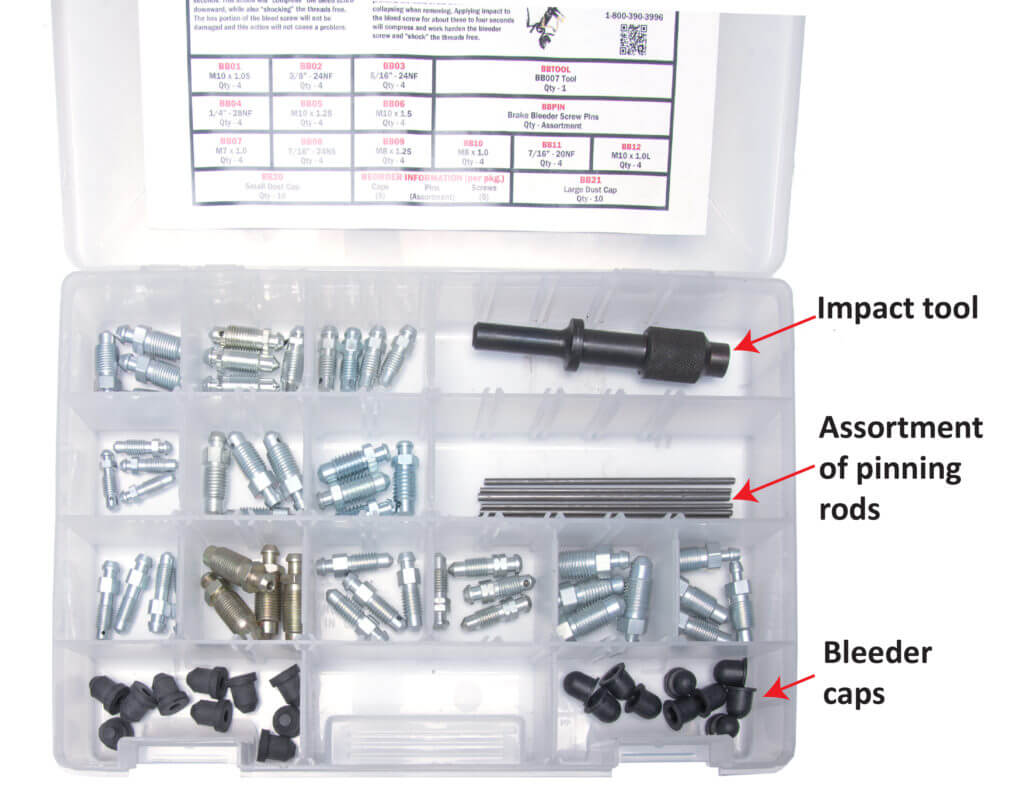
The BB007 tool kit includes an assortment of new brake bleeder screws and caps, an assortment of “pinning rods,” and the air chisel impact tool that applies vibrating force to the pinned bleeder screw.
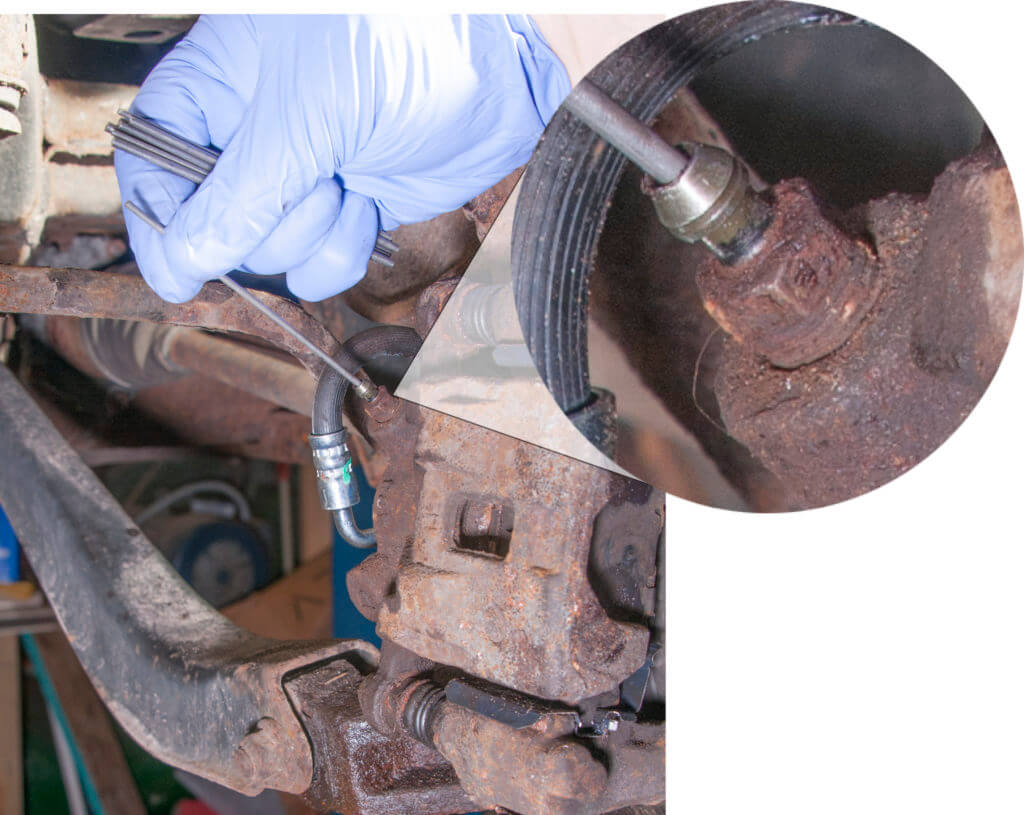
Insert the pin into the center of the bleeder screw
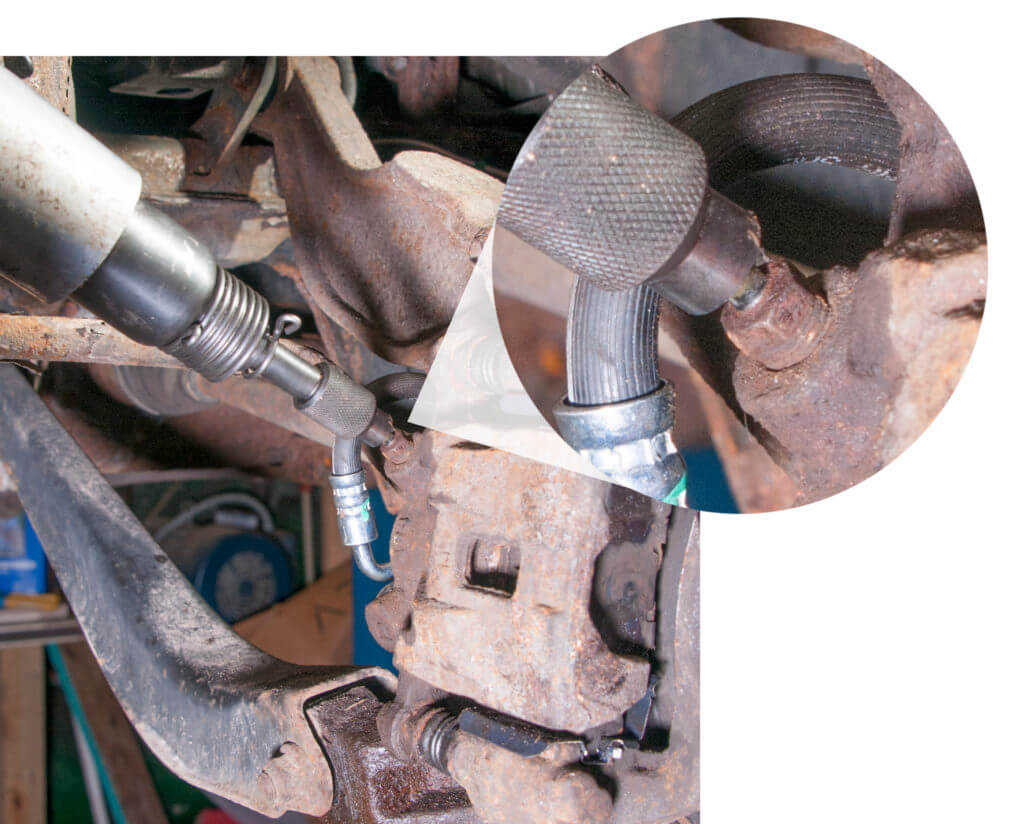
Step 2: Cut off excess rod and apply rust penetrant
Cut off excess rod using a cutting wheel or hack saw. The point here is to fill the hollow portion of the bleeder screw. That accomplishes two things:
1. It prevents the screw from collapsing
2. It transmits shock vibration down to the very bottom of the bleeder screw to break the rust bond.
Cut off the excess portion of the pin using a cutting wheel
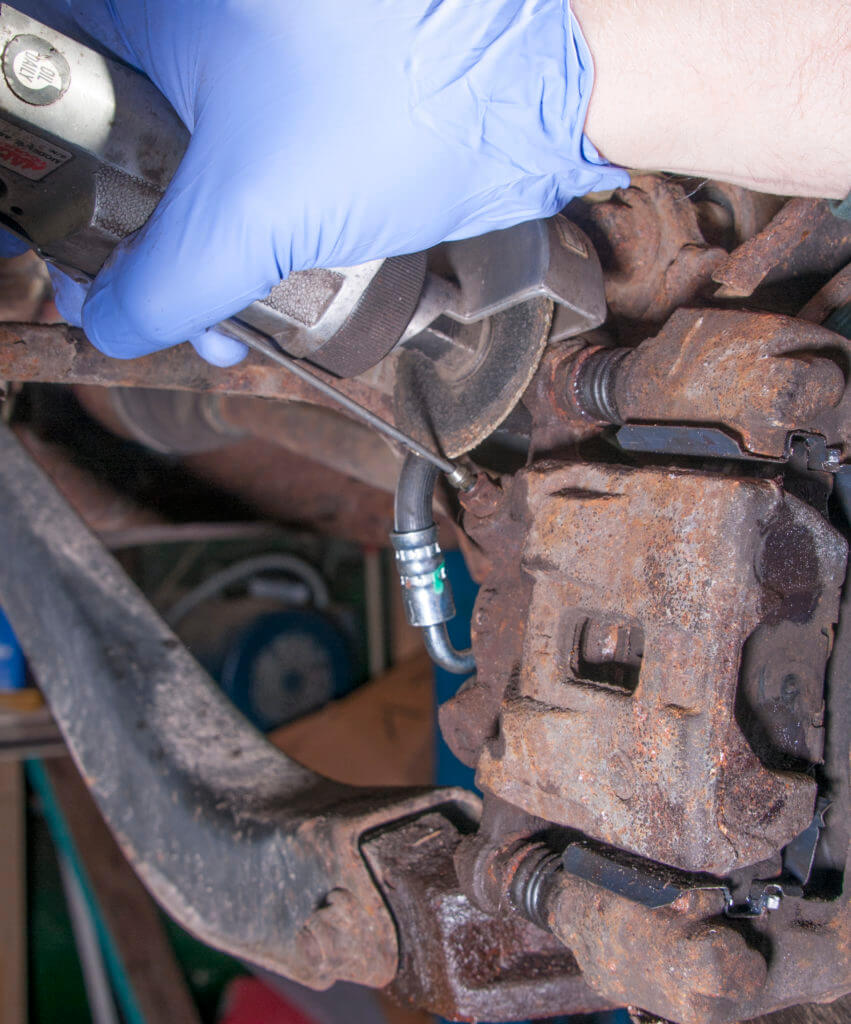
Step 3: Apply shock vibration
Fit a hammer bit into your air hammer and apply strong vibrations to the pinned bleeder screw
Insert the impact tool into an air hammer and apply the blows directly to the head of the pinned bleeder screw for three to four seconds at a time until the bleeder screw loosens. Then remove the bleeder valve.
S.U.R.&R. BB007 Brake Bleeder Removal Tool Kit
Click here for more information on the S.U.R.& R. BB007 Brake Bleeder Removal Tool Kit,
©, 2019 Rick Muscoplat
Posted on by Rick Muscoplat