Options to fix a leaking gas tank
How to fix a leaking gas tank
Step 1 to fix a leaking gas tank — identify the tank material
Gas tanks can be made of steel or plastic and the type of tank determines the repair method to use. Typically, plastic fuel tanks are made from these five different materials:
high density polyethylene (HDPE)
polypropylene (PP)
regrind plastic (recycled polyethylene)
ethyl vinyl alcohol (EVOH).
Polyethylene and polypropylene are low surface energy plastics and are very difficult to repair. If you do an internet search, you’ll see that these are the most difficult plastics to patch. Some people often recommend epoxies like JB Weld. But if you read the FAQ on their gas tank repair products you’ll find this disclaimer:
“We do not offer a lasting repair for poly gas tanks at this time” JB Weld
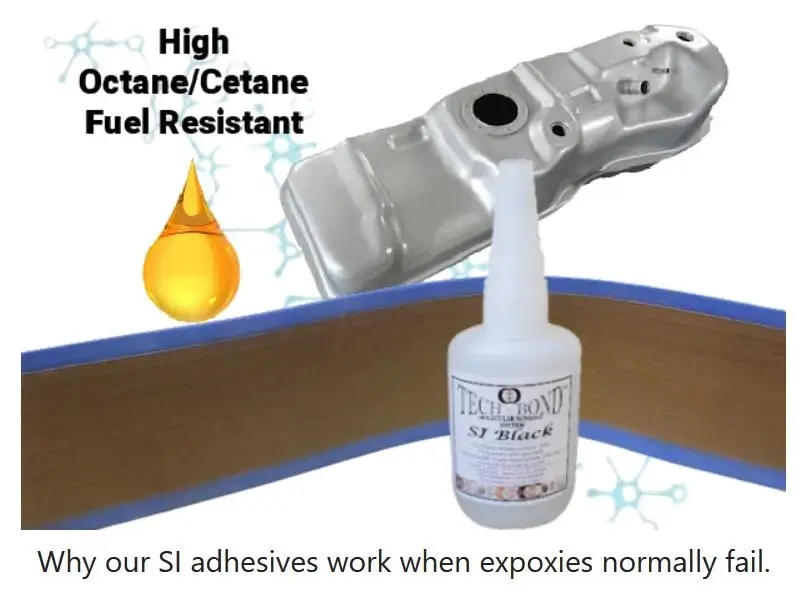
TechBond is one of the few companies that claim a repair system that works on plastic gas tanks. See their site for more information.
Use a plastic repair kit on a HDPE or PP gas tank
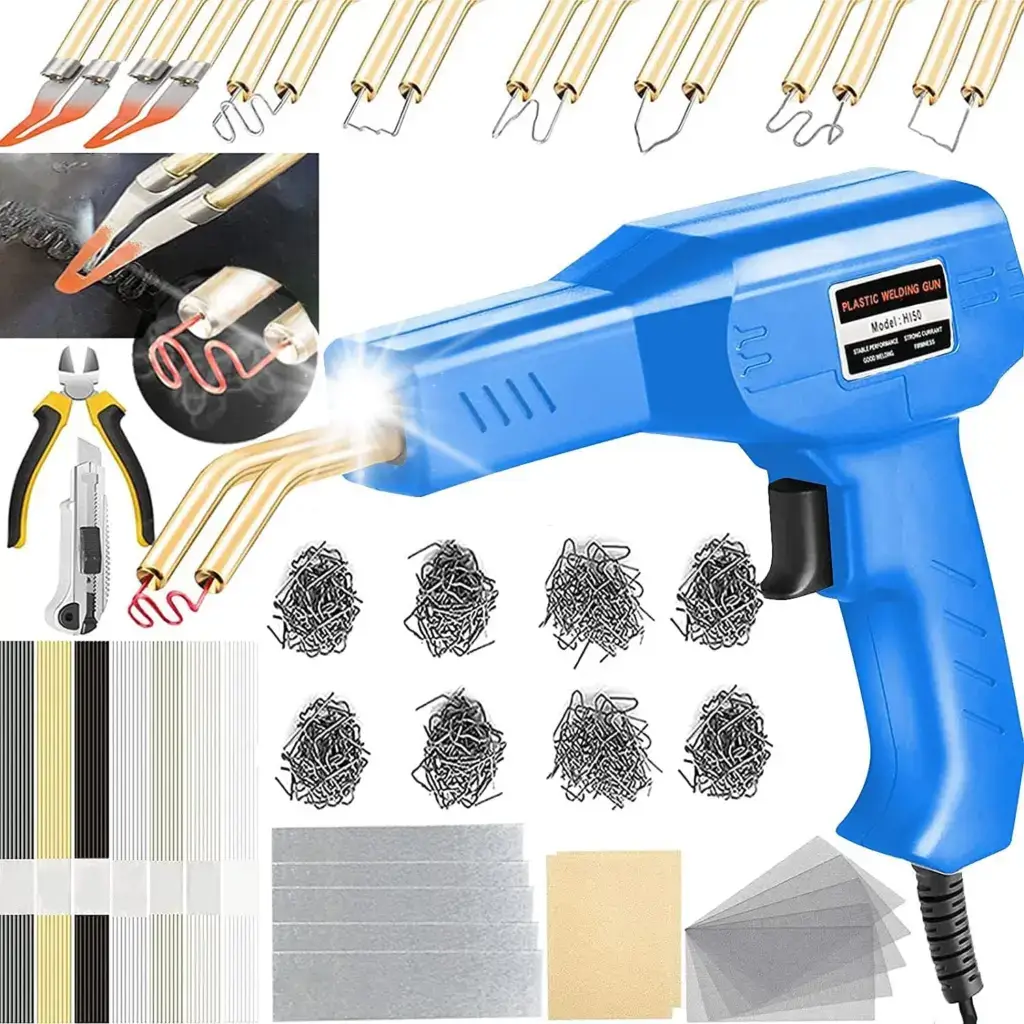
Aside from TechBond, the only other way to repair a plastic gas tank made from HDPE or PP is to invest in a plastic repair kit. The kit contains a hot melting iron and an assortment of different types of plastics to use as filler material.
Step 2 to repair a gas tank — locate the leak source
On a metal tank, look for signs of gasoline puddles, wet spots, or tank corrosion. Most small leaks on gas tank can be repaired, but very large leaks or leaks in metal seams can’t be repair. In those cases, the tank must be replaced.
Step 3 to patch a gas tank leak
Drain the tank. Seriously, there is no way to patch a gas tank while it still has gas in it.
Step 4: Clean the leak site
Gas tank patching products won’t stick to dirty metal or plastic. And they won’t stick to areas that have been wet with gasoline.
If the tanks is rusted, remove the rust with sandpaper. Avoid using a grinder or even a wire wheel due to the danger of creating sparks. Use sandpaper to rough up areas around the leak on plastic tanks.
Step 4 — Apply the patching material for metal gas tank repairs
Epoxy Resin: For small leaks, mix the epoxy resin according to the manufacturer’s instructions and apply it over the leak. Ensure complete coverage and a smooth finish.
Adhesive or Putty: If using a repair kit, follow the provided instructions to apply the adhesive or putty to the leaking area.
After applying the repair materials, allow sufficient time for them to cure and bond properly. Follow the manufacturer’s instructions for curing time.
Step 5 for plastic gas tank leaks
Use the plastic repair kit iron to melt the matching plastic material into the void. Make sure you follow the repair direction exactly.
Step 7: Test the gas tank for leaks
After the repair has cured/cooled, conduct a thorough visual inspection and consider testing the tank with a small amount of gasoline to check for any signs of leakage.
Step 8: Monitor and Maintain
Keep an eye on the repaired area over the next few weeks to ensure that the fix holds up. Regularly check for any signs of new leaks or deterioration.
©, 2023 Rick Muscoplat
Posted on by Rick Muscoplat

