
Sun Visor Replacement: How to Fix Drooping Visors
Say Goodbye to Droopy Visors: Sun Visor Replacement Guide
The visors on many late-model cars tend to wear out and droop down into your field of vision as you drive. It’s pretty common. If you find yourself constantly pushing it back up, it’s time for a new one. This article shows how to perform a sun visor replacement on a 2010 Mazda CX7, but the procedure is common to most vehicles. Buy a visor replacement from the dealer or online sellers. Mine cost $125. You can replace it in about 10 minutes.
Steps to Remove and install a new sun visor
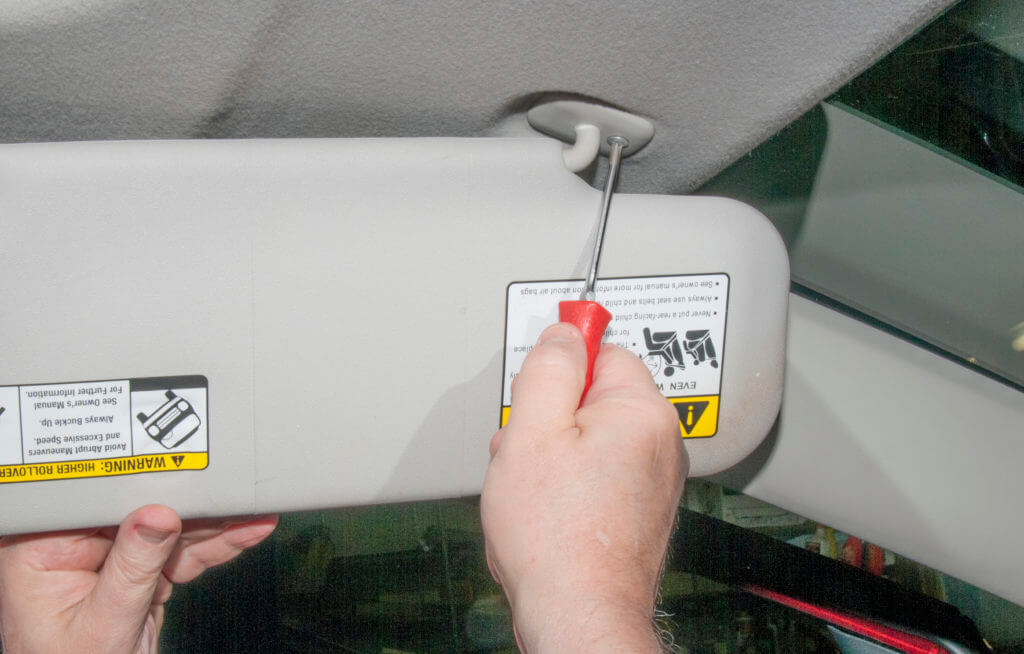
1) Rotate the visor over to the driver’s window (or passenger window if you’re working on that side).
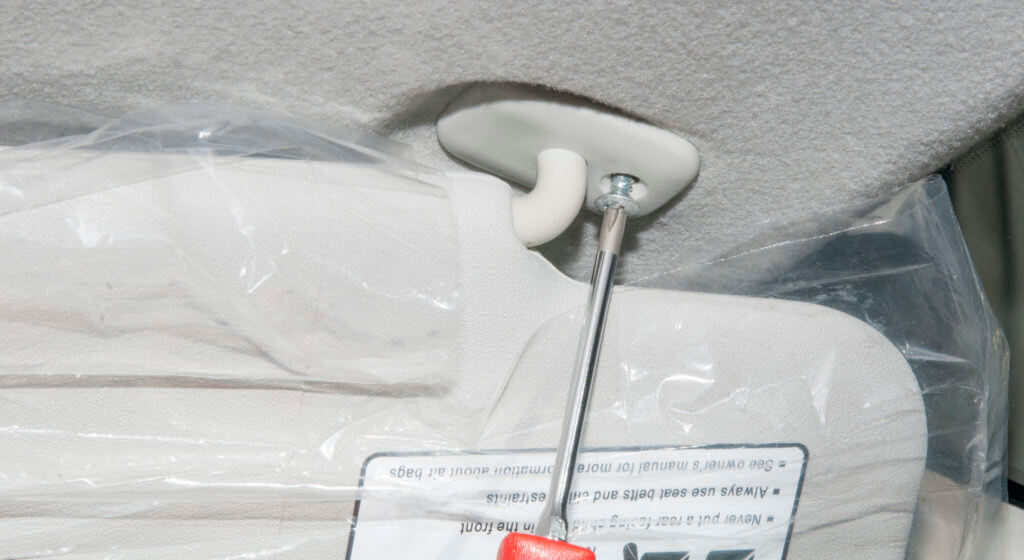
2) Remove the screw from the visor pivot
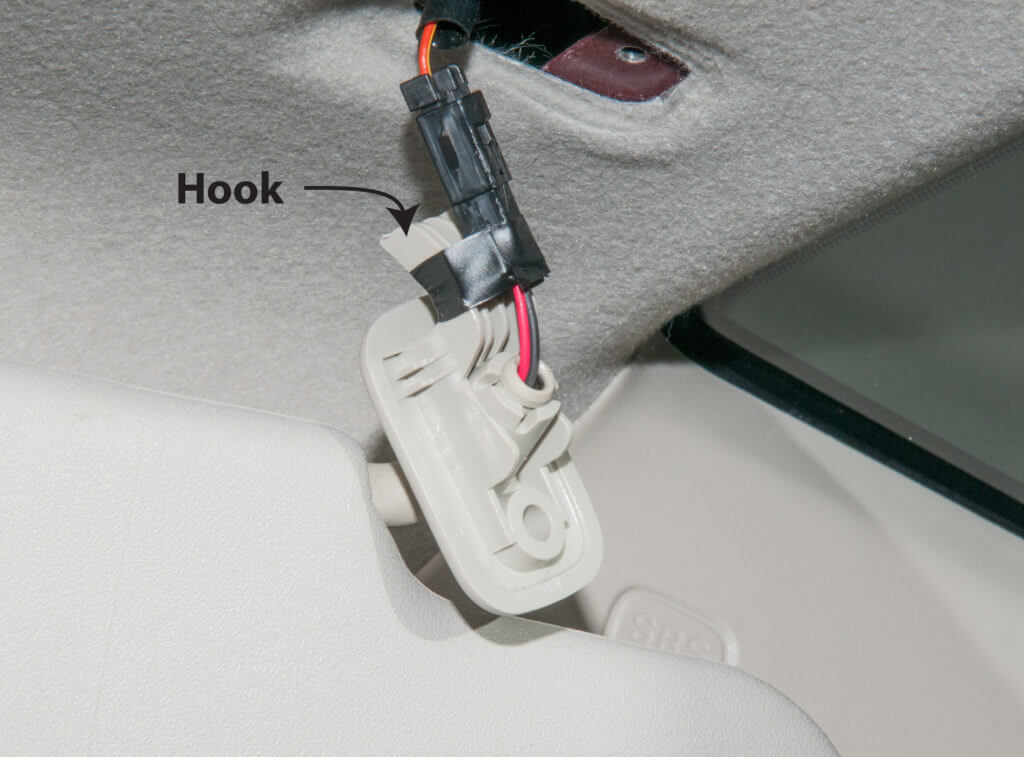
Tilt the front of the visor pivot down and push forward so the hook in the visor mount can clear the opening
Disconnect the electrical connector on the visor
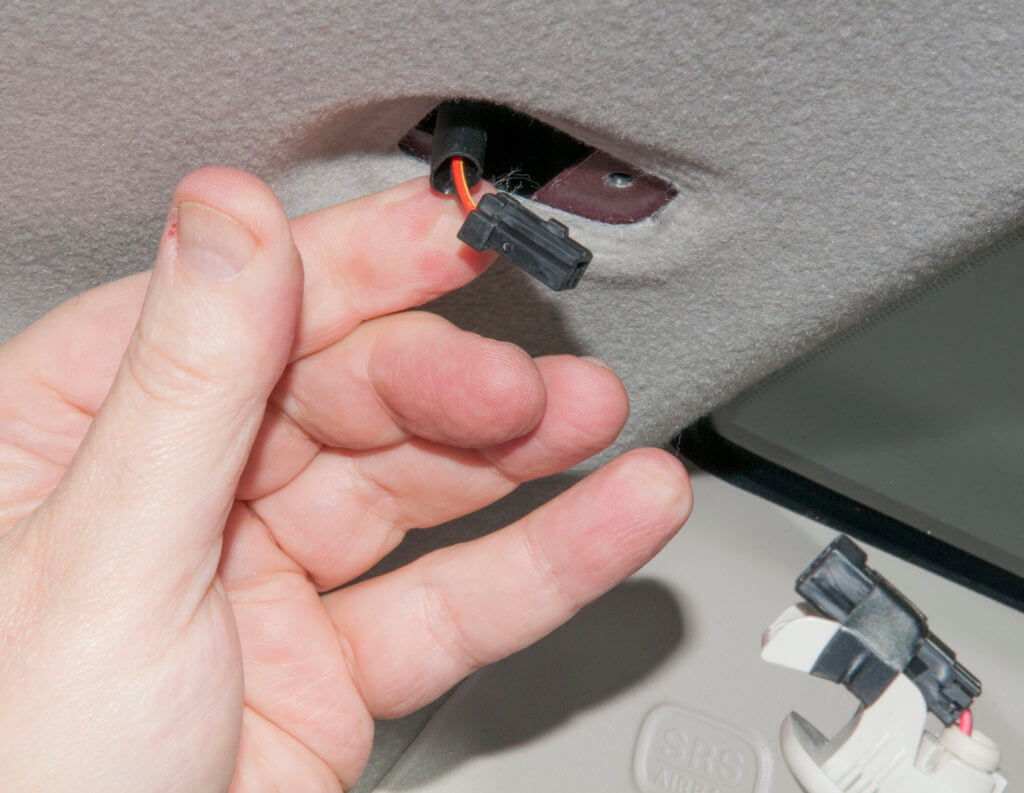
Then connect the electrical connector from the new visor
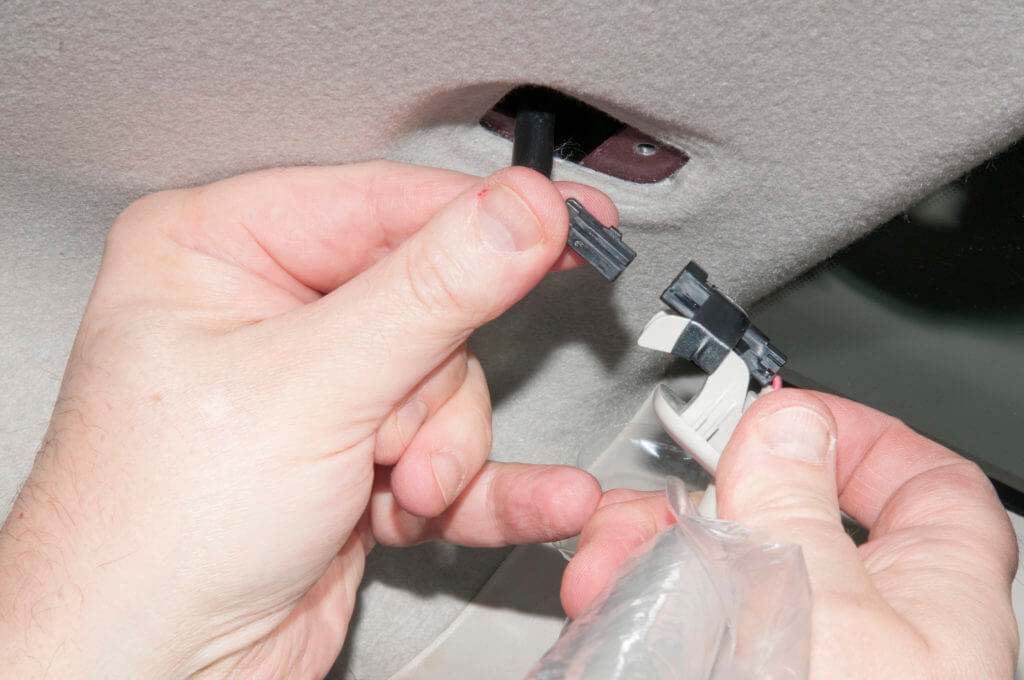
Slide the hook into the opening and secure the new visor with the screw
Test that the visor can pivot and extend properly without sagging or feeling loose.
Once aligned and secured, check that the visor can fold against the windshield and extend out fully without issues. Also test the functionality of the built-in vanity mirror and any lighting components. With the repair complete, you can enjoy a properly secured driver’s visor that rotates smoothly and improves the look of the Mazda’s interior.
©, 2019 Rick Muscoplat
Posted on by Rick Muscoplat