
Clean Your Engine Safely With This Step-by-Step Guide
Clean Engine Bay Like a Pro in Simple Steps
Don’t you feel good when your car is spotless and gleaming? A clean exterior turns heads, but if you really want your vehicle to stand out—and run more efficiently, you’ve got to pop the hood and tackle what’s underneath. Yes, it’s time to clean your engine.
Even though the engine bay is somewhat protected from rain and direct exposure, it still collects road grime, dust, oil mist, and leaves. It’s even worse if you have an oil leak. That oil can build up on the engine, collecting even more road grim and looking even worse.
Letting it build up can hide leaks and trap heat, leading to bigger problems. The good news? You don’t need to be a professional mechanic to clean a greasy engine. With the right tools and some elbow grease, this can be a satisfying afternoon job.
Pick up the engine bay cleaning supplies
1) Spray Degreaser— GUNK engine degreaser is the easiest to find and is the brand I use. They make several formulas shown below. If you have heavy grease buildup, I recommend the Heavy Duty Gel Formula.
GUNK Original Formula (EB1): It’s specially formulated to deliver a heavy-duty clean for the hardest-working engines.
GUNK Foamy Formula (FEB1) – This quick-expanding, easy-to-rinse foam is specially designed to safely remove build up from engines with plastic covers. It also works well at removing road grime from wheel wells.
GUNK Heavy Duty Gel Formula (EBGEL) – This product is specifically designed to cling to surfaces, including older, hotter-running engines, for a deep penetrating clean.
GUNK Engine Degreaser 32oz. Trigger Spray (EBT32) – This product is a zero-VOC Water-based formula that sprays easily to remove oil, grease and road grime from under the hood and other surfaces.
2) Absorbent Pads for under the engine bay. Cleaning a greasy engine creates a lot of greasy waste. You don’t want that stuff on your driveway or lawn. You must soak it up or find a car wash that allows engine cleaning (those car washes can treat the wastewater). When you’re done with the job, just roll up the padding and dispose of it.
Most auto parts stores sell these absorbent pads (also called PigPads)
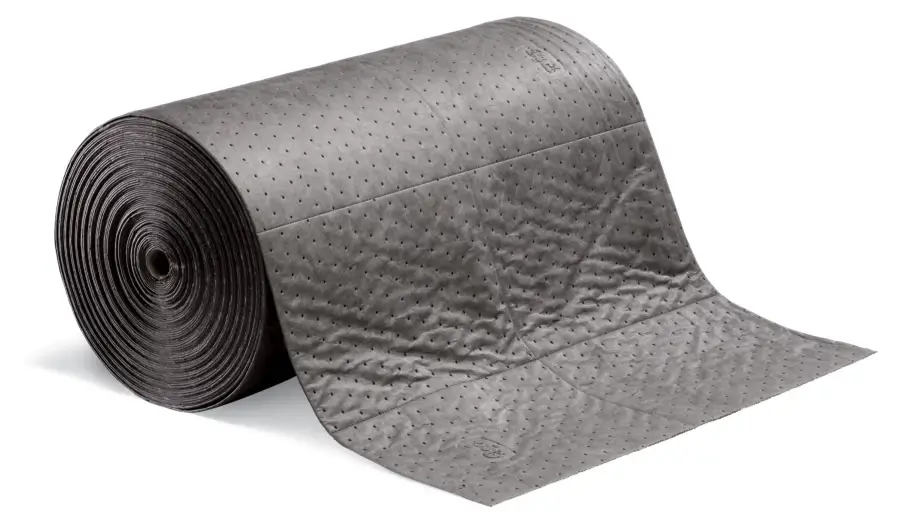
Roll of Pig Pad
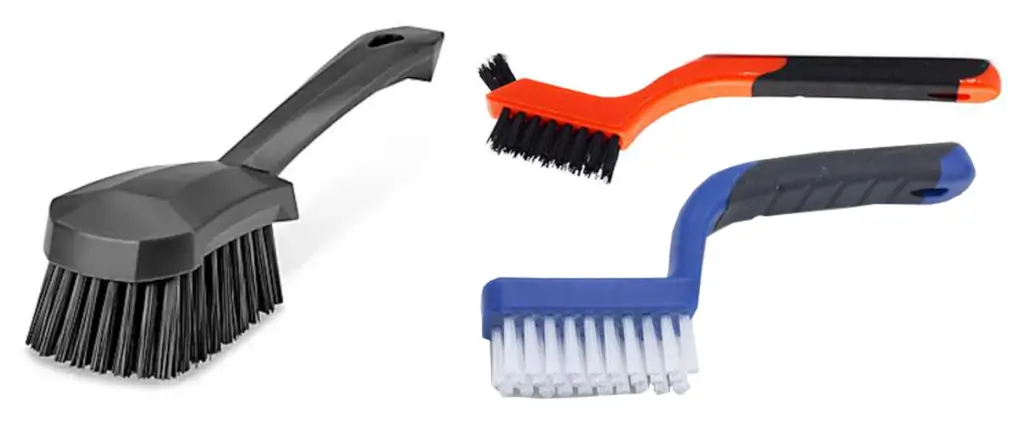
3) Stiff Nylon brushes— The heavy buildup areas will require scrubbing. Since most late model engines have plastic engine components, you’ll want to use a non-marring nylon brush.
4) Cling wrap— Kitchen cling wrap or Glad Press’nSeal wrap

5) Garden Hose Sprayer— Use one with multiple settings, 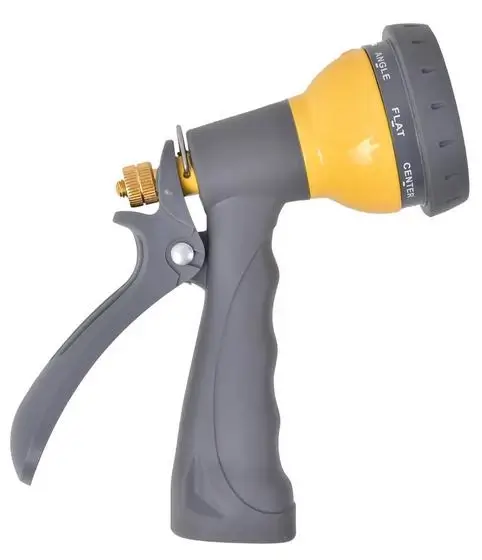 from mist to jet spray. Your goal here is to remove the degreaser with as little water as possible
10-step guide to get a clean engine bay
Step 1: Choose the Right Day— Plan your cleaning on a warm, dry day with low humidity. Wind helps too. This will make it easier to fully dry the engine after rinsing and reduce the risk of moisture getting trapped in electrical connectors. A fast-drying environment ensures your clean engine doesn’t turn into a damp, corroded one.
Step 2: Let the Engine Cool— If your vehicle was recently driven, raise the hood and let everything cool for at least 15 to 30 minutes. Spraying cold water on a hot engine can crack metal or plastic parts due to thermal shock, and it can burn your hands. A cool engine is safer and easier to work on when engine shampoo is applied.
Step 3: Remove the Plastic Engine Cover and Disconnect the Battery—Remove the plastic engine cover so you can access the top of the engine. The cover can be cleaned later with engine shampoo and a soft brush. 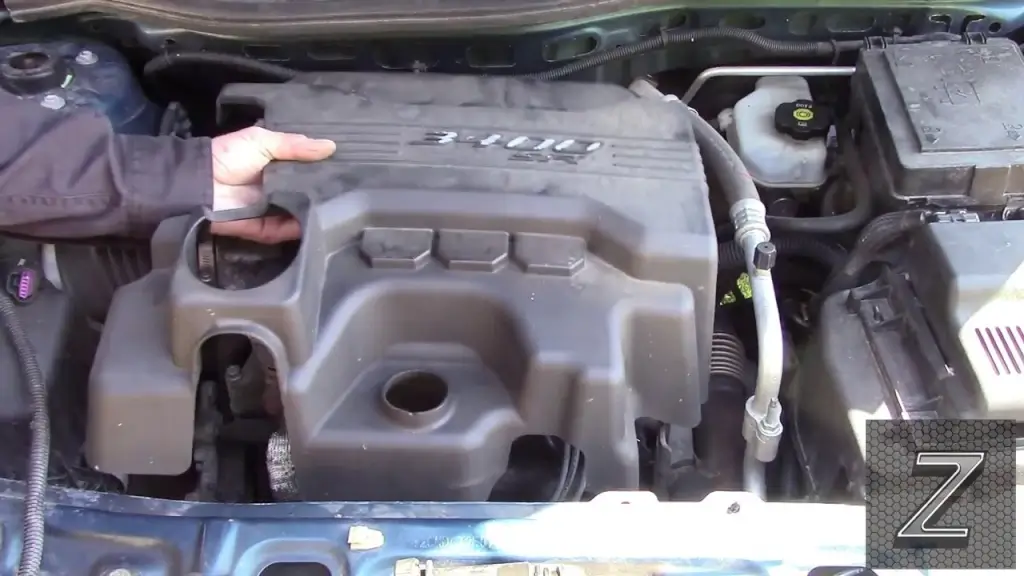
Most engine covers snap in place, but some require the removal of a few screws or bolts before you can lift it off. If you don’t know how to remove your engine cover, search youtube for an instructional video.
Next, disconnect the negative battery terminal. There’s no need to disconnect both cables, just the negative one. If you’re comfortable doing so, remove the battery entirely. This clears space and further protects sensitive electronics during the cleaning process.
Step 4: Protect Electrical Components—This one is really important. The electrical connectors in the engine bay are supposed to be water resistant. They are when they’re new, but as they age, they can sometimes let water in, and you’ll have to rinse the engine with a garden hose. DIYers face most problems when doing an engine shampoo are related to water getting into electrical connectors. So don’t skip this step!
Wrap every electrical connector with either cling wrap or Press’nSeal. Seal the end with electrical tape. Yes, this takes time. And, yes, it’s a pain. But it prevents all kinds of problems later on. The battery (if still installed). Cover the top of the battery with a plastic kitchen garbage bag (or remove the battery.
Step 5: Apply Engine Degreaser— Spray the degreaser on a warm (not hot) engine over all areas you want to clean. Try to avoid spraying the connectors you just wrapped. Focus on areas where clean engine oil has spilled, like around the oil fill cap, valve covers, and under the power steering pump.
Allow the product to sit for 5–10 minutes. Engine degreaser is formulated to break down oil, grease, and road grime. But, don’t let it dry out—if needed, reapply to keep it wet until you scrub.
Step 6: Scrub the Problem Areas— Many DIYers skip this, but it’s important. You have to scrub heavy buildup areas. Use a synthetic-bristle brush to scrub stubborn spots—especially around the valve cover and near the oil pan where grime accumulates. You’ll be amazed how even years of buildup can be lifted away with some patience and the right engine shampoo.
Add more degreaser or engine shampoo as needed. If you’re trying to restore a clean greasy engine, this is where the transformation really begins.
Step 7: Rinse Gently and Safely— Rinse the engine using a garden hose with a spray nozzle or a pressure washer on its lowest setting. Work from back to front, and always keep the water moving. Avoid blasting sensitive components, especially connectors and sensors. DO NOT USE A PRESSURE WASHER. You’ve been warned!
Your goal is to wash away the engine shampoo and the grime it’s lifted—not to soak the electronics. Use a damp microfiber towel to wipe areas you can’t comfortably rinse. This step is critical to restoring a truly clean greasy engine.
Step 8: Dry the Engine Thoroughly— Speed up drying by wiping surfaces with microfiber cloths or using compressed air or a leaf blower to blow out moisture from tight spots. If you don’t have compressed air, a leaf blower or even waiting for natural airflow will do.
Leave the hood open for another 30–60 minutes to ensure every surface, crevice, and plug dries completely. Moisture left behind can interfere with electronics, which defeats the purpose of having a clean engine.
Step 9: Reinstall and Reconnect— Remove the plastic bags, reinstall the battery (or reconnect the negative terminal), and snap plastic covers back into place. You’re almost done restoring your clean greasy engine to showroom condition.
Step 10: Keep It Clean— Routine maintenance makes future jobs faster. Every 6–12 months, repeat this process before oil buildup becomes severe. A quick application of engine shampoo once or twice a year can help preserve that fresh, clean engine look with minimal effort.
When checking fluids, always wipe up spills promptly—especially clean engine oil drips. This keeps your bay tidy and avoids baked-on gunk.
©, 2025 Rick Muscoplat
Posted on by Rick Muscoplat