
Getting the Evaporative Emissions System Monitor Ready
How to get the Evaporative Emissions System Monitor to the ready state
All OBD2 vehicles are equipped with a evaporative emissions system monitor that tests the EVAP system and marks it as either ready or incomplete. If you’ve had an EVAP code and fixed the problem, you’ll have to perform a drive cycle so the monitor can test the system again. If it passes the test, the monitor will show a ready state.
What is a drive cycle?
Each carmaker is allowed to devise their own testing strategy to determine if the emissions system meets Federal regulations. The testing strategy involves setting certain parameters that must be met before the testing can begin, along with certain driving speeds, acceleration rates, and time driving so the monitor can accurately test the system.
The conditions that must be met and drive cycle varies by year, make, model and engine
Here’s an example of a evaporative emissions system monitor drive cycle for a GM vehicle
Conditions that must be met before starting the drive cycle
• ignition voltage must be between 11-18 volts.
• barometric pressure (BARO) is more than 75 kPa.
• engine coolant temperature (ECT) is between 439-86°F.
• intake air temperature (IAT) is between 39-86°F.
• The difference between the IAT and the ECT is less than or equal to 10.8°F
• ambient air temperature is between 39-86°F.
• Fuel level is between 15-85 percent
Drive cycle procedure
Set the vehicle parking brake and ensure the vehicle is in park for automatic transmission or neutral for manual transmission.
Turn OFF all accessories; HVAC system, other electrical loads, including aftermarket/add-on equipment, etc.
Start and idle the engine for at least 2 minutes and until 65°C (149°F) is achieved.
Run the engine for 6.5 minutes within the following conditions:
MAF parameter between 4-30 g/s
Engine speed steady between 1000-3000 RPM
Return the engine to idle for 1 minute.
Apply and hold brake pedal, and shift to Drive for automatic, or apply clutch pedal for manual and operate the vehicle within the following conditions for 2 minutes:
Depress the accelerator pedal until TP Sensor angle is more than 2 percent.
MAF signal between 15-30 g/s
RPM steady between 1200-2000 RPM
Do NOT touch the accelerator pedal during the idle period. A change in TP Sensor angle or an increase in engine speed may invalidate this portion of the test.
Release the accelerator pedal and shift the vehicle to Park for automatic, or Neutral and release clutch pedal for manual, and allow the engine to idle for 2 minutes.
Quickly depress the accelerator pedal until TP Sensor Angle is more than 8 percent and return to idle, repeat 3 times.
Allow engine to idle for at least 2 minutes.
Release the parking brake and drive vehicle at 24 km/h (15 mph) or slower for 2 minutes.
Continue to drive the vehicle for at least 5.5 miles between 45-112 km/h (28-70 mph) with the vehicle reaching at least 80 km/h (50 mph).
Release the accelerator pedal for at least 2 seconds. This will allow the vehicle to enter decel fuel cut-off.
Depress the accelerator pedal until the TP Sensor angle is increased 3-20 percent and maintain a safe speed for 1 minute.
Safely stop the vehicle, with the engine in drive for automatic or in neutral with the clutch pedal depressed and parking brake applied for manual, idle for 2 minutes.
Shift to Park for automatic and apply the parking brake, or neutral and release clutch pedal for manual.
Important: Do NOT disturb the vehicle or turn ON the ignition until told to do so. Disturbing the vehicle may invalidate this portion of the test.
Turn OFF the ignition and exit the vehicle. Do NOT disturb the vehicle for 45 minutes.
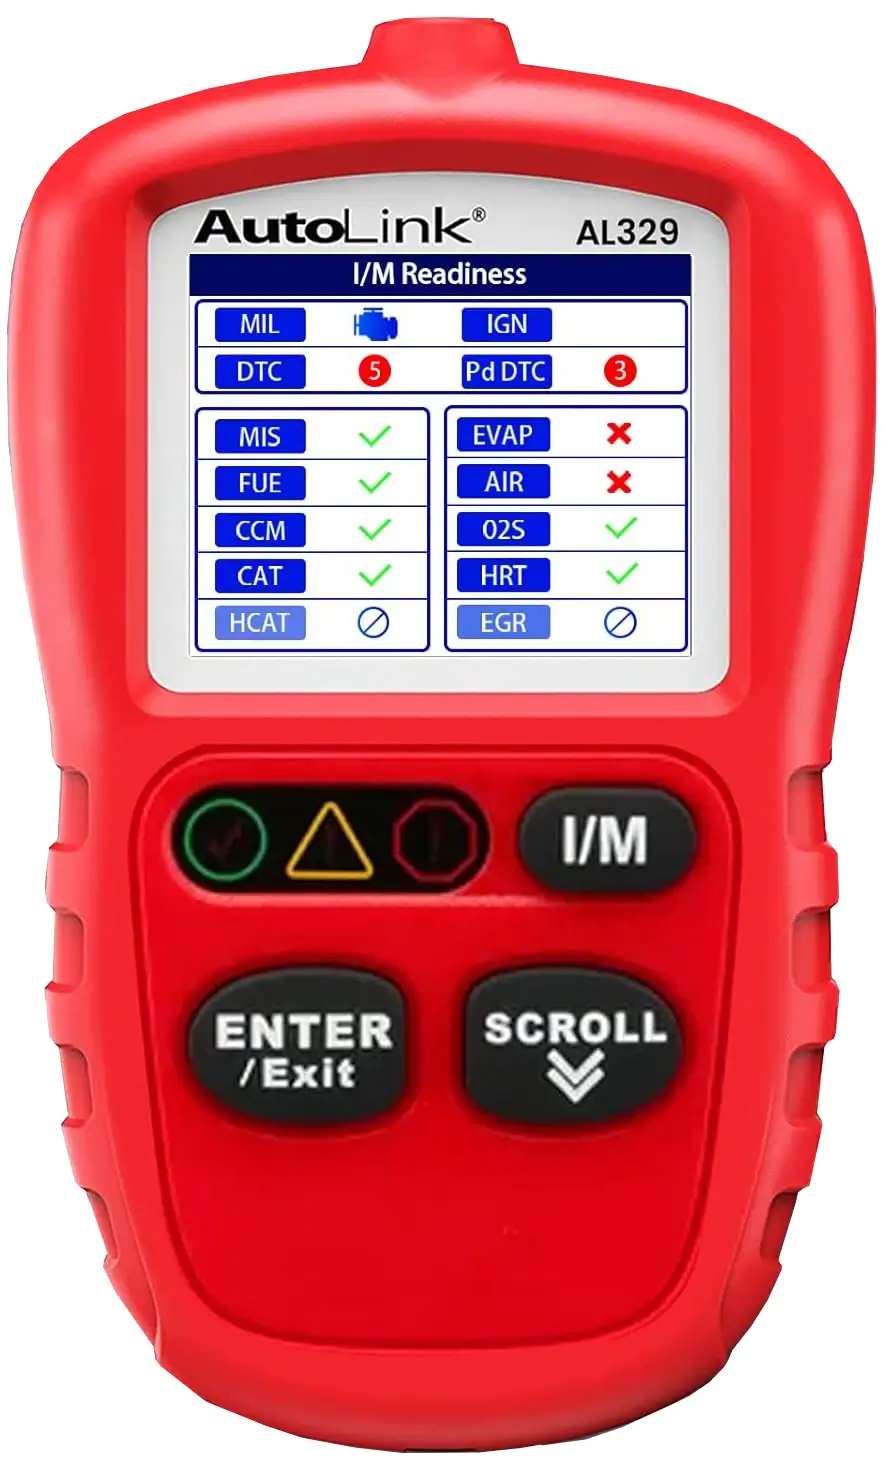
Observe the Inspection/Maintenance (I/M) System Status with a scan tool. All of the I/M System Status indicators should display YES.
Look up the drive cycle for your vehicle to get the EVAP monitor ready
You’ll need to refer to a shop manual to find the conditions and drive cycle procedure. Purchase a subscription to alldatadiy or eautorepair.net. Or consult your local library to see if they offer free access to either of those online manuals.
Understanding how the evaporative emission system works
After fillup, the system open a purge valve connected to the intake manifold. It then opens a vent valve connected to the charcoal canister. Engine vacuum sucks fuel vapors from the charcoal canister and burns the vapor in the engine. It expects to see an increase in engine RPM due to the introduction of this extra fuel. At the same time, fresh air enters the charcoal canister through the vent valve. When all the fuel vapor is removed from the canister, the ECM will see a drop in engine RPM due to the lack of fuel vapor from the purge valve. In then knows the canister is purged.
The EVAP Monitor checks for proper fuel vapor flow to the engine, and pressurizes the system to
test for leaks.
The computer runs this Monitor once per trip.
The EVAP Monitor is a “Two-Trip” Monitor. If a fault is found on the first trip, the computer temporarily saves the fault in its memory as a Pending Code. The computer does not command the MIL on at this time. If the fault is sensed again on the second trip, the PCM commands the MIL “On,” and saves the code in its long-term memory.
©, 2022 Rick Muscoplat
Posted on by Rick Muscoplat