
How to Find AC Leak in Your Car the Right Way
Stop Guessing: Find an AC Leak in Your Car Like a Pro
Quick Summary
• If your AC isn’t cold, the most likely cause is a refrigerant leak
• The only correct way to find an AC leak in your car is to verify pressure, pull a vacuum, and test with dye or a leak detector
• Never guess and never recharge a leaking system—it will fail again
• Moisture contamination can destroy your compressor if the system runs empty
• A proper diagnosis ensures the repair actually lasts
Can a Refrigerant Leak Really Cause Your Car’s AC to Stop Working?
Yes—and in my experience, it’s the number one reason I have to find an AC leak in your car.
Here’s the reality most people don’t understand: refrigerant doesn’t get “used up.” If your AC stops blowing cold, it didn’t disappear—it leaked out. And until you find the leak, any recharge is just temporary.
I’ve seen too many systems ruined because someone skipped diagnosis and went straight to adding refrigerant. That’s how compressors fail, and repair bills skyrocket.
How I Find an AC Leak in Your Car (Without Guessing)
To find an AC leak in your car, I follow the same process every time. No shortcuts. No guessing.
Automotive AC is a sealed system. If it’s empty or low, there’s always a reason—and my job is to prove where that refrigerant escaped.
Step 1: Confirm the System Has Lost Pressure
Before I grab any tools, I verify whether the system actually has pressure. On most vehicles using R-134a, I check the service ports. If I depress the Schrader valve and get:
• No hiss
• No pressure
• No response
That tells me the system is likely empty—and that means I’m dealing with a significant leak. At that point, I already know something else: moisture has likely entered the system. And that’s a big deal.
Moisture reacts with refrigerant oil, forming acids. That’s what destroys compressors from the inside out. So when I find an AC leak in your car, I’m not just looking for the leak—I’m also thinking about system contamination.
Step 2: Pull a Vacuum to Test System Integrity (once you know it’s empty)
This is where most DIYers go wrong—they skip this step. To find an AC leak in your car, I hook up a manifold gauge set and a vacuum pump and pull the system down into a vacuum.
This does two critical things:
• Boils off moisture inside the system
• Allows me to test whether the system holds a vacuum
After pulling a vacuum, I shut the valves and watch the gauges.
• If vacuum drops quickly → large leak
• If vacuum drops slowly → small leak
• If vacuum holds → system is sealed
Step 3: Use UV Dye to Find the Exact Leak Location
If the system fails the vacuum test, I move to UV dye. In my experience, UV dye is one of the most reliable ways to find an AC leak in your car because it shows you exactly where the problem is. To use UV dye, I:
• Add a small amount of refrigerant and dye
• Run the system briefly to circulate it. If you don’t notice any leaks, drive the vehicle for a week and check again
• Shut it down and inspect with a UV light
Wherever refrigerant escapes, the dye leaves a bright yellow-green trace
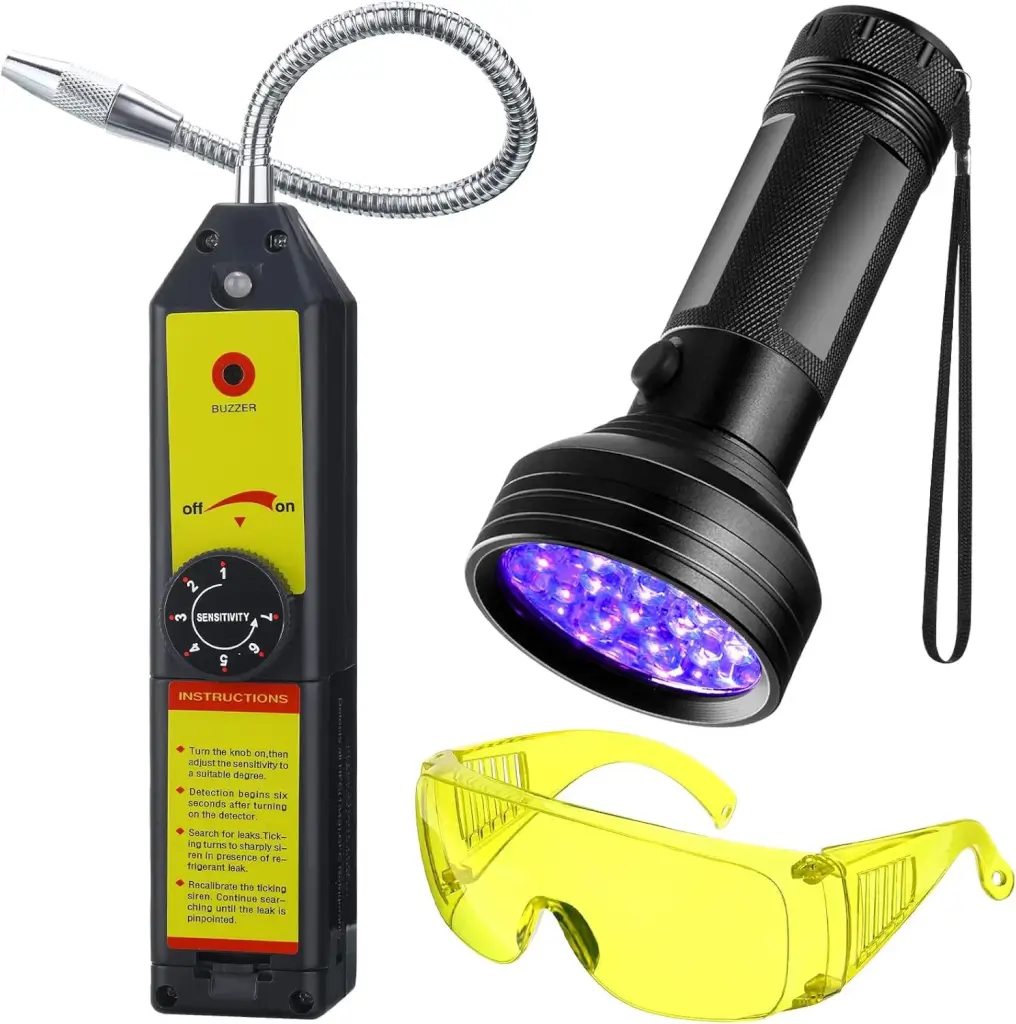
AC leak detector kit
Common places I see refrigerant leaks and UV dye:
• Compressor shaft seal
• Hose crimps
• Condenser seams
• Fittings and connections
• Evaporator drain tube
The dye doesn’t lie—it gives you visual confirmation.
Step 4: When to Use an Electronic Leak Detector (“Sniffer”)
There are times when dye isn’t enough—especially when I suspect an evaporator leak inside the dash. That’s when I use a leak detector. A professional leak detector senses refrigerant molecules in the air. To find an AC leak using a sniffer, I:
• Move slowly around fittings and hoses
• Check under the compressor clutch
• Probe near the condenser
• Test near the dash vents for evaporator leaks
If I get a strong reaction at the vents with the blower running, that’s usually a dead giveaway that the evaporator is leaking.
One key detail: leak detectors only work well in still air. Fans or wind will scatter refrigerant and give false readings.
Where I Always Find AC Leaks (Real-World Failure Points)
After years of doing this, the same failure points come up over and over when I find an AC leak in your car:
• Suction hose crimps
• Compressor front seal (behind clutch)
• Condenser damage from road debris
• Schrader valves at service ports
• Receiver-drier or accumulator connections
• Evaporator core (often hidden inside the dash)
If you know where to look, you save a lot of time.
Why You Must Replace the Receiver-Drier After a Leak
This is another step people skip—and it’s a costly mistake. When I find an AC leak in your car, and the system has been empty, I always evaluate the receiver-drier (or accumulator). Its job is to absorb moisture. Once it’s saturated, it can’t protect the system anymore. Even if you pull a vacuum, you cannot remove the moisture trapped in the drier’s desiccant.
If you don’t replace it:
• Moisture stays in the system
• Corrosion begins
• Compressor life is shortened
That’s how small repairs turn into major failures.
How I Verify the Repair (So I Don’t Have To Repair It Again)
I never assume a repair worked—I prove it. After I find an AC leak in your car and fix it, I:
• Pull a vacuum again
• Confirm it holds
• Recharge to spec
• Monitor pressures
• Verify vent temperature
If everything checks out, I know the repair is solid.
The Bottom Line on How to Find an AC Leak in Your Car
Here’s the truth: if you skip steps, you’ll chase the same problem over and over.
When you take the time to properly find an AC leak in your car—by verifying pressure, pulling a vacuum, and using the right tools—you fix it once and move on.
That’s how I do it. And that’s how you should do it too.
©, 2026 Rick Muscoplat
Posted on by Rick Muscoplat