
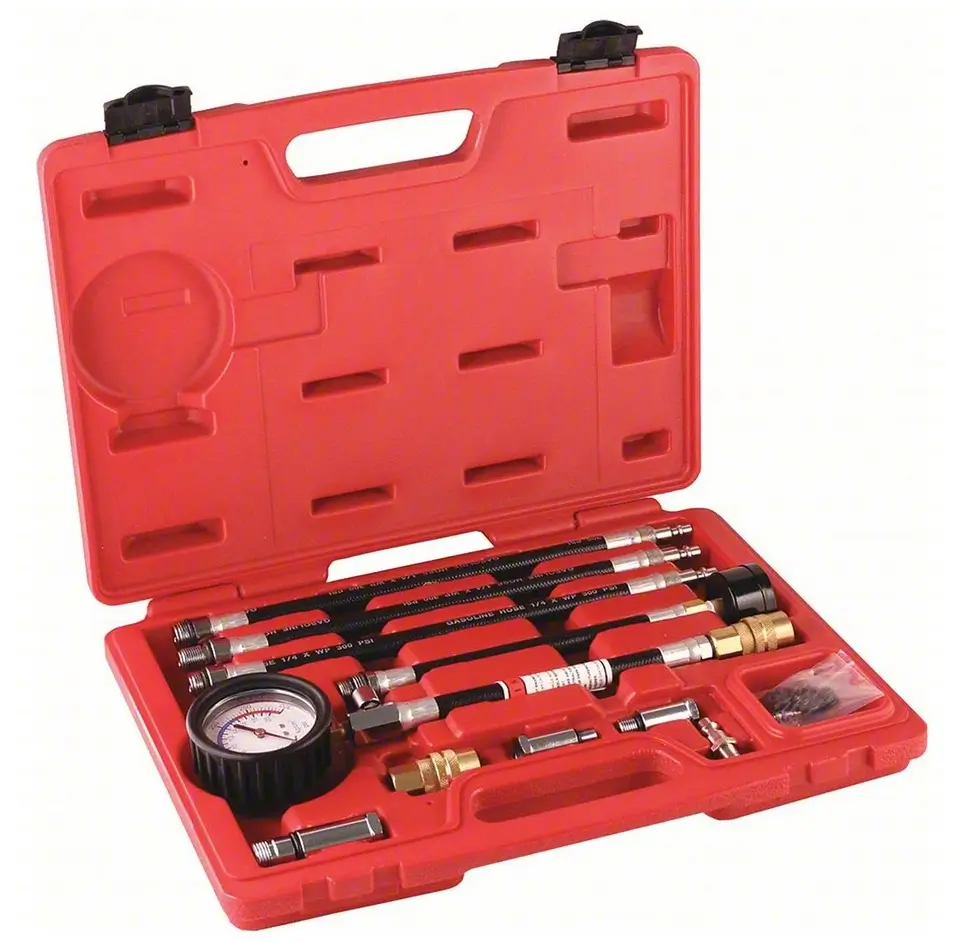
How to Perform a Compression Test on Your Engine
Compression Test Guide: Diagnose Worn Rings and Bad Valves
Quick Summary
A compression test tells you the internal health of your engine by measuring how well the piston rings and valves seal. To get accurate results, .you’ll need to perform the test twice, once dry to test valve sealing and another time wet to test ring condition. The numbers matter, but what matters more is the cylinder-to-cylinder consistency. Large differences between cylinders point to internal mechanical problems like worn piston rings, leaking valves, or a blown head gasket.
Article
Why Perform a Compression Test?
Diagnose Performance Problems If your engine is running rough, misfiring, lacking power, or getting poor fuel economy, a compression test can help identify whether the root cause is internal engine wear rather than a simpler issue like spark plugs or fuel delivery.
Detect Worn or Damaged Components A compression test can reveal problems with critical internal parts such as worn piston rings, damaged or burnt valves, a blown head gasket, or cracked cylinder walls — issues that are impossible to see without taking the engine apart.
Identify a Misfiring Cylinder If your engine has a misfire that isn’t resolved by replacing spark plugs or ignition coils, low compression in a specific cylinder is often the culprit. A compression test quickly points you to the problem cylinder.
Pre-Purchase Inspection Before buying a used vehicle, a compression test is a smart way to assess the true condition of the engine and avoid purchasing a car with serious hidden mechanical problems.
Assess Engine Life If you’re wondering how much life your engine has left, or whether it’s worth investing in repairs, a compression test gives you a clear picture of the engine’s overall health and helps you make a more informed financial decision.
Post-Repair Verification After completing engine work such as a valve job or ring replacement, a compression test confirms that the repairs were successful and that all cylinders are performing as expected.
How to Perform a Static Compression Test (Step-by-Step the Right Way)
Step 1: Prepare for the test
1) Start the engine and warm it up to operating temperature — Running this test on a cold engine is easier, but it can provide false results. If you want real-world results, test the engine when it’s hot.
2) Remove all COP ignition coils and spark plugs — Lay the plugs out in order and examine each one for signs of fouling, oil, or rich/lean burning. If you see oil fouling, broken electrodes, heavy carbon, or coolant contamination, that already tells you which cylinders might have a problem. NOTE: You can’t get accurate results unless all the plugs are removed.
3) Disable the fuel pump and ignition — Locate the fuse box (check your owner’s manual), and pull the fuel pump fuse or relay. Or, disconnect the fuel pump wiring connector. If you can’t find the fuse or relay or can’t access the fuel pump connector, unplug the injector wiring harness connector from each injector to prevent fuel from being sprayed into the cylinders during cranking.
4) Disable the ignition system — Similar to the fuel pump method, pull the ignition fuse to cut power to the ignition system cleanly and safely. Or, disconnect the ignition coil(s)
5) Make sure the battery is fully charged — A discharged battery will cause slow cranking that will give you false results.
Conduct a dry compression test
Connect the compression gauge hose to cylinder #1. Then crank the engine for about five compression strokes. Record the reading. Repeat on each cylinder.
Conduct a wet compression test
A wet compression test is a follow-up to a dry compression test, performed when one or more cylinders show low compression readings. Here’s how to conduct one:
Add a small amount of engine oil into the cylinder — Using a pump style oil can that’s fully primed, squirt about three pumps (about 2-3 teaspoons) of motor oil into a cylinder. Then connect your gauge and crank the engine five compression strokes. Record the reading. Then repeat on each cylinder.
The oil temporarily seals the piston rings against the cylinder wall — if compression improves significantly, it confirms the piston rings are worn or damaged. That difference between dry and wet readings is one of the most powerful diagnostic clues in engine testing. If compression doesn’t improve, the problem is more likely due to the valves or the head gasket.
Why You Should Also Perform a Running Snap Throttle Compression Test
What Compression Numbers Should Be?
General Compression Test Guidelines
Most gasoline engines: 135–200 PSI per cylinder is considered normal.
Minimum acceptable pressure: Generally, no cylinder should read below 100 PSI.
Diesel engines: Much higher, typically 275–400 PSI due to their higher compression ratios.
The Most Important Rule — Consistency Between Cylinders
The actual numbers matter less than the consistency of the readings across all cylinders. A healthy engine should have:
All cylinders should be within 10–15% of each other — this is the key benchmark. For example, if most cylinders read 170 PSI, no cylinder should read below roughly 145–150 PSI. Uneven readings between cylinders are often more telling than a slightly low overall reading
What the Numbers Tell You
All cylinders are normal and consistent, and engine internals are in good health. Look elsewhere for the source of your problem (ignition, fuel, sensors, etc.)
One cylinder low — That’s most likely a burnt or damaged valve versus worn piston rings in just one cylinder, or a damaged head gasket localized to that cylinder
Two adjacent cylinders low — That’s a strong indication of a blown head gasket between those two cylinders. It can also be a sign of a cracked cylinder head.
All cylinders are low but consistent — low pressure across all cylinders can indicate a high-mileage, worn-out engine. However, it can also indicate timing issues, such as a worn timing chain or belt which can cause uniformly low readings
All cylinders are low and inconsistent — Significant internal engine wear or damage
A full engine rebuild or replacement may be necessary
©, 2026 Rick Muscoplat
Posted on by Rick Muscoplat