
How to Properly Charge an AGM Battery: A Step-by-Step Guide
Essential Tips for Charging Your AGM Battery Safely and Effectively
Absorbent Glass Mat (AGM) batteries have become increasingly popular in various applications due to their reliability and maintenance-free nature. These batteries are commonly used in vehicles with start-stop technology. Understanding how to charge an AGM battery properly is crucial for ensuring its longevity and optimal performance. In this guide, we’ll walk you through the essential steps and tips on how to charge an AGM battery effectively.
What is an AGM Battery?
Before diving into the charging process, it’s important to understand what an AGM battery is. AGM batteries are a type of lead-acid battery where the electrolyte is absorbed in a fiberglass mat, rather than being free-flowing. This design helps to prevent spillage and makes AGM batteries more durable and resistant to vibration, making them suitable for various demanding environments.
Why Proper Charging Matters
Charging an AGM battery properly is crucial for several reasons
1) Longevity— Correct charging helps extend the battery’s life, preventing premature degradation.
2) Performance— Properly charged AGM batteries provide reliable power and maintain their efficiency.
3) Safety— Incorrect charging can lead to overheating, overcharging, or even explosions in extreme cases.
Steps to Charge an AGM Battery
Choose the Right Charger
To charge an AGM battery, you need a charger that is compatible with AGM technolog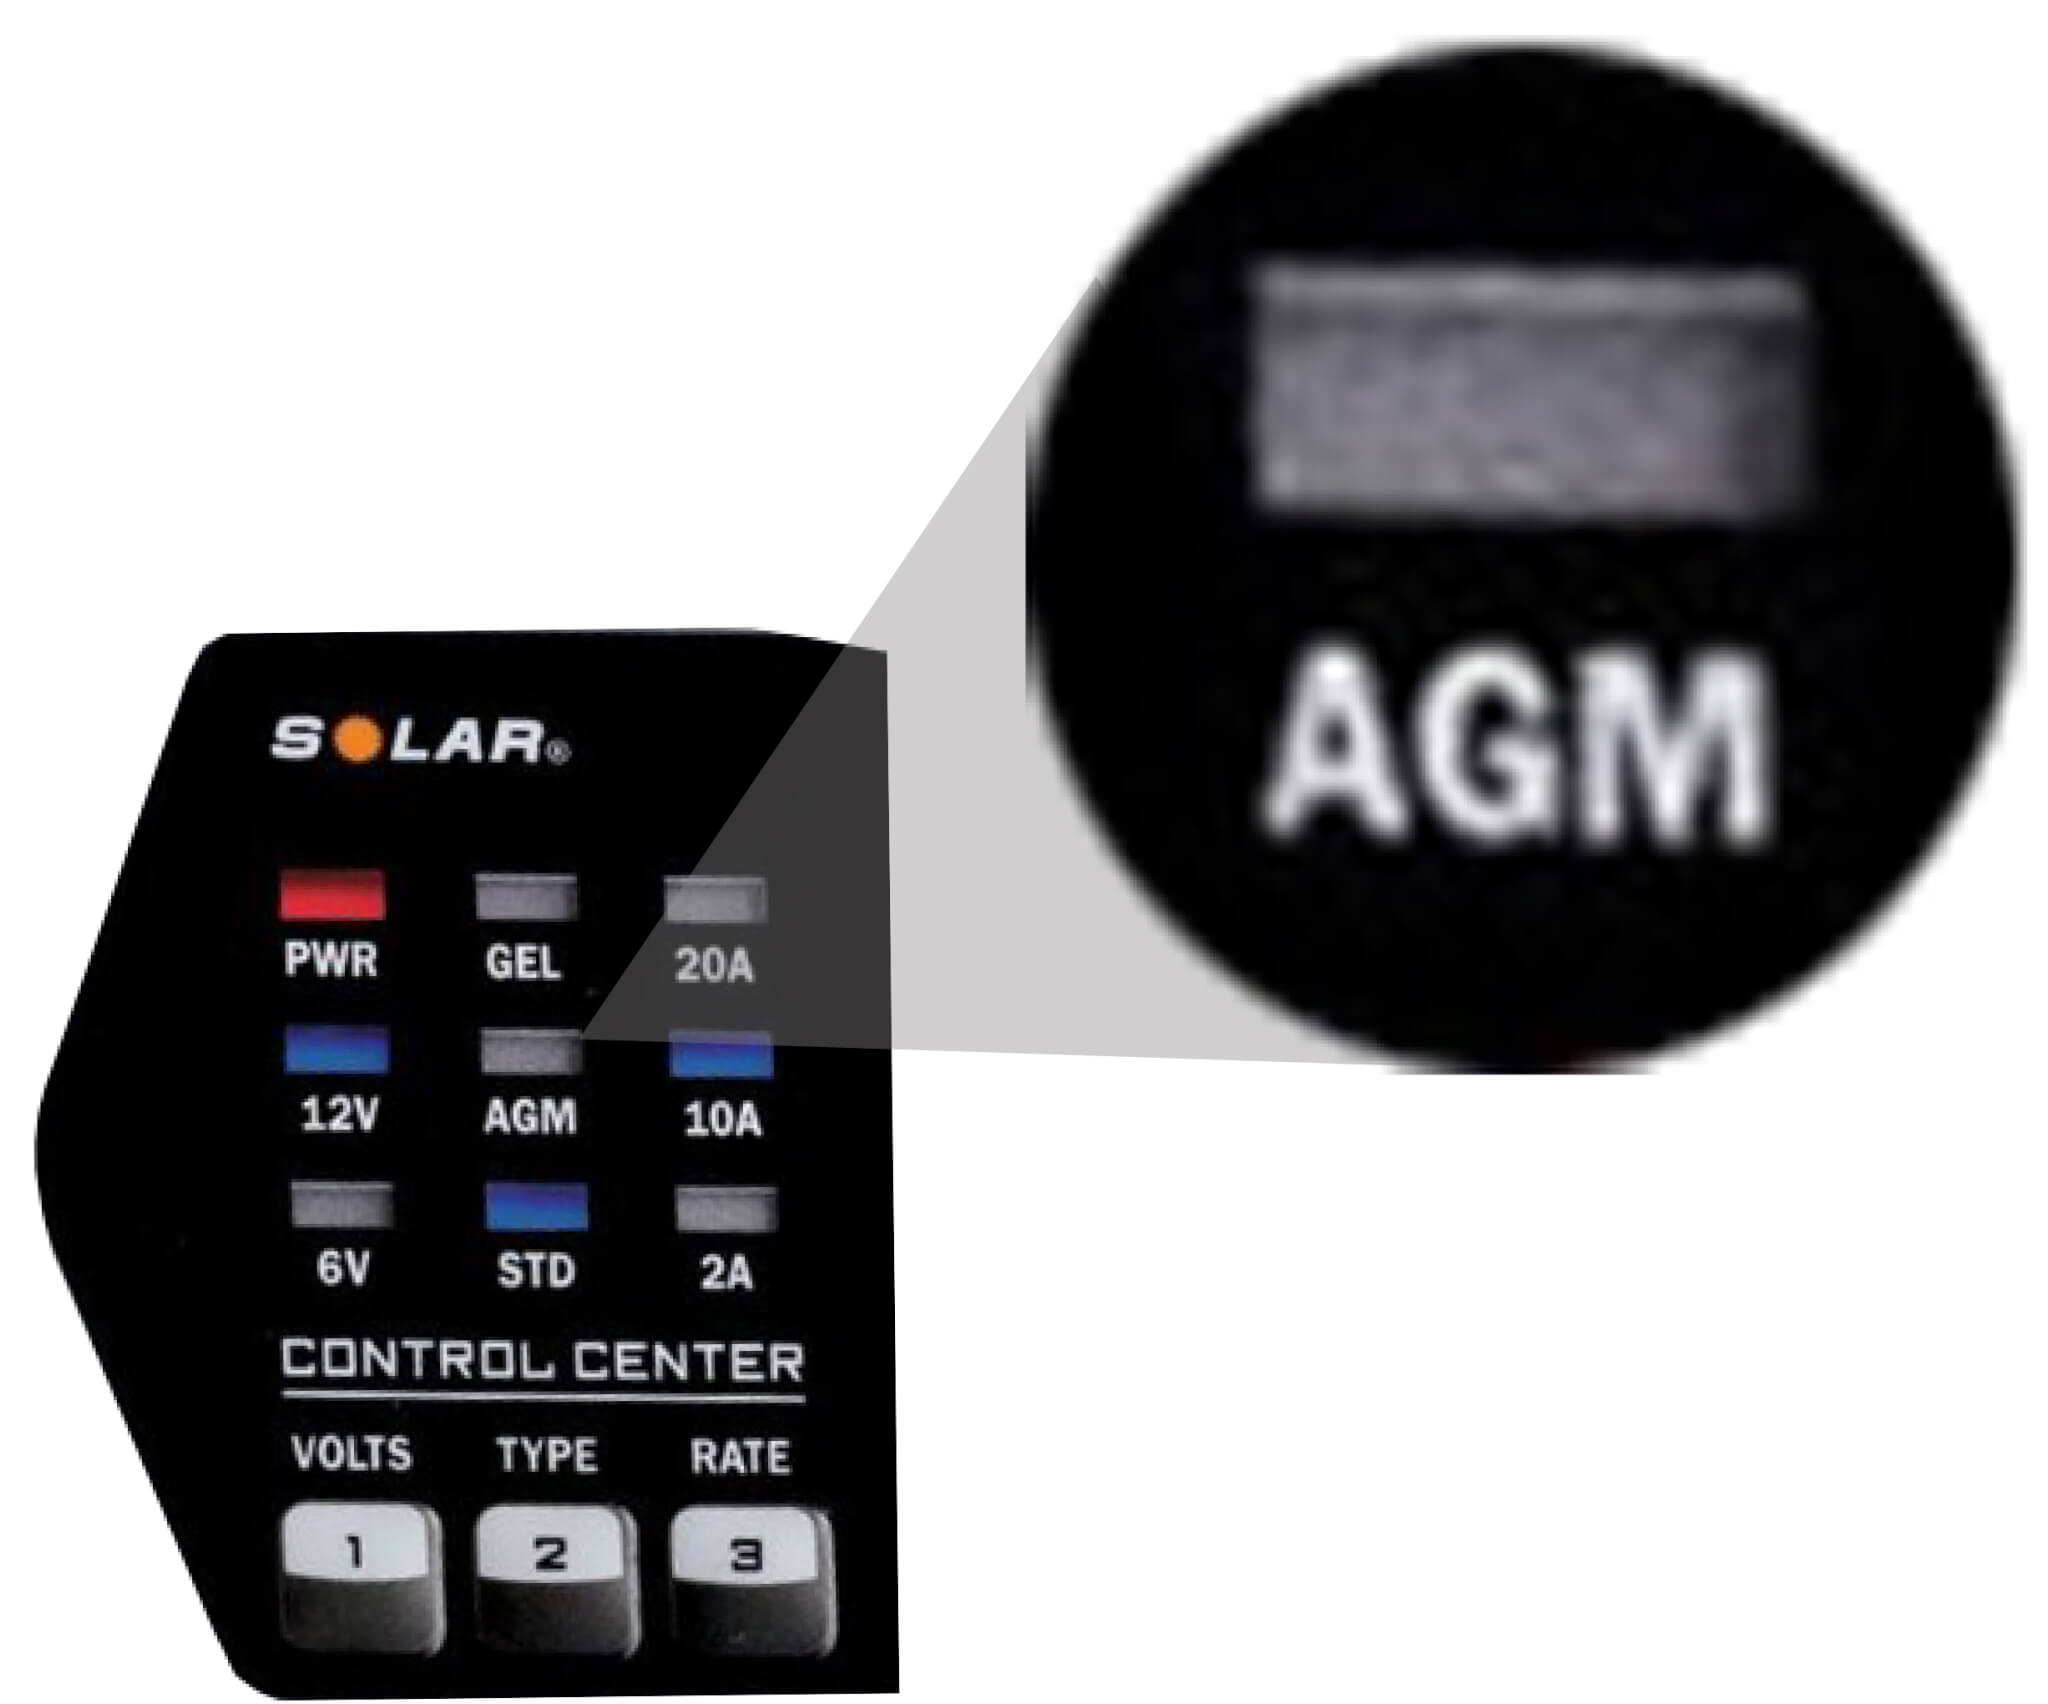 y. Look for chargers that specifically mention AGM in their specifications. These chargers have the appropriate charging profiles and settings to handle AGM batteries safely. Avoid using chargers designed for conventional flooded lead-acid batteries as they may not be suitable for AGM batteries.
Prepare the Battery and Charger
Before starting the charging process, make sure the battery and charger are in good condition. Check the battery terminals for any signs of corrosion or damage and clean them if necessary. Ensure that the charger is unplugged before connecting it to the battery.
Connect the Charger to the Battery
Connect the Positive Lead: Attach the positive (red) lead of the charger to the positive terminal of the AGM battery. The positive terminal is usually marked with a “+” sign.
Connect the Negative Lead: Attach the negative (black) lead of the charger to the negative terminal of the battery. The negative terminal is marked with a “-” sign.
Make sure the connections are secure and that the leads are not touching each other or any metal parts of the vehicle or equipment.
Set the Charger to the Correct Mode
Most modern chargers come with multiple charging modes or settings. For AGM batteries, select the AGM mode or setting if available. This mode typically uses a specific charging profile optimized for AGM batteries. If your charger has different charging rates (e.g., 2A, 10A, 20A), choose a rate that matches the battery’s capacity. Charging too quickly can cause damage while charging too slowly might not fully charge the battery.
Start the Charging Process
Plug in the charger and turn it on. Modern chargers are often automatic, meaning they will adjust the charging rate and switch to a maintenance mode when the battery is fully charged. If your charger is manual, you’ll need to monitor the charging process and turn off the charger once the battery is fully charged.
Monitor the Battery
While charging, keep an eye on the battery and charger. AGM batteries are less prone to overheating than traditional flooded batteries, but it’s still a good practice to monitor the temperature and ensure there’s no excessive heat. If the battery or charger becomes excessively hot, disconnect the charger immediately and investigate the cause.
Disconnect the Charger
Once the battery is fully charged, turn off the charger and unplug it from the power source. Then, carefully remove the negative lead, followed by the positive lead, from the battery. This sequence helps prevent short circuits and sparks.
Check the Battery Voltage
After charging, use a multimeter to check the battery’s voltage. A fully charged AGM battery should read around 12.7 to 13.0 volts. If the voltage is significantly lower, the battery might not be holding a charge properly, and further testing or replacement may be needed.
Why you can’t use your grandfather’s battery charger
Old non-computerized battery chargers can charge at rates of up to 17 volts. That’s way too high for an AGM battery, and charging at those voltages can overheat and damage it.
Use a digital AGM-compatible battery charger to charge and AGM battery
A digital charger determines the condition of the battery and chooses a charging routine that suit the battery condition. A deeply discharged battery, for example, requires a “soft start/energizing phase” to determine battery condition and protect the plates from overheating and deforming. An analog charger, on the other hand, applies a high voltage and high current immediately, which can cause overheating.
A digital charger uses a Multi-stage protocol.
Phase 1 Energizing — Starts charging at a low rate, approximately 5 volts and 7 amps for a short period, then tapering voltage up to 7 volts. This allows the charger to determine the battery’s condition. If the battery tests well in Phase 1, the charger moves to phase 2
Phase 2 Fast charge — Voltage tapers up from 7-volts to approximately 14.2-volts with a steady 10-amp or 20-amp current (depending on which setting the user chose).
Phase 3 Absorption Mode— Charging voltage remains constant at around 14.2 volts but the current tapers down to around 2 amps, allowing the plates to absorb the full charge.
Phase 4 Completion mode— Voltage drops to around 13.5 volts and current tapers slowly to 0 amps.
Phase 5 Resting mode— Voltage drops to 12.5 volts and current stays at 0 amps.
Phase 6 Exercising mode— Voltage drops to 12.2 volts, and current goes to negative 3 amps.
Phase 7 Restoring phase— Voltage ramps up to 14.3 volts, holds steady for a while, then tapers to 12.5. Current spikes to 10 amps, holds steady and then tapers to 0 amps.
Standard Flooded Lead Acid (SLI) Battery State of Charge Voltage versus AGM battery State of Charge Voltage
SLI @ 100% charge = 12.70-12.60 volts versus AGM @ 100% =12.80 or higher
SLI @ 90% charge =12.73 volts versus AGM @ 90% =12.75 volts
SLI @ 75% charge = 12.40 volts versus AGM @ 75% = 12.60 volts
SLI @ 60% charge =12.49 volts versus AGM @ 60% =12.15 volts
SLI @ 50% charge = 12.20 volts versus AGM @ 50% = 12.30
SLI @ 25% charge = 12.00 volts versus AGM @25% = 12.00
SLI @ 0% charge =11.80 volts versus AGM @ 0% =11.80
If the voltage is below 10.2 volts, that’s an indication of a bad cell, and the battery should be checked further before charging.
Use an internal resistance tester to accurately gauge the condition of an AGM battery
Using a digital battery tester, enter the battery’s CCA rating and initiate the test. If the battery’s internal resistance is too high, you can charge the battery, but it will fail and leave you stranded. If it fails the digital test, replace the battery.
Use an AGM charger to recharge the battery
Do NOT use an older analog tester.
©, 2020 Rick Muscoplat
Posted on by Rick Muscoplat