
How to Rebuild a BrassCraft Shut Off Valve Instead of Replacing It
How to Fix a Leaking Valve: Repair a Leaking or Stuck BrassCraft Shut-Off Valve
Quick Answer
A leaking or stuck BrassCraft shut-off valve 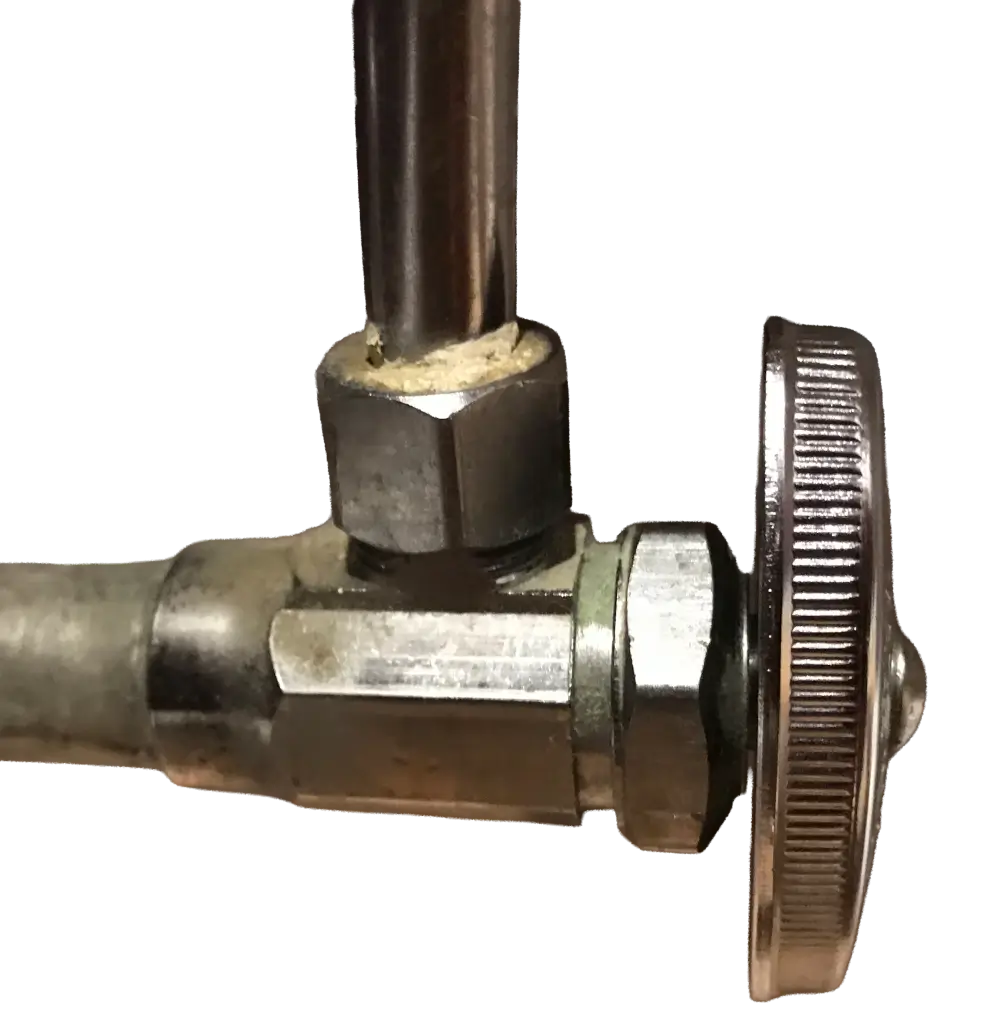 can often be repaired instead of replaced. If the leak is coming from around the valve handle, tightening the packing nut usually solves the problem. If tightening doesn’t work, you can rebuild the valve by replacing the stem washer and packing, using a BrassCraft rebuild kit. However, if the valve body is cracked, heavily corroded, or damaged, replacement is the only reliable solution.
Why a BrassCraft Shut Off Valve Starts Leaking or Won’t Turn
Like any mechanical valve, however, wear or rubber deterioration eventually affects the internal sealing components.
The most common causes of a leaking BrassCraft shut off valve include:
• Worn stem packing
• Loose packing nut
• Hardened, damaged, or missing rubber washer
• Corrosion on the valve stem
• Mineral buildup inside the valve
• Excessive force when closing the valve
• Age-related deterioration of internal seals
The first step is identifying exactly where the water is escaping.
• Leak around the handle — This is the most common failure. Water appears around the stem whenever the valve is open.
• Leak from the outlet connection — This usually indicates a loose compression nut or damaged supply tube ferrule rather than a faulty valve.
• Leak from the valve body — A cracked casting or freeze damage almost always requires complete valve replacement.
How to Rebuild a BrassCraft Shut Off Valve
Multi-turn valves are generally compatible with decades of production, although it’s always wise to match the kit to your valve model.
Tools you’ll need
• Adjustable wrench
• Small screwdriver
• Needle-nose pliers
• Replacement BrassCraft rebuild kit
• Plumber’s grease
• Rag
• Bucket or towel
Step 1: Turn off the main water supply — Before disassembling the valve, shut off the home’s main water supply. Open a nearby faucet to relieve pressure and drain the line.
Step 2: Remove the valve handle — Unscrew the handle screw and pull off the handle.
If mineral deposits make removal difficult, gently work it loose rather than prying aggressively.
Step 3: Remove the packing nut — Use an adjustable wrench to loosen the packing nut. Once removed, carefully withdraw the valve stem from the valve body.
Inspect the stem for:
• Corrosion
• Deep grooves
• Bent threads
• Excessive wear
• Missing or worn-out compression washer
If the stem itself is badly damaged, rebuilding may not provide a lasting repair.
Step 4: Replace the internal components — A rebuild kit typically includes:
• Stem washer
• Packing material or O-ring
• Stem screw
• Packing washer
Install each new component exactly as the originals were assembled.
Apply a very light coating of plumber’s silicone grease to moving parts. Avoid petroleum grease because it can damage rubber seals.
Step 5: Reassemble the valve — Insert the rebuilt stem into the valve body.
Thread the packing nut back into place.
Tighten it snugly, but do not overtighten.
The packing nut compresses the packing material enough to seal around the stem while still allowing the handle to turn smoothly.
Step 6: Restore water pressure — Turn the main water supply back on slowly.
Open and close the shutoff valve several times.
Inspect carefully for leaks around:
• The stem
• Packing nut
• Compression outlet
• Valve body
If water still leaks around the stem, tighten the packing nut another one-eighth turn.
When Tightening the Packing Nut Is Enough
Many homeowners immediately assume they need replacement parts. In reality, a slightly loose packing nut accounts for a large percentage of leaking shutoff valves.
Simply tightening the packing nut about one-quarter turn often compresses the packing enough to stop the leak completely.
Be careful not to overtighten it. Excessive tightening makes the valve difficult to operate and can accelerate stem wear.
When You Should Replace A Stop Valve Instead of Repairing It
Even though rebuilding is often successful, replacement makes more sense under certain conditions.
Replace the valve if you find:
• Cracked valve body
• Freeze damage
• Severe dezincification
• Heavy corrosion
• Damaged compression connection
• Stem threads stripped
• Rebuild kit unavailable
Modern quarter-turn ball valves generally provide greater reliability and require far less maintenance than traditional multi-turn valves.
Tips to Prevent Future Shut Off Valve Leaks
One reason shut off valves begin leaking is lack of use. Valves that sit untouched for years develop mineral deposits that damage seals when finally operated during an emergency.
To maximize service life:
• Operate every shutoff valve twice each year.
• Turn the valve completely off and back on.
• Never force a stuck valve.
• Tighten the packing nut at the first sign of seepage.
• Avoid overtightening when closing the valve.
• Replace worn supply tubes during major plumbing repairs.
Regular exercise helps prevent mineral buildup and keeps internal seals lubricated.
Final Thoughts
A leaking valve doesn’t automatically mean replacement. In many cases, a leaking BrassCraft shutoff valve can be repaired quickly by tightening the packing nut or installing an inexpensive rebuild kit.
Learning how to rebuild a BrassCraft shut-off valve can save the cost of cutting pipes, installing new compression fittings, and shutting down your home’s water system.
However, if the valve body is cracked or badly corroded, replacement with a modern quarter-turn shut-off valve is the safer long-term solution. Spending a few minutes diagnosing the exact source of the leak will help you choose the right repair and restore reliable service for years to come.
©, 2026 Rick Muscoplat