
P0442 Code: Causes and Fixes
What the P0442 Code Means and How You Can Fix It Yourself
Quick Summary
A P0442 code means your vehicle’s Evaporative Emissions (EVAP) system has detected a small vapor leak somewhere in the sealed fuel system that captures gasoline fumes. In my experience, the most common causes of a P0442 code are a loose, worn, or faulty gas cap, cracked or dry-rotted EVAP hoses, a purge or vent valve that can’t fully seal, or a leaking charcoal canister. Less frequently, corrosion on the filler neck or a faulty fuel tank pressure sensor can trigger the code. While it’s rarely dangerous, it can keep your check engine light on and cause an emissions test failure until the leak is found and fixed.
Article
I’ve diagnosed the P0442 code more times than I can count. It pops up when the evaporative emissions system detects a small leak. Your EVAP system prevents gasoline vapors from escaping into the air, and it tests for leaks by pulling a vacuum on the entire fuel system. If it can’t hold the vacuum, even through a pinhole, it’ll set a P0442 code for a small leak. There’s also the P0456 code — basically the same thing, but it indicates a very small leak. Both are annoying, but totally fixable with a bit of patience.
For more information about the EVAP system and how it works, see this article.
Here Are The Most Common Causes of a P0442 or P0456 Code
After years of working on these issues, here are the most common culprits:
• Loose or faulty gas cap – By far the most frequent cause. Look for a degraded rubber seal on the cap or a faulty pressure relief valve.
• Cracked or dry-rotted EVAP hoses – Rubber hoses degrade over time, cracking and preventing the system from holding a vacuum.
• Faulty purge valve or vent valve – These solenoids control vapor flow into and out of the charcoal canister. If one of the valves doesn’t close and seal properly, it can cause a small or very small leak, setting a P0442 or P0456.
• Leaking fuel filler neck – Damage or corrosion near the filler tube can trigger the P0442/P0456 code. Also, corrosion around the rim of the filler neck can prevent the gas cap from sealing properly
• Faulty fuel tank pressure sensor – Less common, but worth noting.
Now let’s walk through a diagnostic procedure you can do in your driveway
Step 1: Check the Gas Cap and Filler Neck— I always start here. Make sure the gas cap is tight and in good condition. Remove it and inspect the rubber seal for tears, cracks, or stiffness. If the cap doesn’t click when you tighten it, it may not be

Rusted gas tank filler neck
sealing properly. Also, check the condition of the filler neck where the cap seals. Corrosion can prevent the rubber from sealing properly.
Fix: Replace the gas cap with a quality OEM or OEM-equivalent part. Some carmakers, like Honda, sell the rubber seal by itself, saving you the
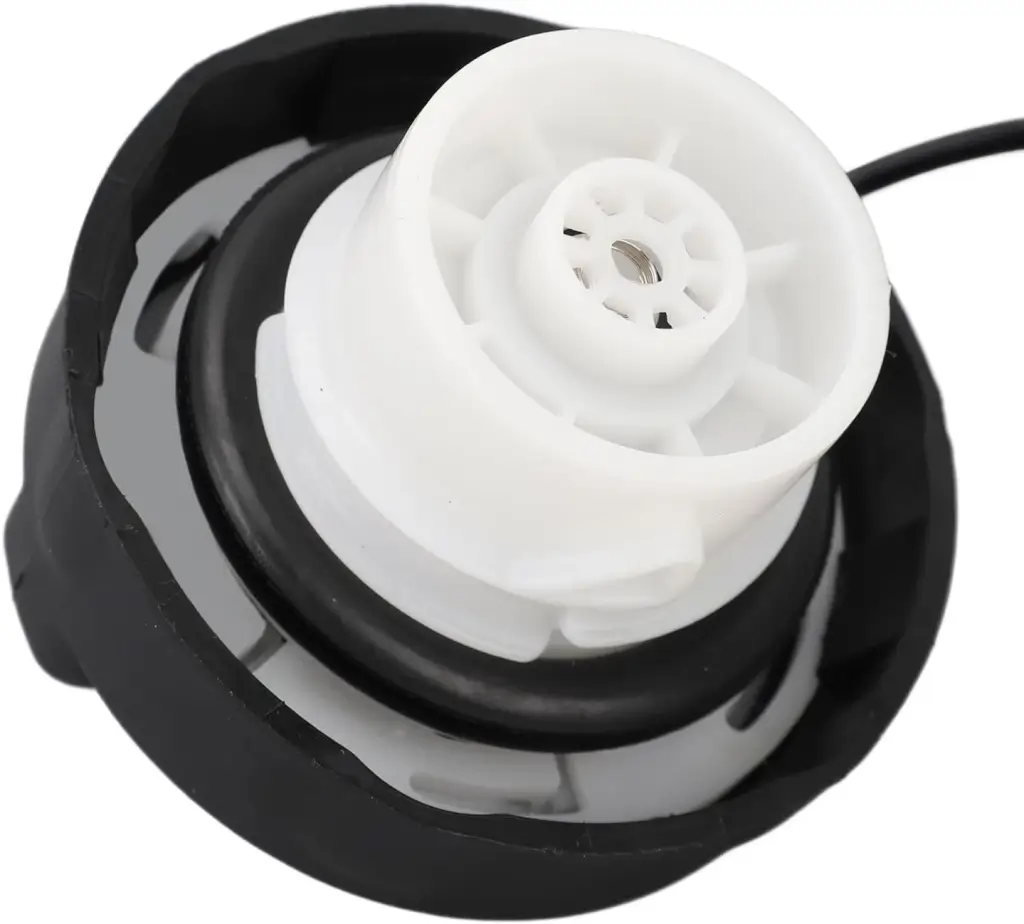
Check the condition of the rubber O-ring seal. Some carmakers sell replacement seals so you don’t have to buy the complete cap
cost of replacing the entire cap. Then, clear the code and drive for a few days to see if it returns. If you find rust on the filler neck, you have two choices: sand it off (I’ll explain how in a second) or replace it.
To sand off rust: Place tape over the fill port to prevent sanding debris from entering the tank. Then use 120-grit wet-dry paper to sand off the rust. Finish with 400-grit sandpaper to provide a smooth sealing surface. Wipe the filler neck with a clean cloth to remove all sanding debris. Spray with a clear coat to prevent future rusting. Let the clear coat dry, then remove the tape.
Step 2: Inspect All EVAP Hoses— Next, visually inspect the hoses running from the gas tank to the charcoal canister and from the canister to the purge valve. Look for cracks, loose connections, or dry rot.
FIX: Replace any leaking, rotted, cracked, or damaged EVAP hoses. Even small cracks can trigger a P0456 code.
Step 3: Inspect the Charcoal Canister— These can crack due to road debris or internal saturation. Shake it gently and listen for loose charcoal inside.
FIX: Replace the canister if it’s cracked or compromised.
Step 4: Test the Purge and Vent Valves— The vent valve is usually near the charcoal canister under the car, while the purge valve is under the hood. Using a handheld vacuum and a scan tool, command the valve closed and then apply a vacuum to the closed vent valve to see if it holds the vacuum. If the vent valve doesn’t have a vacuum, replace it. Repeat the same test on the purge valve.
FIX: Replace the purge or vent valves if they don’t close, are clogged, or don’t hold a vacuum.
Step 4: Perform a Smoke Test If You Can’t Find The Leak Any Other Way— This is the most effective way to find small leaks. I use an EVAP smoke machine that introduces visible smoke into the system through the service port. Look for smoke
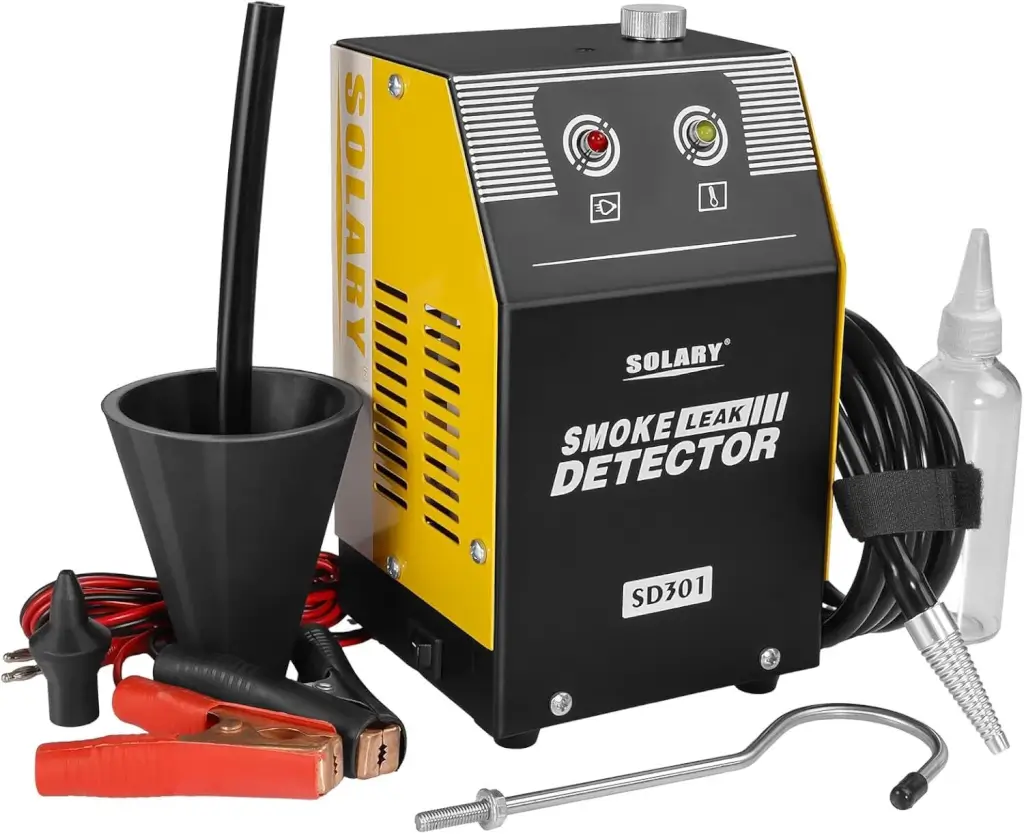
Smoke machine
Check with your local auto parts store to see if they rent smoke machines. If not, you can buy an inexpensive smoke machine. This Solar Automotive Smoke Machine Leak Detector costs around $70 on Amazon. That’s half of what you’d pay a shop to conduct a smoke test on your car.
Follow the directions with the smoke machine to fill the system with smoke at the EVAP system smoke test port (shown below). Then, look for the leak.
FIX: Seal or replace any leaking component you find.

EVAP system test port
Step 7: Clear Codes and Test Drive— After each fix, clear the P0442 code and drive for a few days. If it returns, go back through the steps methodically.
Why the P0442 Code and P0456 Code Keep Coming Back
If you’ve replaced the gas cap and hoses but still see the P0456 code after a few days, it’s likely an electronic component, such as the purge valve, vent valve, or pressure sensor. Use a scan tool with EVAP test capability to run system integrity tests while monitoring live data.
In stubborn cases, even a hairline crack in the filler neck or charcoal canister can defeat the system’s pressure tests and trip a P0442 code again. That’s why I always recommend a smoke test before giving up.
How the P0442 or P0456 code sets
The EVAP system on your vehicle checks for leaks in two ways, depending on the car brand. In one method, the system performs a vacuum test to see if the entire fuel system holds a vacuum. If there’s a leak, it indicates how quickly the vacuum deteriorates, and based on the timing, it sets a small-leak or large-leak trouble code.
In the other method, mainly used by Chrysler, called the Natural Vacuum Leak Detection (NVLD) system, the EVAP system relies on the natural pressures created in your car’s fuel system as gasoline changes temperature and its vapors expand or contract. A leak prevents the system from working, and that sets one of the leak codes. For more information on the Chrysler NVLD system, see this article.
The vacuum-operated system creates a vacuum right after you fill the tank. It knows you’ve filled the tank because it sees the fuel gauge rise. On startup, it runs a purge cycle to remove all the fuel vapor stored in the charcoal canister, so it can store fuel vapor the next time you fill up.
© 2012 Rick Muscoplat
Posted on by Rick Muscoplat