
2001 Civic Fuse Box Diagram: Understanding the Civic Fuse Boxes
Understanding the Fuse Boxes on 2001 Civic
The 2001 Honda Civic is part of the 7th generation of Civics. It is equipped with two fuse boxes: one located inside the vehicle and the other in the engine bay. In this article, I’ll display the 2001 Civic fuse box diagram for the under-dash and under-hood panels.
2001 Civic Fuse Box Diagram For The Under Dash Panel
The interior fuse box of the 2001 Honda Civic is located under the dashboard on the driver’s side, near the left kick panel. It can be accessed by removing the small cover that conceals the fuse box. This box’s fuses protect smaller powered devices like the radio, power windows, and dashboard lights.

Under-dash panel
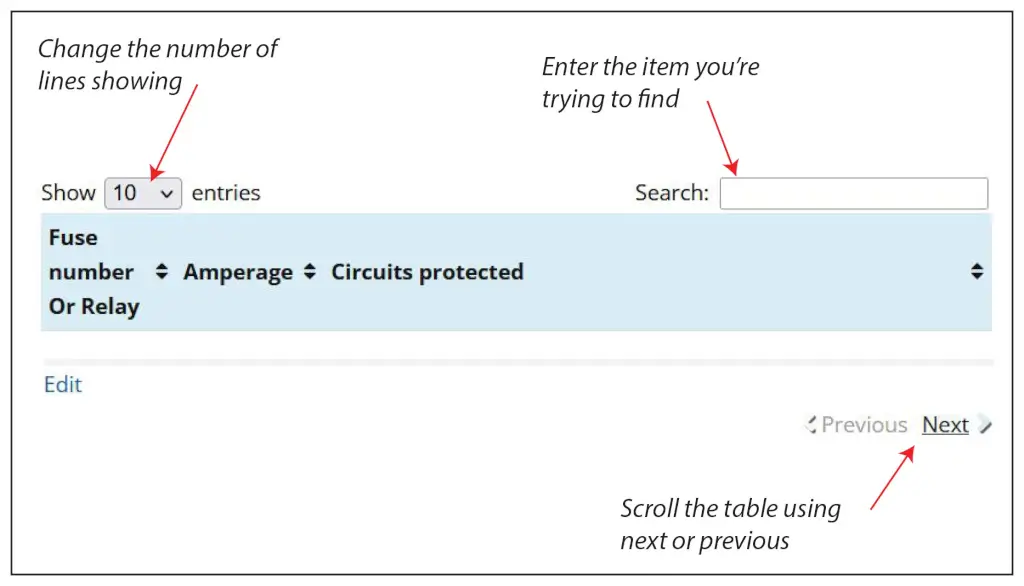
| Fuse Number | Amperage | Circuits Protected |
|---|---|---|
| 1 | IG COIL 15 | Ignition coils |
| 2 | LAF HEATER 20 | Left Air/Fuel Ratio Sensor Heater |
| 3 | DAY LIGHT 10 | DRL control unit (Canada), Multiplex control unit |
| 4 | ALTERNATOR 10 | A/F sensor relay (HX; '04-'05: DX, LX, EX), Alternator, Cruise control unit, ELD unit (USA), EVAP bypass solenoid valve, EVAP canister purge valve (except GX), EVAP canister vent shut valve (except GX), Primary and secondary HO2S, VSS |
| 5 | — | Not used |
| 6 | P/W RELAY 7.5 | Moonroof open and close relays (EX), Power window relay |
| 7 | SUNROOF 20 | Moonroof open and close relays (EX) |
| 8 | ACC RADIO7.5 | Audio unit, Multiplex control unit, CarLink interface box (CarLink) |
| 9 | RR WIPER 10 | SIDE SRS (HX) OPDS unit |
| 10 | I METER 7.5 | A/T reverse relay, Back-up light switch (MIT), CarLink interface box (CarLink), Gauge assembly, Keyless receiver unit (EX; '04-'05: DX, LX), Multiplex control unit, Security control unit, Shift lock solenoid (A/D |
| 11 | ABS | ABS modulator-control unit (IG2) |
| 12 | DAY LIGHT 7.5 | DRL control unit (Canada) |
| 13 | SRS 10A | SRS unit |
| 14 | R/C MIRROR 10A | A/C compressor clutch relay, A/C condenser fan relay, Blower motor relay, Heater control unit-panel, Power mirror switch (except DX), Radiator fan relay, Recirculation control motor, Rear window defogger relay |
| 15 | OPTION FUSE 2A | Security control unit (Optional) 15 i SECURITY (HX) 10A (HX) Not used |
| 16 | HEATED SEAT 20A | Not used |
| 17 | FUEL PUMP 15A | ECM/PCM, PGM-FI main relay 2, SRS unit |
| 18 | ACC CIGAR 15A | Accessory power socket |
| 19 | TURN LIGHT 7.5A | Hazard warning switch, Turn signal/hazard relay |
| 20 | FR WIPER 20A | Multiplex control unit, Windshield wiper/washer switch, Windshield wiper motor |
| 21 | — | Not used |
| 22 | AS PNV 20A | Front passenger's or passenger's power window switch |
| 23 | DR P/W 20A | Power window master switch |
| 24 | RR L P/W 20A | Left rear power window switch |
| 25 | RR R P/W 20A | Right rear power window switch |
2001 Civic Fuse Box Diagram For The Under Hood Panel
The engine bay fuse panel is located near the battery on the passenger side of the engine compartment. This more robust panel houses fuses and relays for essential systems like the engine control unit (ECU), cooling fans, and anti-lock brakes (ABS). Accessing this fuse box requires opening the black plastic cover, which clips hold in place.

Under-hood fuse box
| Fuse Number | Amperage | Circuits Protected |
|---|---|---|
| 1 | CONDENSER FAN 20A | Condenser fan motor, A/C compressor |
| 2 | SMALL LIGHT 15A | Taillight relay |
| 3 | INTERIOR LIGHT 7.5A | Ceiling light, Spotlights, Trunk light |
| 4 | COOLING FAN 20A | Radiator fan motor |
| 5 | HAZARD 10A | Turn signal/hazard, Turn signal lights |
| 6 | FI ECU 15A | CKP sensor, ECM/PCM, Injectors, IAC valve, Immobilizer receiver unit, PGM-Fl main relay 1 and 2, CMP (TDC) sensor |
| 7 | HORN, STOP 15A | Horn, Brake lights, Brake signals (to ABS modulator-control unit, Cruise control unit, ECM/PCM, Multiplex control unit) |
| 8 | ABS F/S 20A | ABS modulator-control unit |
| 9 | BACK UP 10A | CarLink interface box connector, DLC, Gauge assembly, Immobilizer control unit-receiver, Keyless receiver unit (EX), Multiplex control unit, Security control unit, Audio unit |
| 10 | ABS MOTOR 40A | ABS modulator-control unit |
| 11 | REAR DEFROSTER (Coupe) 40A | Rear window defogger relay |
| 11 | RR DEFROSTER (Sedan) 30A | Rear window defogger relay |
| 12 | Heater Motor 40A | Blower motor |
| 13 | POWER WINDOW 40A | No. 7 fuse (in the under-dash fuse/relay box), Power window relay |
| 14 | OPTION 40A | No. 2, 3, 5, 15 and 16 fuses (in the under-dash fuse/relay box) |
| 15 | L HEADLIGHT (01-'03) | DRL control unit (Canada), High beam indicator light, Left headlight |
| 15 | L HEADLIGHT ('04) 20A | DRL control unit (Canada), DRL relay (Canada), High beam indicator light, Left headlight, Multiplex control unit |
| 16 | DOOR LOCK 20A | Multiplex control unit |
| 17 | L HEADLIGHT ('01-'03) 15A | DRL control unit (Canada), Right headlight |
| 18 | EPS 60A | Not used |
| 19 | BATTERY 80A | Battery, Power distribution |
| 22 | IG1 40A | Ignition switch (BAT) |

Under-hood fuse box location
Radio Caution When Checking Fuses or Replacing A Car Battery
Standard for LX and EX models in the U.S., and LX and Si models in Canada
If the radio fuse is removed, the audio system will disable itself. The next time you turn on the radio, you will see ‘‘COdE’’ in the frequency display. Use the preset buttons to enter the five-digit code.
To make it work again, enter a specific five-digit code in the preset buttons. Because there are hundreds of number combinations possible from five digits, making the system work without knowing the exact code is nearly impossible.
You should have received a card that lists your audio system’s code and serial numbers. It is best to store this card in a safe place at home. In addition, you should write the audio system’s serial number in this Owner’s Manual.
If you lose the card, you must obtain the code number from a dealer or the Honda Owner’s website. You will need the system’s serial number to do this.
Use the preset buttons to enter the five-digit code. If you make a mistake entering the code, do not start over; complete the five-digit sequence, then enter the correct code. You have ten tries to enter the correct code. If you are unsuccessful in ten attempts, you must then leave the system on for 1 hour before trying again.
How to find your radio serial number
1) Locate the Honda Radio Anti-Theft Card
The Radio/Navigation Code and the device unit’s serial number are listed on the

Locate the Radio Anti-Theft card from your glove box
anti-theft ID card that comes with the vehicle. The card is usually placed in the glove box at the time of delivery.
2) Enter the Radio’s Serial Number on the Honda Website
 Retrieve the Serial Number From the Radio Display
1. Turn the ignition switch to ON.
2. Turn ON the device and confirm that the display reads CODE. If you don’t see this message, pull the backup fuse for 1 minute, and then go back to step 1.
3. Turn OFF the device.
4. Press and hold the 1 and 6 radio preset buttons, and turn ON the device.
5. The display toggles between two screens: U with the first 4 digits of the serial number (U2200 for example,)
6. And L with the last 4 digits of the serial number (L0055 for example).
7. Ignore the U and L and record all 8 digits.