
What to Do with a Coolant Reservoir Leak
Coolant Reservoir Leak Repair: What Works and What Never Does
Quick Summary
Before you attempt to fix a coolant reservoir leak, you have to determine whether the reservoir is pressurized. You can patch a non-pressurized coolant reservoir by plastic-welding the crack, but that repair method won’t work with a pressurized reservoir; the pressure will blow the weld open. Pressurized tanks must be replaced to avoid overheating, blown head gaskets, and major repair bills.
Article
A coolant reservoir leak may seem like a small problem, but it’s one of those issues that can quickly escalate into significant engine damage if you ignore it. Modern engines depend on a sealed, properly pressurized cooling system, and even a tiny crack in the reservoir can cause significant coolant loss and overheating. Many DIYers try to seal the leak with JB Weld, but it’s just a temporary solution because it never holds.
In this guide, I’ll walk you through diagnosing a cracked coolant reservoir, when plastic welding is an acceptable fix, and why certain tanks should never be repaired—only replaced.
No Sealant Sticks to the Polyethylene Used in Coolant Reservoirs
Modern coolant reservoirs are made from HDPE (high-density polyethylene), the stuff milk bottles are made from. Here’s the problem: no off-the-shelf products stick to HDPE
Epoxy? Won’t hold long-term.
RTV silicone? Fails almost instantly.
FlexTape? Don’t even think about it.
“Waterproof plastic repair kits”? Not for HDPE.
Trust me on this; I’ve tried every product on the shelf over the years, and I can confidently tell you that nothing adheres to polyethylene well enough to reliably patch a cracked coolant reservoir.
The Only Method That Works: Plastic Welding
If you need to patch a coolant reservoir, use a plastic welder—not glue. HDPE must be melted back together.
Here’s the proper method to plastic weld a coolant reservoir leak:
1) Use a degreaser to remove all grease and dirt from the exterior and interior of the reservoir.
2) Heat the crack with a soldering iron or plastic welding tool.
3) Melt the edges inward so the plastic bonds into itself.
4) Add HDPE filler material (poly welding rods).
5) Embed stainless mesh if the crack needs reinforcement.
6) Let it cool naturally—never quench it in water.
A kit like the Poly Welder Pro (200-watt iron, filler rods, stainless mesh) works extremely well when used correctly.
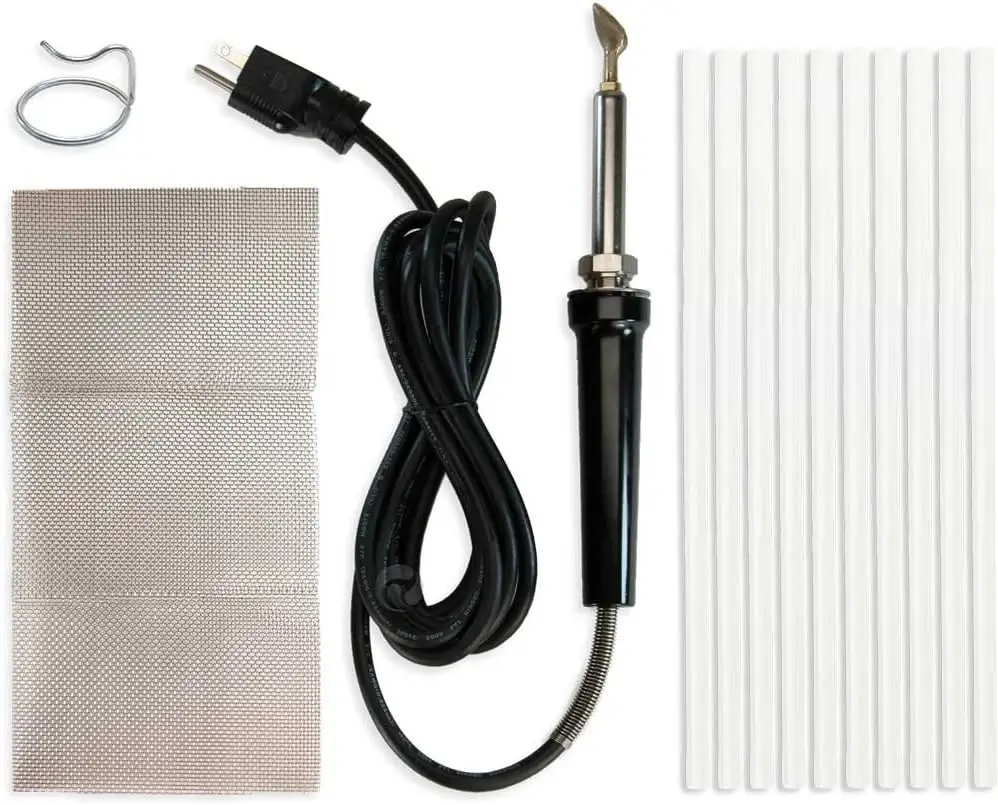
The Poly Welder Pro 200 Watt Plastic Repair Kit comes with 10 sticks of polyethylene repair material, a 200-watt welding iron, and stainless steel reinforcement fabric.
Use the welding iron to melt the edges of the crack into the middle. Then add more poly material to fill in the crack.
Never Try a Patch on a Cracked Coolant Reservoir on a Pressurized System
On almost all modern vehicles, the coolant reservoir is actually part of the sealed, pressurized cooling system. You can’t repair these reservoirs. Here’s why:
• Cooling system pressure usually runs 15–20 psi, and that’s enough to blow apart a plastic weld fix.
• The reservoir experiences fairly rapid cold/hot temperature cycling, causing the weld to expand and contract in its weakest area.
If you try to patch a cracked coolant reservoir on a pressurized system:
• The repair will eventually split
• The coolant will leak out, causing engine overheating and possible head gasket failure. Head gasket repairs can cost $2,500–$4,000, way more than the cost of a replacement reservoir.
I’ve seen patched tanks burst on the road, leaving the owner stranded and facing catastrophic engine damage. That’s why my professional recommendation is simple:
If it’s pressurized, replace it. Period.
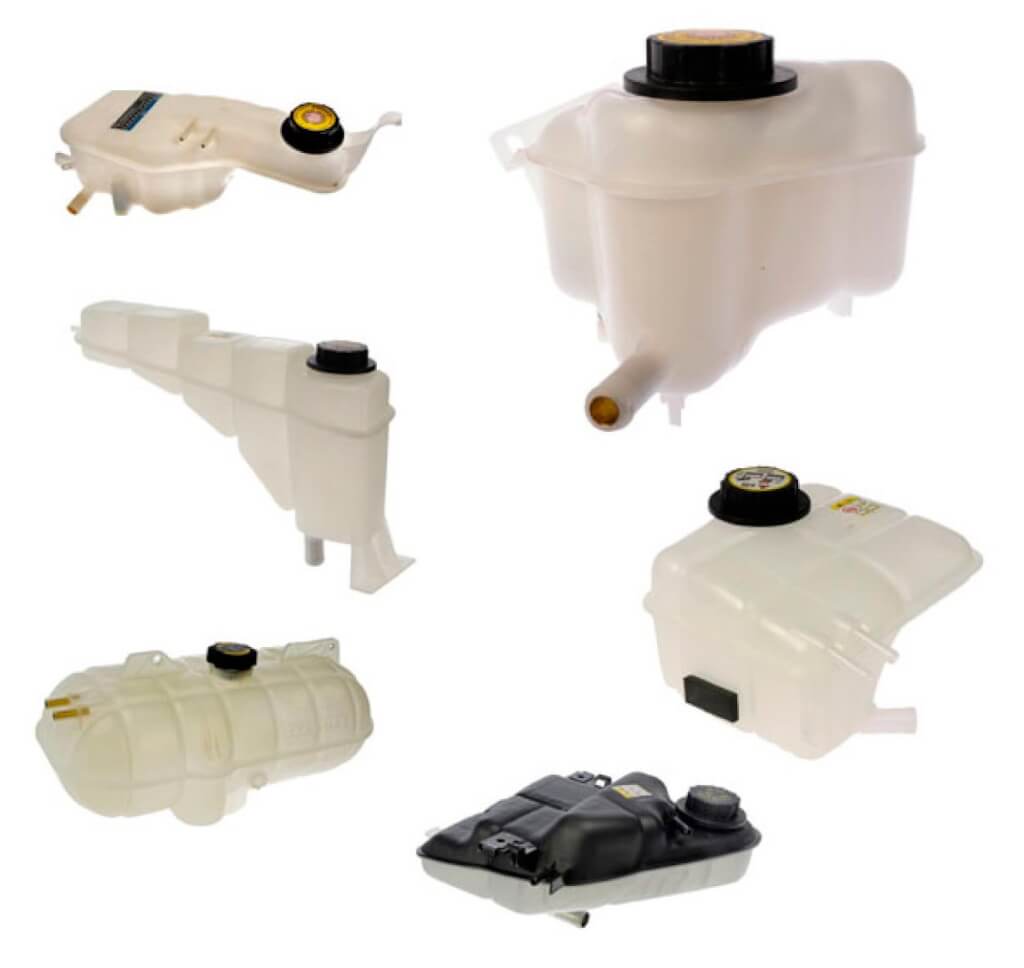
Where I Recommend Getting a Replacement Coolant Tank
If your tank cannot be safely repaired, you have three practical options:
1. Junkyard Replacement — I don’t recommend this.
Find an aftermarket coolant tank at DormanProducts.com
You’ll often be picking up a tank that’s the same age—and the same weak design—as the one that just failed.
2. OEM Dealer Replacement — This is usually the most reliable choice. Many automakers update the tank design after early failures, so the new tank may be stronger.
3. Aftermarket Replacement (Dorman, URO, Spectra, etc.) — I’ve had good luck with aftermarket tanks, especially from Dorman Products. (I don’t make any money from this link). Enter your vehicle info on their website, find the correct part number, then compare pricing online.
How to Confirm Whether Your Reservoir Is Pressurized
If you’re not sure whether you can safely
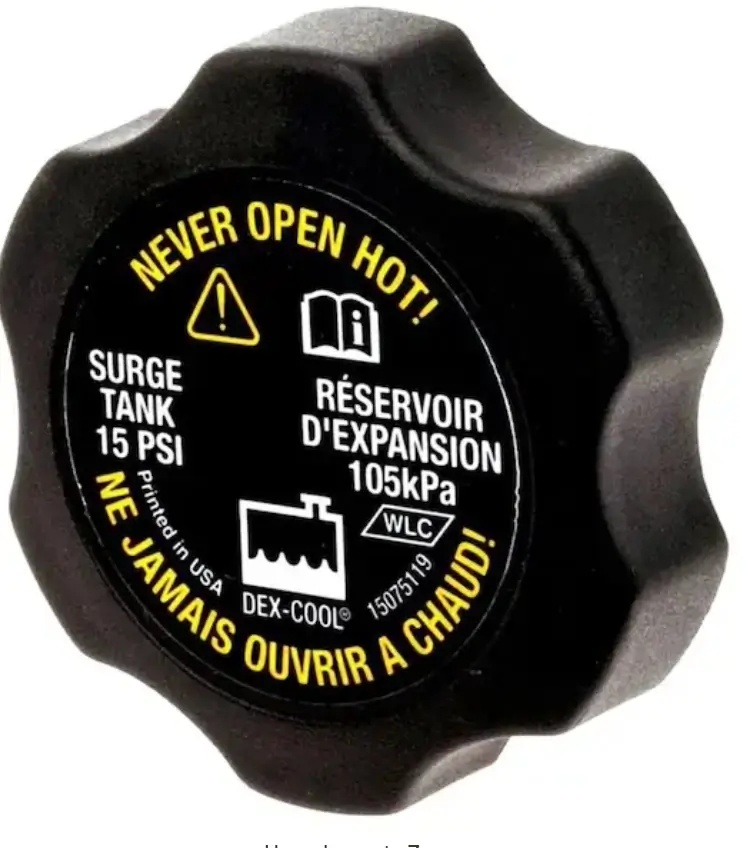
If the reservoir cap has these warnings, it’s a pressurized reservoir and can’t be patched
patch a coolant reservoir, here are the signs it’s pressurized:
• The reservoir tank has a pressure-rated cap (usually 13–20 psi)
• The tank connects to the engine with large coolant hoses
• You see coolant level sensors or integrated pressure ports
• The tank is labeled “HOT—PRESSURE”
• Removing the cap when warm causes pressure release
If you see any of these, do not attempt to repair the tank. Replace it.
©, 2013 Rick Muscoplat
Posted on by Rick Muscoplat